Import Transactions from a File
While Plaid’s live bank feed is the most convenient way to bring transactions into Kuberan Books, there are situations where a file import is the right approach. Understanding when to use each method prevents duplicate transactions and wasted time.
When to import vs. use Plaid sync
Use Plaid sync when:
- The client’s bank is supported by Plaid
- You want ongoing automatic transaction updates
- You are setting up a new client from a recent date
Use file import when:
- The client’s bank is not supported by Plaid
- You are migrating historical data (more than 24 months back) from a previous bookkeeping system
- The Plaid connection is temporarily broken and you need to keep up with current transactions
- You have downloaded a statement in QBO or OFX format from bank software
- You are cleaning up a specific period and prefer to work from a printed bank statement
Supported file formats
| Format | Extension | Notes |
|---|---|---|
| Comma-separated values | .csv | Most common; column mapping required |
| Open Financial Exchange | .ofx | Exports from most Canadian banks; auto-mapped |
| Quicken/QuickBooks Web Connect | .qbo | Auto-mapped; no column mapping needed |
If your bank exports QFX (Quicken format), rename the file extension to .ofx — the format is compatible.
Step 1 — Download the statement from your bank
Most Canadian online banking portals allow you to export transactions as a CSV, OFX, or QBO file. Look for an Export or Download button on the account activity screen. Common locations:
- RBC Online Banking: Accounts > account name > Download Transactions
- TD EasyWeb: Account > Download > select date range > CSV
- Scotiabank: Transaction History > Export > CSV or OFX
- BMO Online Banking: Accounts > View Transactions > Export
Select the full date range you want to import — typically a full calendar month or the period since your last import.
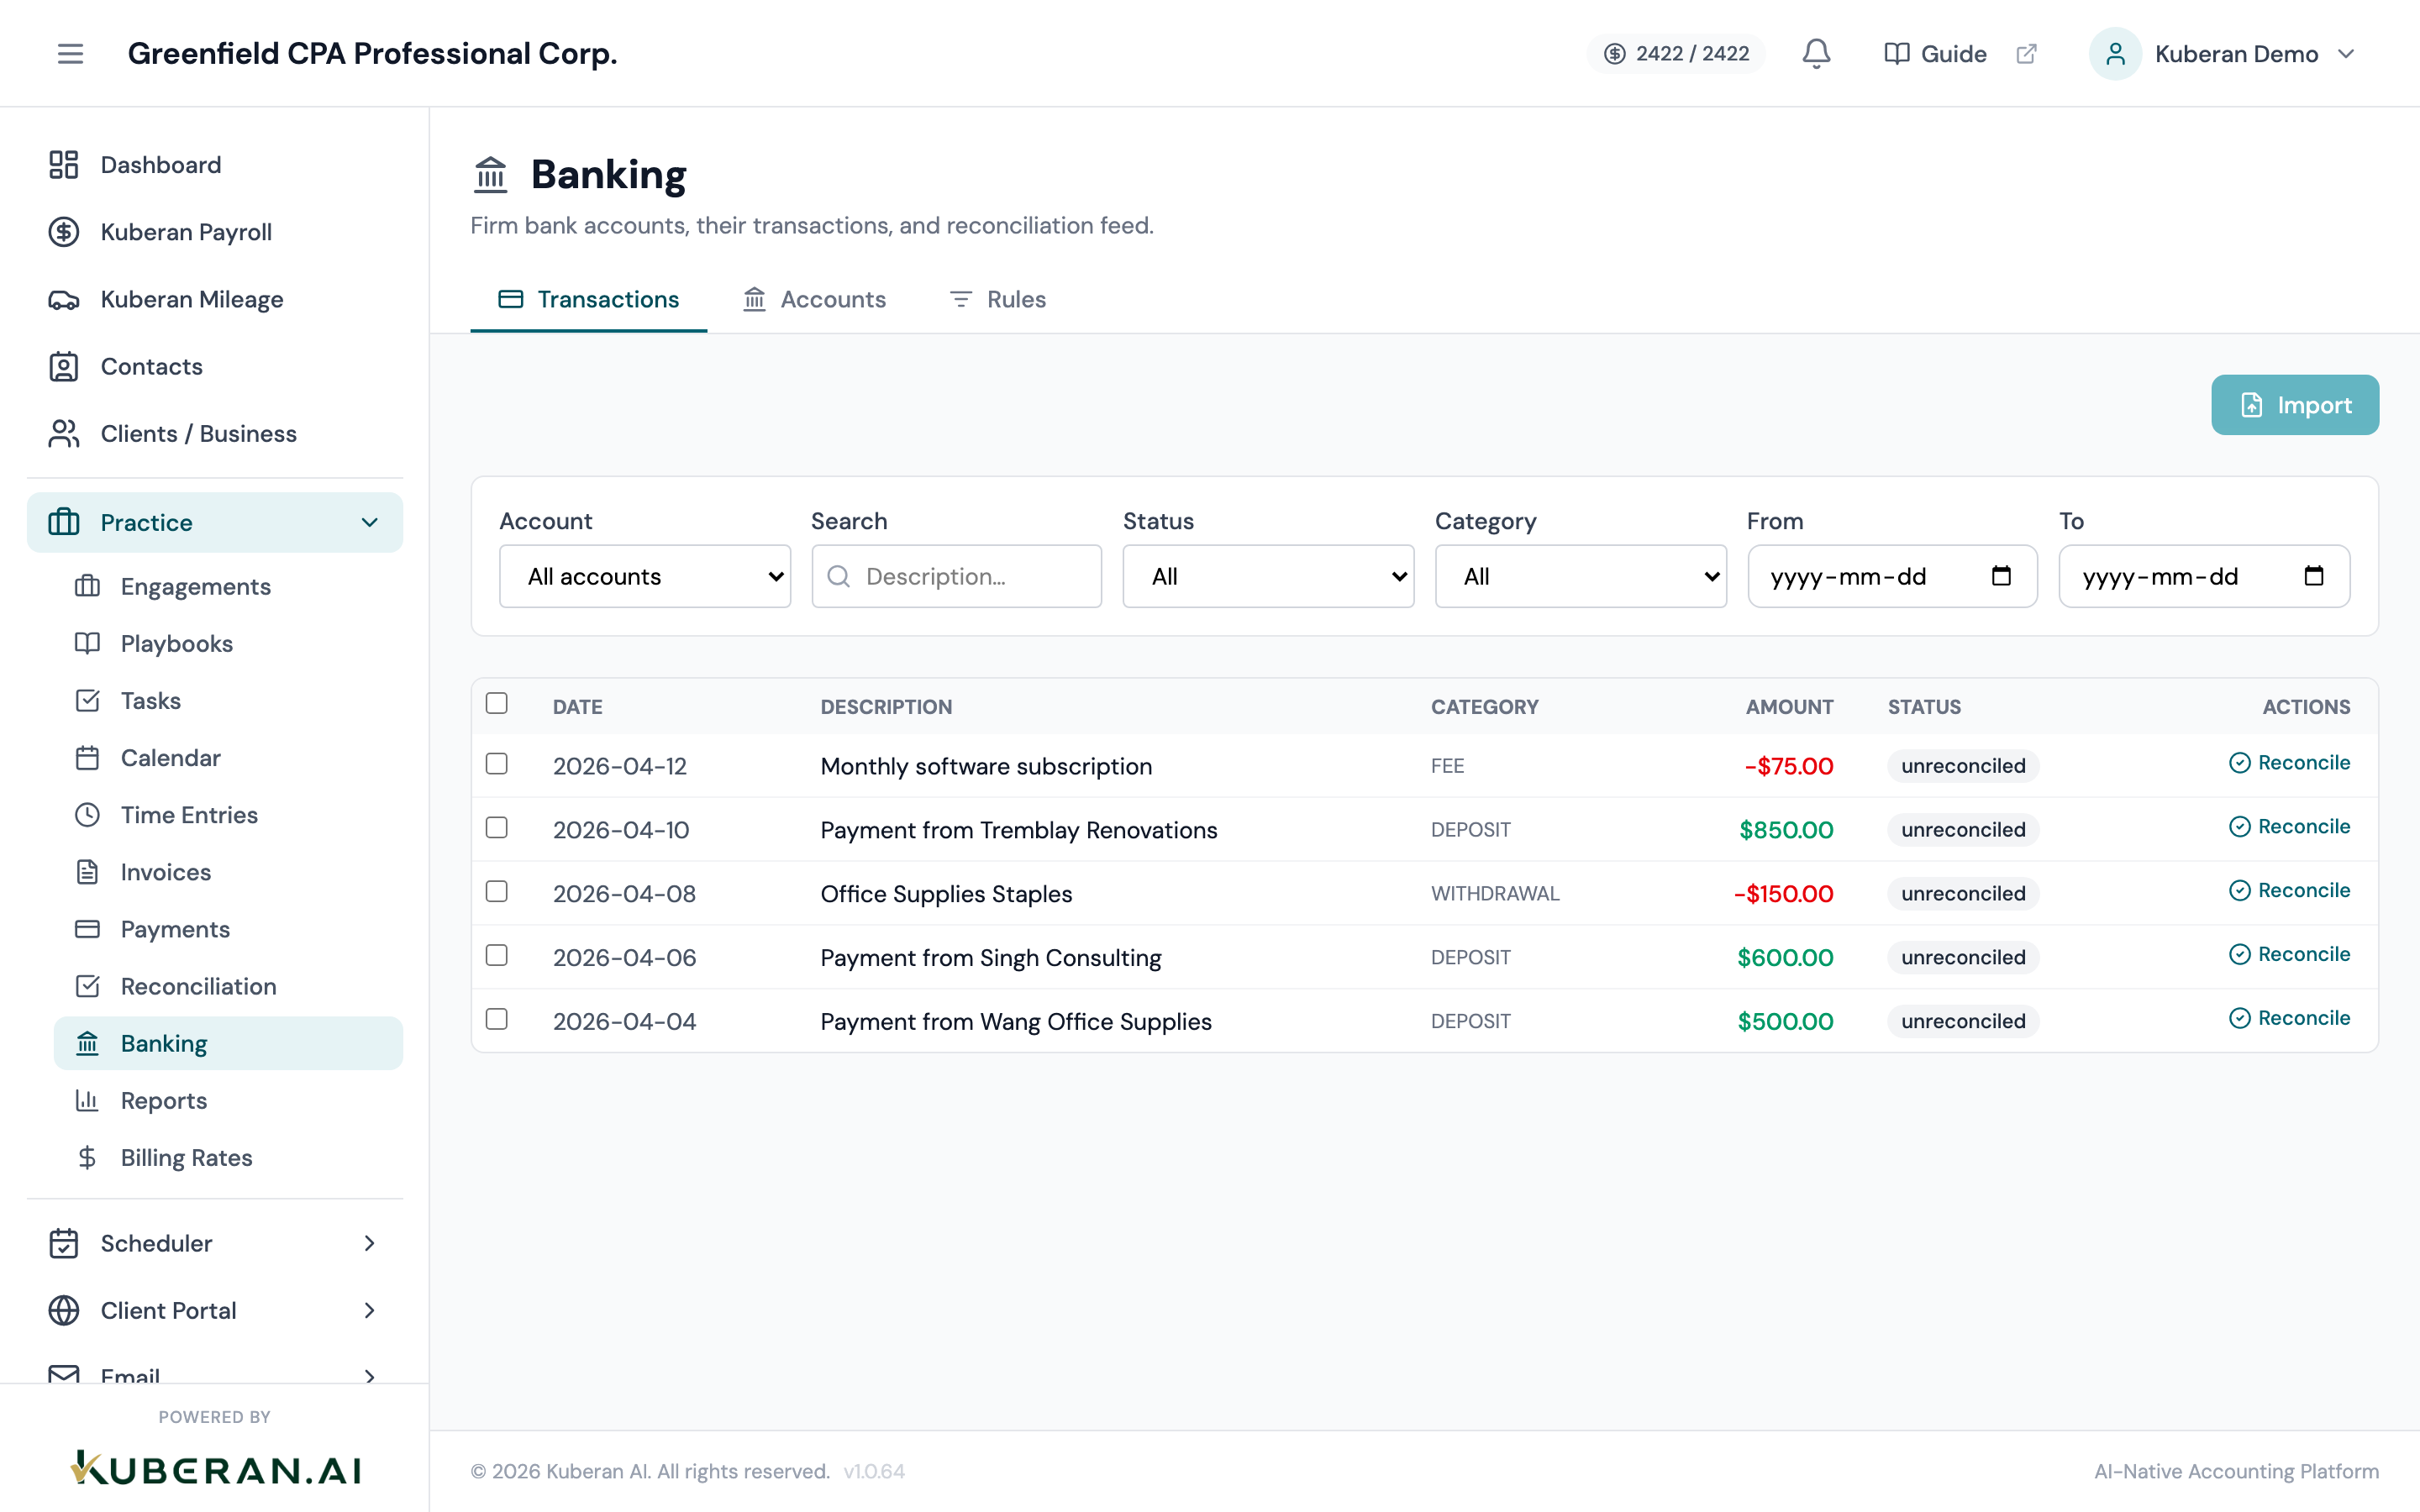
Step 2 — Navigate to Bank Transactions > Import
Inside the client’s Books, click Bank Transactions in the left navigation.
Click the Import button in the top-right corner.
Select the bank account this file belongs to from the dropdown. If the account does not exist yet, click Add Account (Manual) and create it first.
Click Choose File and select the downloaded file from your computer.
Select the destination account before uploading the file.
Step 3 — Map columns (CSV files only)
For CSV files, Kuberan displays a column mapping screen. The importer shows the first few rows of your file and asks you to match each column to the correct field.
Required mappings:
- Date — the transaction date (not the posting date)
- Amount — the transaction amount. If your CSV has separate debit and credit columns, map each one to the appropriate field.
Optional but recommended:
- Payee / Description — the merchant or payee name; used for bank rules and categorisation suggestions
- Reference — cheque number or bank reference; useful for reconciliation
Date format
Tell Kuberan the format your bank uses for dates — common options include YYYY-MM-DD, DD/MM/YYYY, and MM/DD/YYYY. Preview rows help you confirm the format is correct.
Positive/negative convention Some banks export withdrawals as negative numbers and deposits as positive. Others export debits and credits as separate columns. Use the Amount convention dropdown to tell Kuberan how your file is structured.
Step 4 — Review and confirm the import
After mapping, Kuberan shows a summary screen:
- Total transactions detected
- Date range covered
- Total debits and total credits
- Number of potential duplicates detected
Review this summary against your bank statement to confirm the numbers look right. Then click Import Transactions.
Step 5 — Handle duplicates
Kuberan’s duplicate detection compares incoming transactions against existing ones by date, amount, and description. Suspected duplicates are flagged with a yellow warning badge.
On the duplicates review screen:
- Skip — do not import this transaction (use this if the existing transaction is correct and the incoming one is a true duplicate)
- Import anyway — import the transaction regardless (use this only if you have confirmed it is genuinely a different transaction that happens to look the same)
- Replace — overwrite the existing transaction with the imported one (use this if the existing transaction has an error and the imported one is the corrected version)
After the import
Imported transactions appear in Bank Transactions with a status of Uncategorised. From here, the workflow is the same as for Plaid transactions:
- Review and categorise each transaction — see Categorise transactions
- Set up bank rules to automate future categorisation — see Bank rules
- Reconcile the account once a full month is categorised — see Reconcile a bank account