Reconciliation
Overview
The Reconciliation workspace supports the three-way matching process between your firm’s bank statement, the transactions imported into Kuberan AI, and the amounts recorded in your books. Completing a reconciliation for a period proves that these three sources agree, identifies missing or erroneous entries, and produces a signed-off reconciliation report suitable for your firm’s working paper file. Reconciliation history is retained indefinitely, giving you a complete audit trail of every period that has been balanced.
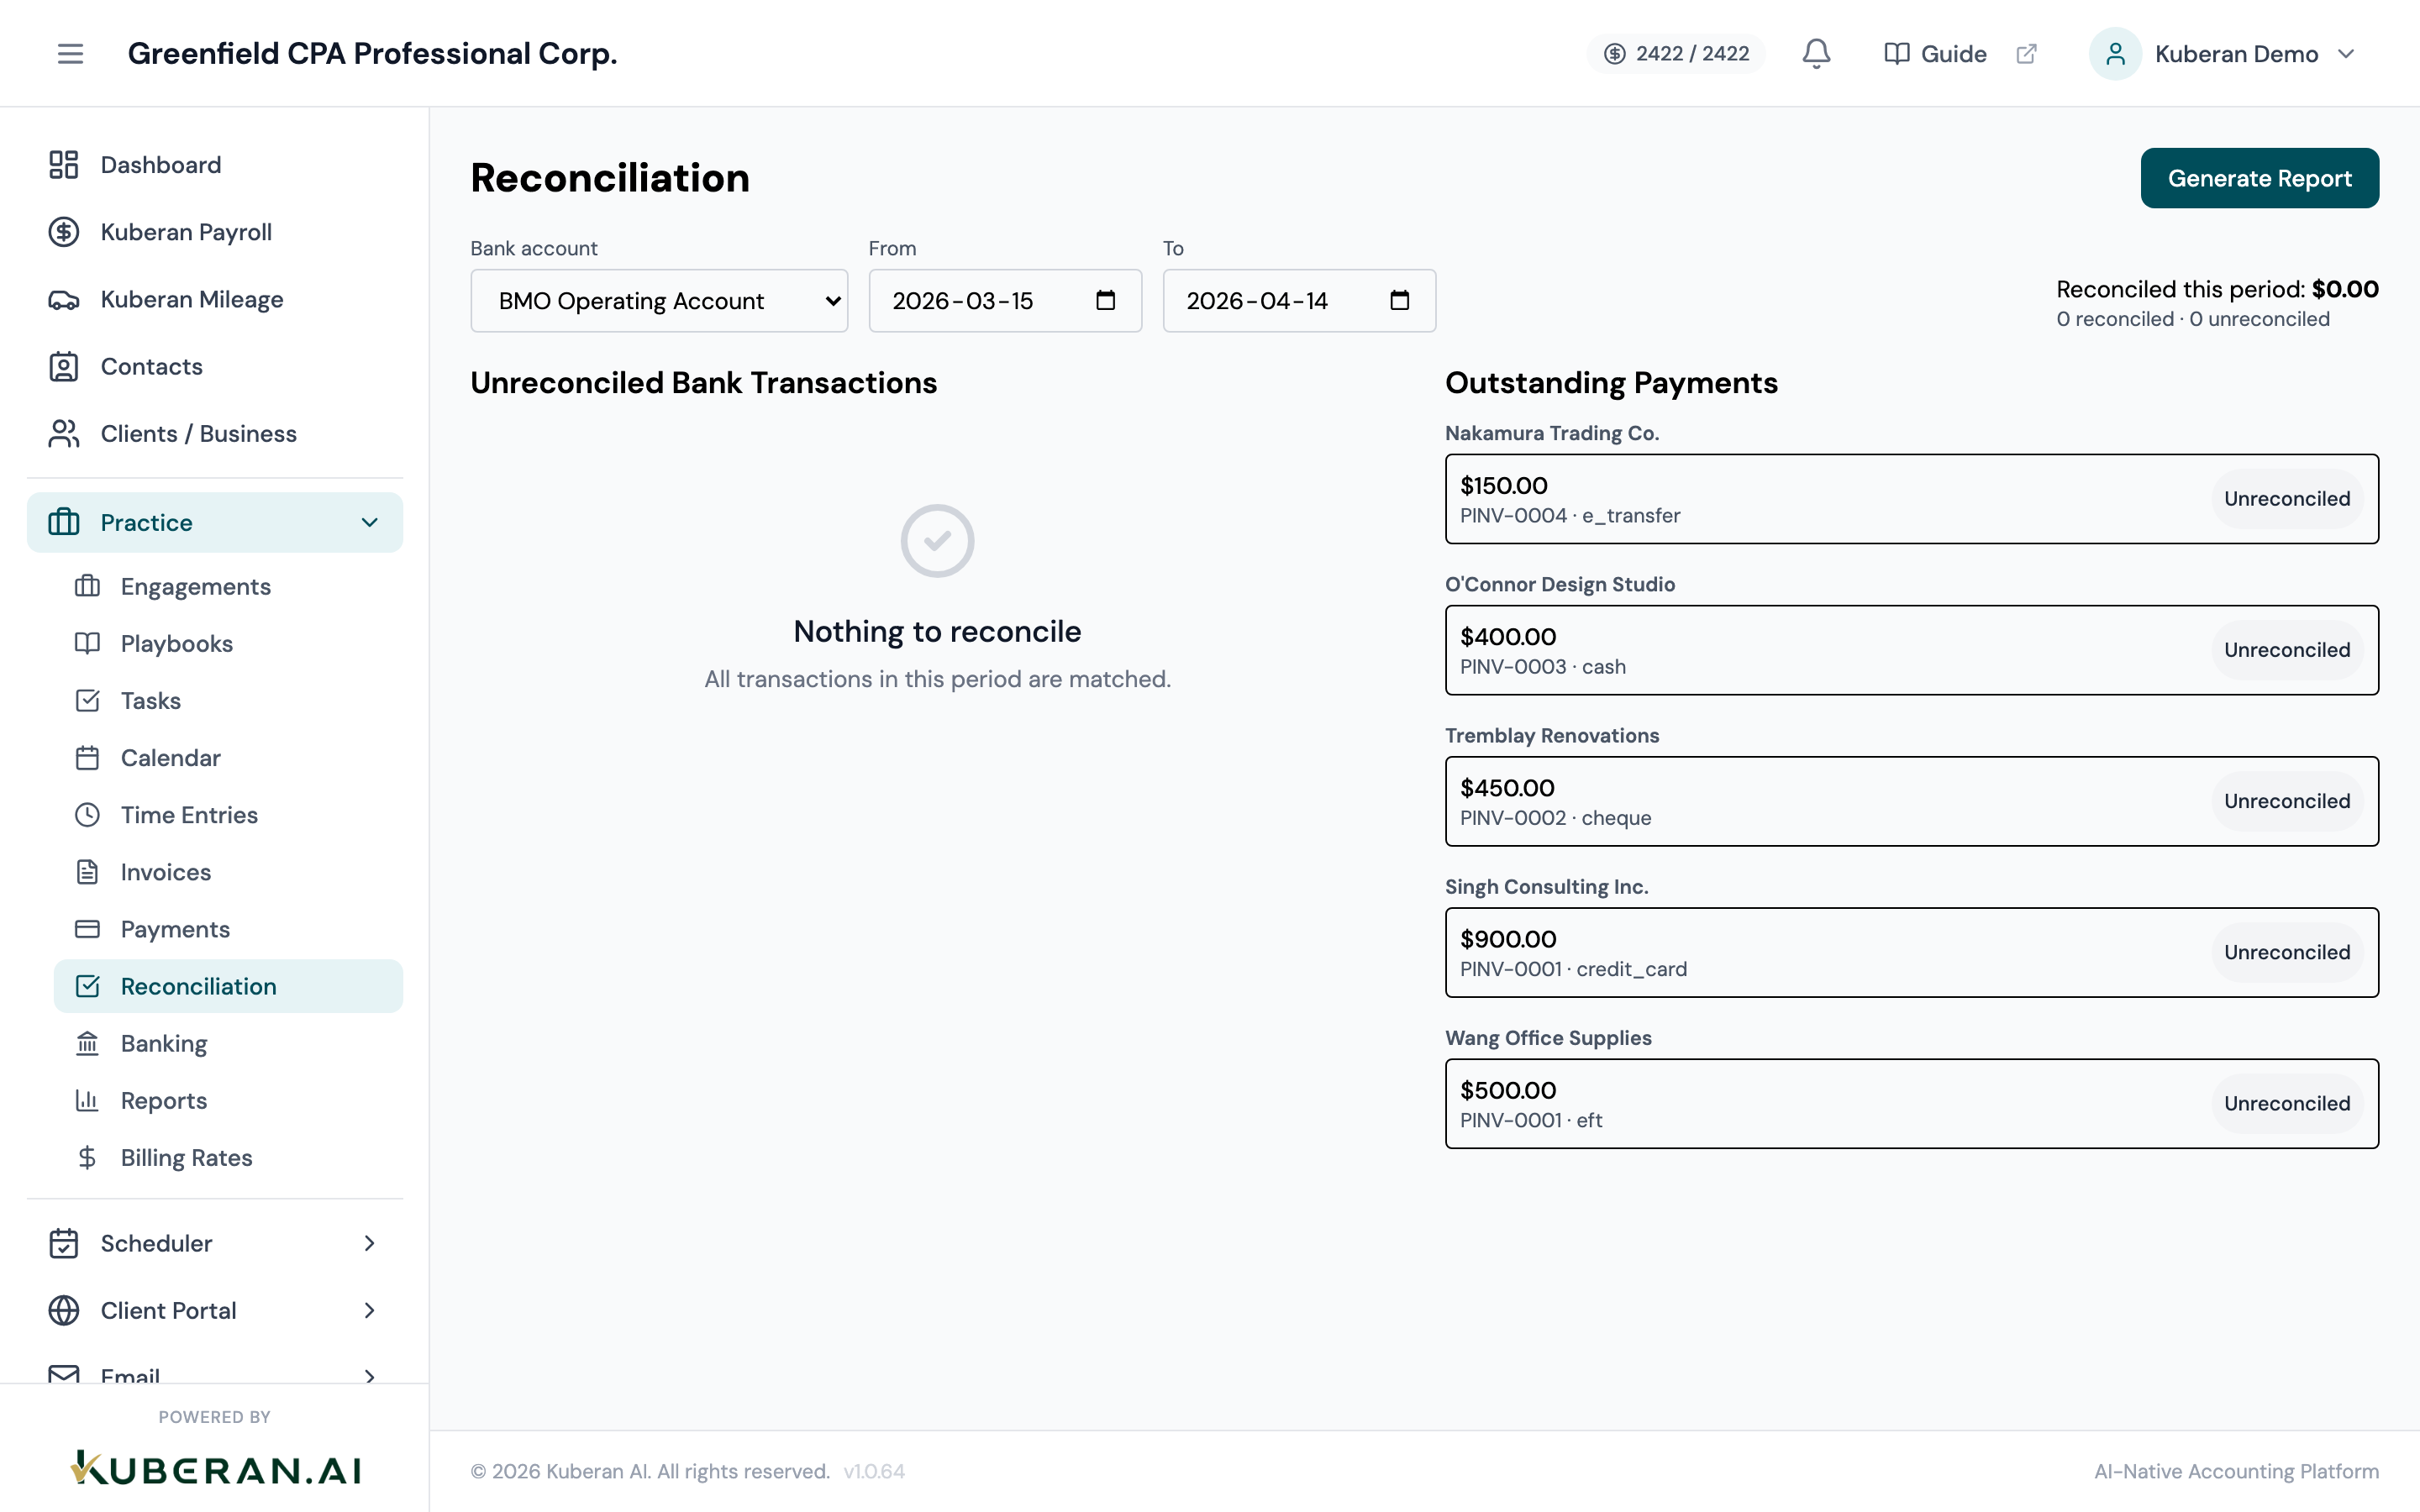
- (1) Account selector — choose which firm bank account to reconcile
- (2) Statement end date and closing balance fields
- (3) Difference indicator — updates in real time; must reach $0.00 to complete
- (4) Unmatched transactions list — transactions not yet ticked off against the statement
- (5) Matched / cleared transactions — ticked-off transactions forming the reconciled total
Screen Layout
The Reconciliation workspace has a two-panel layout:
Left panel — Statement Setup: Account selector, Statement Period (start date auto-populated from the last reconciled date), Statement End Date, and Closing Balance (the ending balance from the physical bank statement). A running Difference figure updates as you match transactions.
Right panel — Transaction Grid: Split into two sections. The top section (Unmatched) lists imported transactions for the period that have not yet been ticked off. The bottom section (Matched / Cleared) shows transactions you have confirmed match the bank statement. A summary row at the bottom of the matched section shows the total cleared amount.
History tab: A separate tab on the Reconciliation screen listing all previously completed reconciliations, with links to their reports.
UI Elements
Setup Panel
Dropdown to select the firm bank account being reconciled. Changing the account resets the workspace.
Read-only. Automatically set to the day after the last completed reconciliation’s end date. Editable for the first reconciliation on a new account.
Required. The closing date of the bank statement you are reconciling against. Sets the upper boundary for which transactions are shown in the grid.
Required. Enter the exact closing balance figure from the top of your bank statement. This is what the reconciliation must balance to.
Read-only. Carried forward from the last reconciliation’s closing balance. Shown for reference.
Live-calculated figure: Statement Closing Balance − (Opening Balance + Net Cleared Transactions). Displays in red when non-zero, green when $0.00. You must achieve $0.00 to mark the period as reconciled.
Transaction Grid
Tick the checkbox on a transaction row to move it from Unmatched to Matched. Untick to move it back. Each tick updates the Difference figure.
Transaction date from the import. Sortable.
Payee name or description from the imported transaction.
Transaction amount. Positive for credits; negative for debits.
Assigned category. Uncategorised transactions are flagged with an amber warning — categorising before completing reconciliation is recommended but not required.
Optional. Enter the line number or reference from the bank statement for cross-referencing during review.
Selects all unmatched transactions in the current filtered view. Use with caution — verify the difference figure after matching all.
Clears all matched checkboxes, resetting the reconciliation without losing any imported data.
Hides matched transactions so you can focus on the remaining items that still need attention.
Reconciliation Summary
Sum of all matched transaction amounts. Updates as you tick/untick rows.
Credits that have not been matched. Shown for informational purposes.
Debits that have not been matched.
Finalises the reconciliation. Only enabled when the Difference is $0.00. Locks all matched transactions from editing and creates a reconciliation report record.
Actions
Start a Reconciliation
- Navigate to Practice → Reconciliation.
- Select the Account you are reconciling from the dropdown.
- Verify the Statement Start Date is correct. It should match the first day of the period on your bank statement.
- Enter the Statement End Date — the last day shown on the bank statement.
- Enter the Statement Closing Balance exactly as it appears on the bank statement (including cents).
- The transaction grid loads all imported transactions for the period. Review the list for any uncategorised transactions and categorise them now if needed.
Match Transactions
- Work through the Unmatched transactions list, comparing each row against the line items on your printed or PDF bank statement.
- When a transaction in Kuberan AI matches a line on the bank statement, click the Match Checkbox on that row. The transaction moves to the Matched section below and the Difference figure updates.
- If a transaction on the bank statement does not appear in Kuberan AI, you need to add the missing transaction: navigate to the Banking screen, add the entry, and return to reconciliation.
- If a Kuberan AI transaction does not appear on the bank statement, it may be outstanding (timing difference) or erroneous. Leave it unmatched or delete it if it is a data-entry error.
- Continue until the Difference reaches $0.00.
Mark a Period as Reconciled
- Confirm the Difference indicator shows $0.00 in green.
- Click Mark as Reconciled. A confirmation dialogue asks you to confirm the closing balance and period end date.
- Click Confirm Reconciliation. All matched transactions are locked with a “Reconciled” flag. The reconciliation appears in the History tab with a timestamp and the name of the team member who completed it.
View Reconciliation History
- Click the History tab on the Reconciliation screen.
- The table shows all completed reconciliations for the workspace, ordered by period end date descending. Columns: Account, Period End Date, Closing Balance, Reconciled By, Date Completed.
- Click any row to view the full list of transactions that were cleared in that reconciliation.
Export a Reconciliation Report
- In the History tab, click the reconciliation period you want to export.
- Click Export Report (download icon).
- Choose PDF for a formatted working paper, or CSV for a raw data export.
- The PDF report includes: account name, period, opening and closing balances, list of all cleared transactions, total cleared amount, and the name of the team member who completed the reconciliation.