Add your first client
In Kuberan AI, a Client is the legal business entity you provide services to. Every engagement, invoice, set of books, and payroll file belongs to a client. Getting the client record set up correctly at the start ensures that data flows cleanly between modules and that your invoices, reports, and correspondence look professional.
Clients vs. contacts — understanding the distinction
It is worth clarifying two related concepts before you begin:
- A Client is the company or individual you serve professionally — for example, “ABC Plumbing Ltd.” or “Maria Fernandez (Sole Proprietor)”. Clients appear on invoices, engagements, and in your books.
- A Contact is a person associated with a client — for example, the business owner, an accounts payable clerk, or a secondary email recipient. A single client can have multiple contacts.
When you create a client, Kuberan AI automatically creates a primary contact for that client. You can add additional contacts later under the client record.
How to add a client
Navigate to Clients
In the left sidebar, click Clients. This screen shows all clients in your workspace. If you are just starting out, it will be empty.
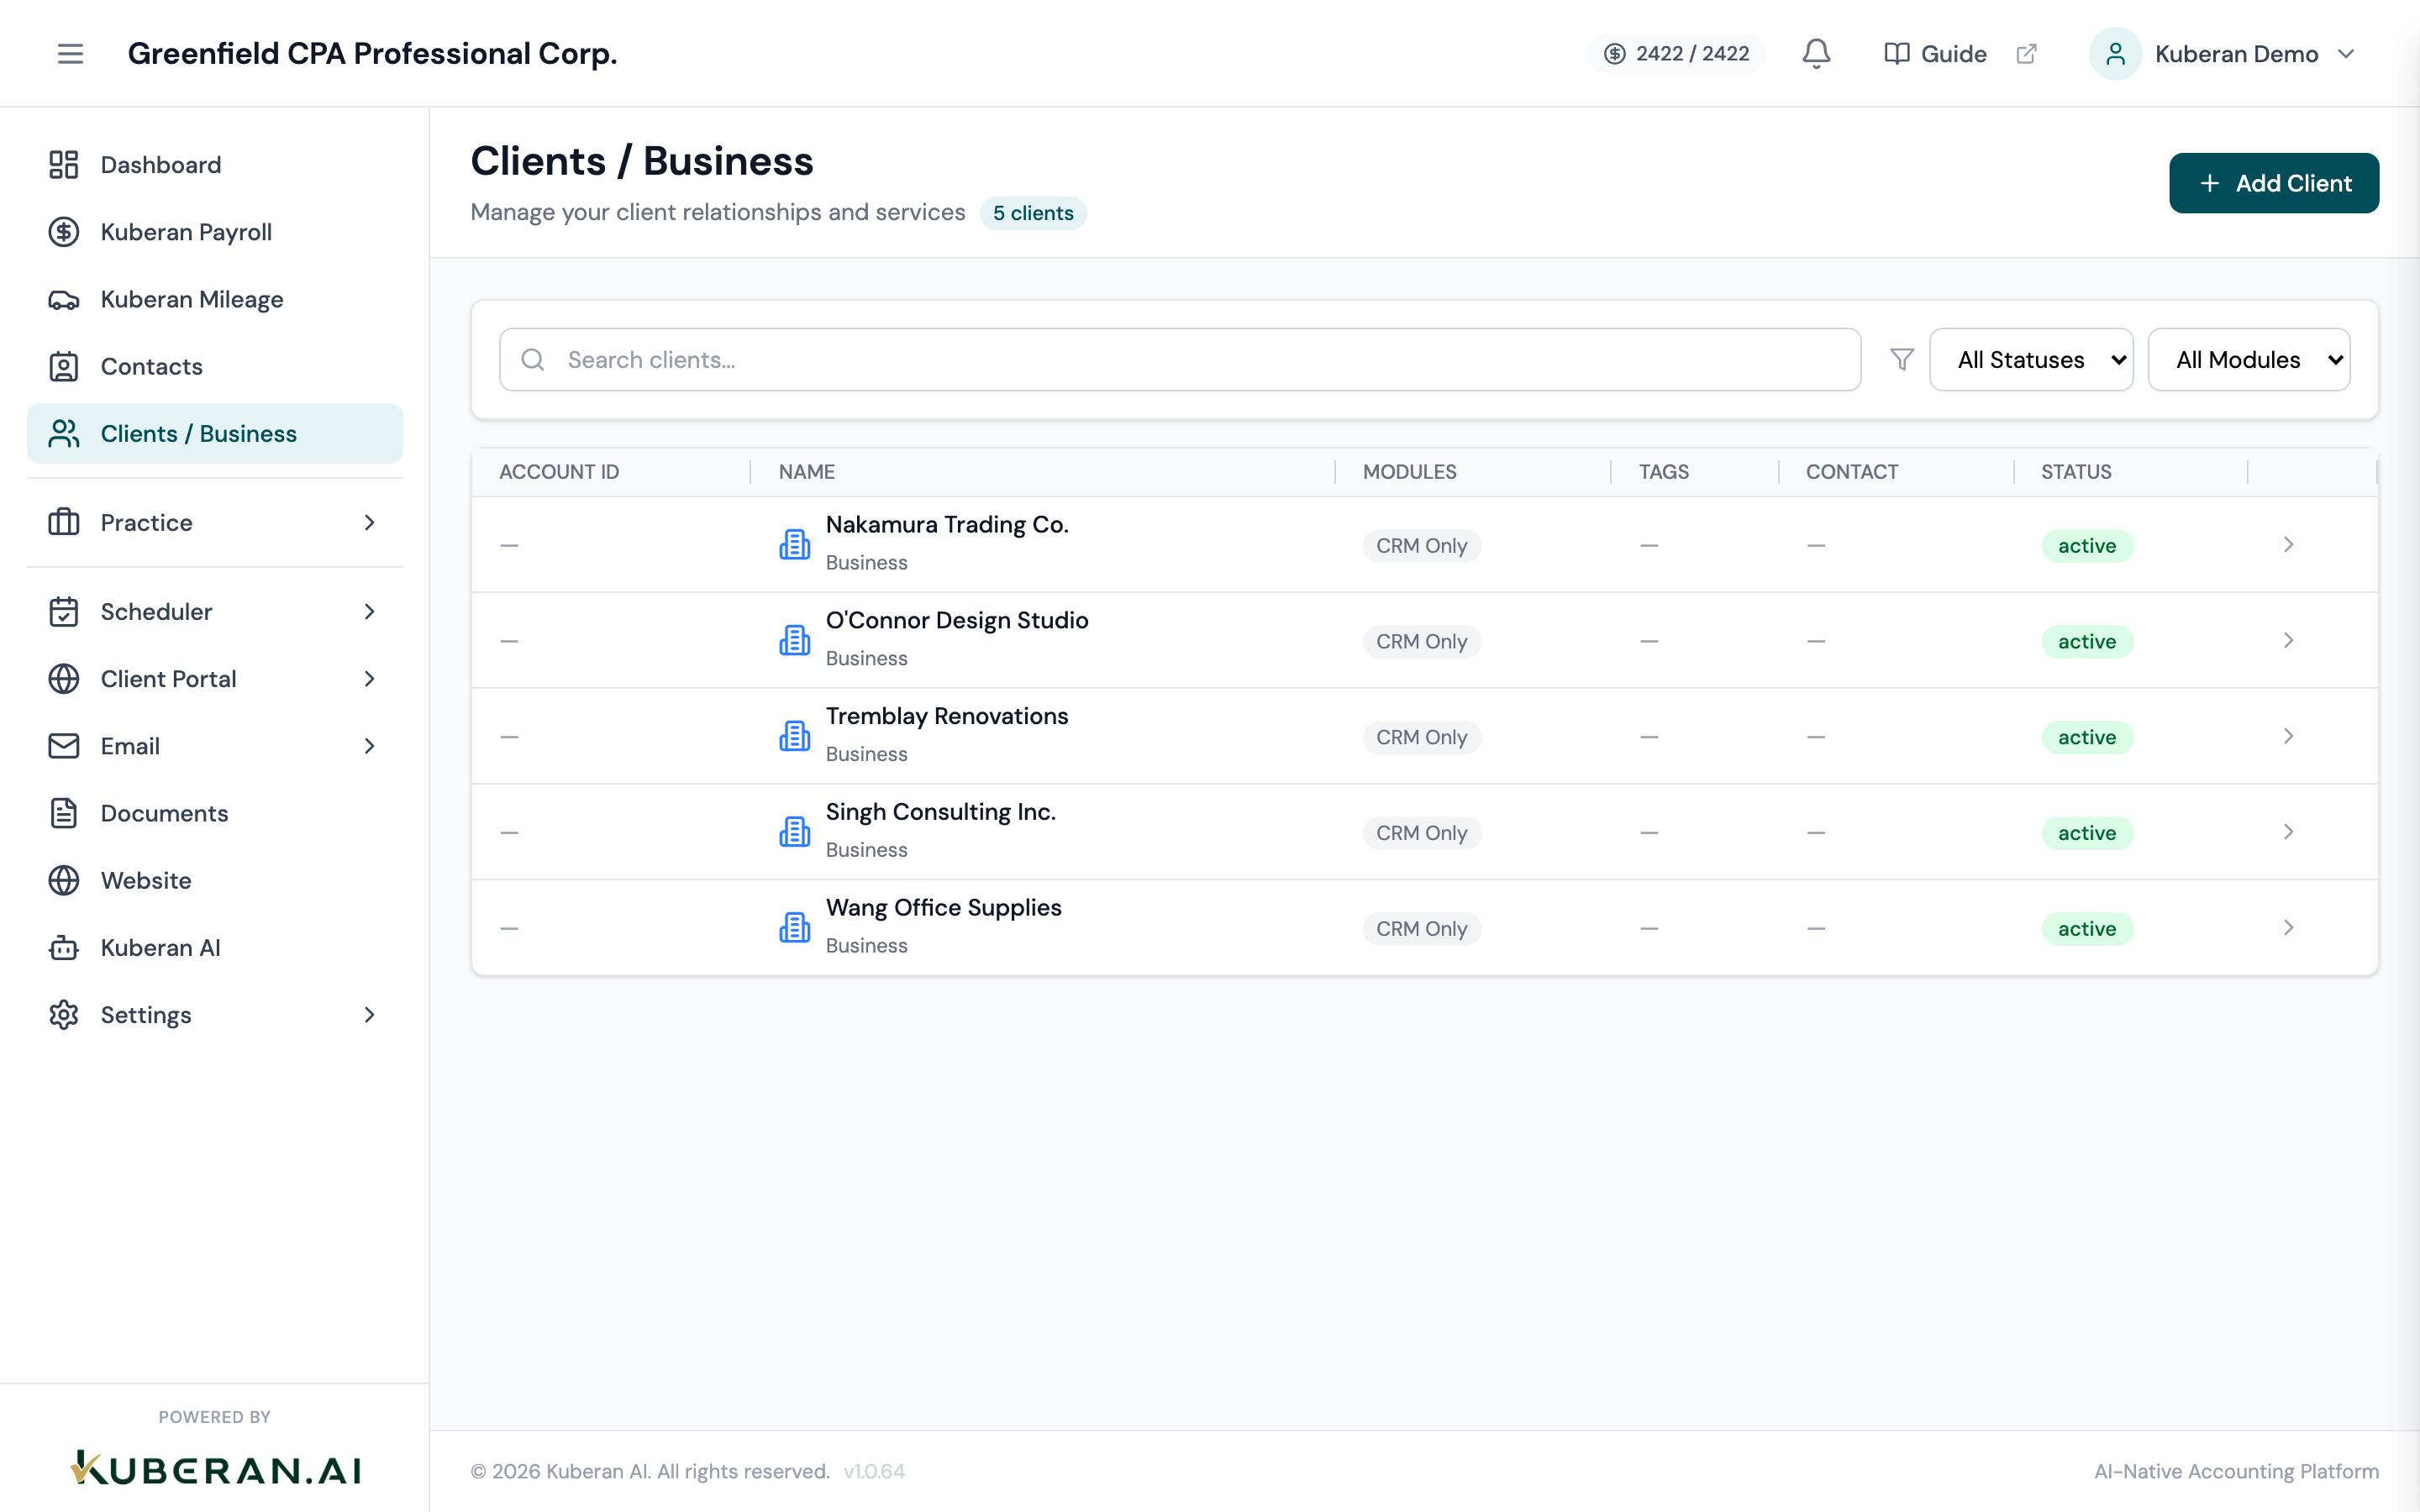
The Clients screen. Click Add Client to create your first client record. Click Add Client
Click the Add Client button in the top-right corner. A form panel opens on the right side of the screen.
Enter the business name
Type the client’s full legal business name. This is the name that appears on invoices, engagement letters, and financial reports.
- For corporations: use the full legal name including “Inc.”, “Ltd.”, or “Corp.” (e.g. “Maple Ridge Bakery Inc.”)
- For sole proprietors operating under a business name: use the trade name (e.g. “Sunrise Landscaping”)
- For individuals filing personally: use their full legal name as it appears on CRA documents
Select the business type
Choose the entity type from the dropdown:
- Sole Proprietor
- Partnership
- Corporation
- Non-Profit / Charity
- Individual / Personal
The business type affects which tax forms and compliance workflows are available in the Tax Centre.
Enter contact information
Fill in the primary contact’s details:
- First and last name — the owner or main contact at the company
- Email address — used for invoices and client portal access
- Phone number — used for SMS notifications
- Business address — appears on invoices and correspondence
Assign a client number
Kuberan AI suggests an auto-incremented client number (e.g. C-001, C-002). You can accept the suggested number or type your own.
If your firm already has a client numbering system in your existing practice management software, enter the matching number here. This makes cross-referencing easier during a migration period.
Set the fiscal year end (optional)
If you are doing bookkeeping or tax work for this client, enter their fiscal year end month. For most Canadian corporations, this is a date you should confirm with the client — it was set when they incorporated and may not be December 31.
Setting the fiscal year end now ensures that reporting periods and compliance deadlines calculate correctly in the Books module.
Click Save
Click Save client to create the record. You are taken to the client’s detail page, which shows all modules connected to this client.
How a client connects to other modules
Once the client record exists, you can activate the modules your firm provides for that client:
Books (Client Accounting)
Click Open Books on the client detail page to enter the bookkeeping ledger for that client. The first time you open Books for a client, you go through a brief setup flow: choose the accounting method (accrual or cash), confirm the fiscal year end, and select a chart of accounts template.
Payroll
Click Open Payroll to set up payroll for this client’s employees. Payroll is a separate module with its own employees list, pay run history, and CRA remittance tracker.
Mileage
If your firm tracks mileage on behalf of a client (or the client uses the Kuberan AI mobile app to log trips), click Open Mileage to access their mileage records.
Engagements (Practice Management)
Engagements are not activated from the client detail page — they are created from Practice > Engagements. However, every engagement is linked to a client, so the client must exist before you can create an engagement for them. See Create your first engagement for the full walkthrough.
Editing and archiving clients
To edit a client: Go to Clients, find the client, click their name to open the detail page, then click Edit in the top-right corner.
To archive a client: Open the client detail page, click the ··· menu, and select Archive client. Archived clients disappear from the active client list but all their data is preserved. You can unarchive at any time.
Common questions
Can I have multiple contacts for one client? Yes. Open the client detail page and click Add Contact to add secondary contacts — for example, a CFO who reviews invoices or a bookkeeper who answers day-to-day questions.
Can a client have multiple sets of books? Currently, each client has one Books ledger per workspace. If a client operates multiple business entities, create a separate Client record for each entity.
How do I import clients from another system? Go to Settings > Import for bulk client import via a CSV file. The import template is available for download on that screen.