Invoices
Overview
The Invoices screen is the accounts receivable hub for the client’s books. Invoices are created for customers, emailed directly from the platform, and tracked through their full lifecycle — from draft to paid. Each invoice generates the appropriate double-entry journal entries: a debit to Accounts Receivable and a credit to the revenue account, with separate entries for GST/HST collected. If a line item is an inventory-tracked product, the invoice also posts a Cost of Goods Sold entry (Debit COGS, Credit Inventory Asset) at the item’s average cost and reduces quantity on hand — on accrual-basis clients only; cash-basis books recognise that cost at purchase instead. Payment recording applies the cash receipt against the open balance and clears the receivable. Overdue invoices are highlighted automatically, and reminder emails can be sent with a single click.
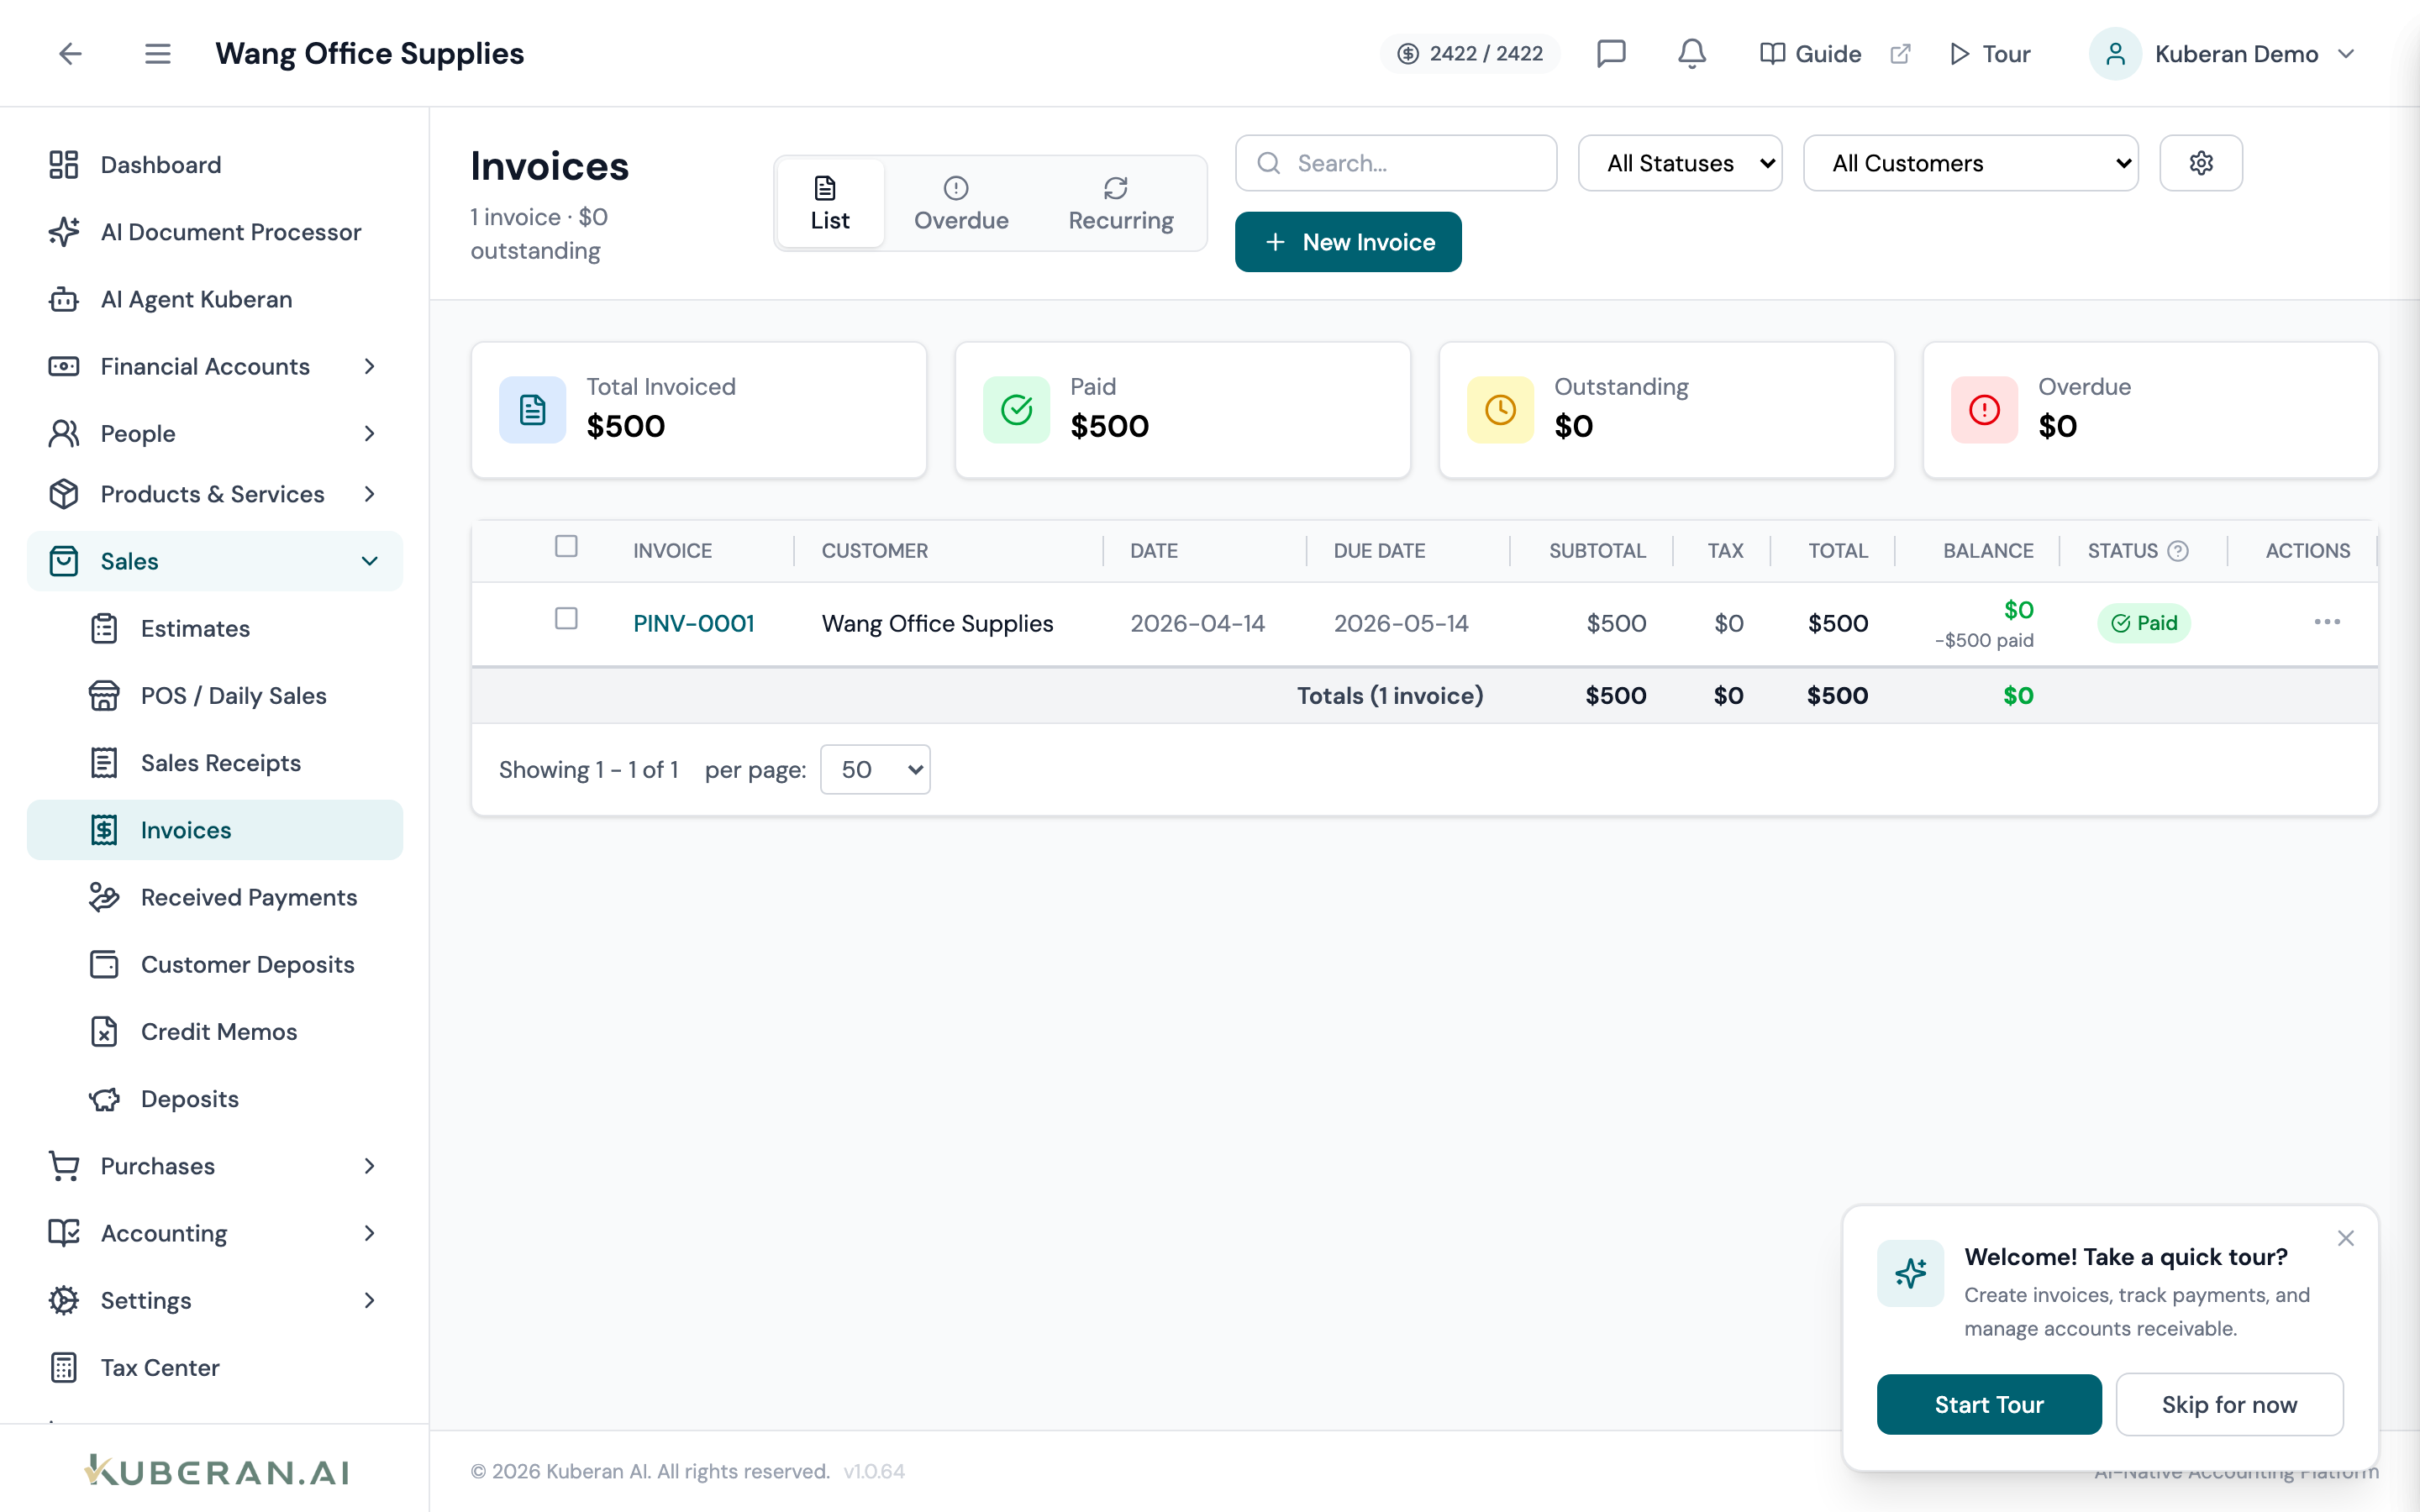
- (1) Status filter tabs — All, Draft, Sent, Overdue, Paid, Voided
- (2) Create Invoice button — opens the invoice editor
- (3) Status badge — colour-coded invoice lifecycle stage
- (4) Amount Due column — remaining balance after partial payments
- (5) Actions menu — send, record payment, void, download PDF
Screen Layout
Toolbar (top): Status filter tabs, search field, date range picker, and Create Invoice button.
Invoice table (centre): Each row is one invoice. Columns: Invoice #, Customer, Issue Date, Due Date, Amount, Amount Due, Status, and Actions. Click any row to open the invoice detail view.
Invoice Statuses
| Status | Colour | Meaning |
|---|---|---|
| Draft | Grey | Created but not yet sent to the customer |
| Sent | Blue | Emailed to the customer; awaiting payment |
| Viewed | Teal | Customer has opened the invoice email or portal link |
| Partially Paid | Amber | One or more payments received but balance remains |
| Paid | Green | Invoice balance is zero; fully settled |
| Overdue | Red | Past due date with an outstanding balance |
| Voided | Slate | Cancelled; journal entries reversed; not counted in AR |
UI Elements
Toolbar
Filter the invoice list by lifecycle stage. Multiple tabs can be active simultaneously. The “Overdue” tab automatically includes any invoice whose due date has passed and balance remains unpaid, regardless of the Sent/Partially Paid status.
Search by invoice number, customer name, or memo. Partial matches are supported.
Filter by invoice issue date or due date. Use the toggle to switch between the two date fields.
Opens the invoice creation form in a full-page editor.
Table Columns
Auto-incremented invoice number (e.g., INV-0042). The numbering sequence can be configured in Settings. Clicking the number opens the invoice detail.
The customer this invoice was issued to. Clicking the name opens the customer record.
The date the invoice was created (or the date entered for backdated invoices).
Calculated from the issue date plus the payment terms (e.g., Net 30). Shown in red when past due.
The total invoice amount including GST/HST.
The remaining unpaid balance. For fully paid invoices this is $0.00.
Per-row actions: View / Edit, Send, Record Payment, Send Reminder, Duplicate, Create Recurring, Download PDF, Void.
Actions
Create an Invoice
- Click Create Invoice. The invoice editor opens.
- Select the Customer. Contact details and default payment terms are pre-populated.
- Set the Issue Date and verify the Due Date (calculated from payment terms, editable).
- Add line items by clicking + Add Line Item. For each line: select an Item or type a description, enter quantity, unit price, and confirm the tax code. GST/HST is calculated automatically.
- Add a Memo or Notes visible to the customer if needed.
- Review the subtotal, HST/GST, and total at the bottom.
- Click Save as Draft to save without sending, or Save & Send to email the invoice immediately.
Send an Invoice
- Click ⋯ → Send on a Draft invoice row, or click Save & Send from the invoice editor.
- The Send Invoice dialogue shows the To address (from the customer record), a default subject line, and a customisable email body.
- Click Send Invoice. The status changes to Sent. The customer receives an email with a link to view and pay the invoice in the client portal.
Record a Payment
- Click ⋯ → Record Payment on the invoice row.
- Enter the Payment Date, Amount Received, and Payment Method (bank transfer, cheque, credit card, etc.).
- Select the Deposit Account (the bank account where the money was received).
- Click Save Payment. The receivable is reduced by the payment amount. If the balance reaches zero, the status changes to Paid. A partial payment changes the status to Partially Paid.
Send a Reminder
- Click ⋯ → Send Reminder on a Sent, Overdue, or Partially Paid invoice.
- A pre-written reminder email is shown. Customise the subject and body as needed.
- Click Send Reminder. The reminder is logged in the invoice activity feed.
Void an Invoice
Voiding reverses all journal entries associated with the invoice and marks it Voided. This is the correct method to cancel an invoice that was sent in error — do not delete a sent invoice. A posted invoice that contains an inventory-tracked item cannot be edited — void it and re-enter it instead.
- Click ⋯ → Void on the invoice row.
- Enter a Void Reason for the audit trail.
- Click Void Invoice. Reversing journal entries are created automatically. For inventory-tracked lines, the Cost of Goods Sold entry is reversed at the cost originally recorded and the quantity is restocked.
Tag Line Items to a Property
When the Properties module is enabled, each line item can be tagged with a Property, Unit, and Lease. Tagged lines feed the Property P&L report automatically.
- In the invoice editor, click the Property picker on any line item.
- Select a Property. The Unit and Lease pickers filter to options under that property.
- Optionally pick a Unit (for multi-unit buildings) and a Lease (for rent line items).
- Save. The
propertyId/unitId/leaseIdare persisted on the ledger line so both sides of the AR → Revenue posting carry the tag.
Residential-rent HST auto-exemption: line items tagged with a Property whose type is residential skip HST/GST automatically, regardless of the workspace tax code (HST, GST, GST+PST, GST+QST, PST, QST, SALES_TAX). Residential rent is exempt supply under the Excise Tax Act — the server overrides any line-level tax code for these rows so you don’t accidentally charge a tenant tax.
Auto-generated rent invoices (created by the monthly rent-invoice cron from RentSchedule rows) are tagged automatically and get the exemption as a matter of course.
Create a Recurring Invoice
- Click ⋯ → Create Recurring on any existing invoice to use it as a template.
- Set the recurrence frequency: Weekly, Bi-weekly, Monthly, Quarterly, or Annually.
- Set the Start Date and optionally an End Date or a total number of occurrences.
- Choose whether to Auto-Send the invoice on the recurrence date or save it as a draft for review.
- Click Create Recurring Schedule.
Related
- Customers — Manage customer records and credit terms
- Items — Products and services used on invoice line items
- Inventory Accounting — COGS postings when an invoiced item tracks inventory
- Estimates — Create quotes and convert them to invoices
- Reports — AR Aging and Sales by Customer reports
- Tax Centre — GST/HST collected on invoices flows into the tax return