Documents
Overview
The Documents screen is the central repository for all files associated with a client’s accounting file. Receipts, vendor invoices, bank statements, and supporting schedules are stored here in a folder tree you can organise freely. When you upload a receipt or invoice, the AI document processor reads the file and extracts key data — vendor name, date, amount, GST/HST breakdown — then proposes a draft transaction you can review and post with a single click. Documents can also be shared directly with the client through the client portal.
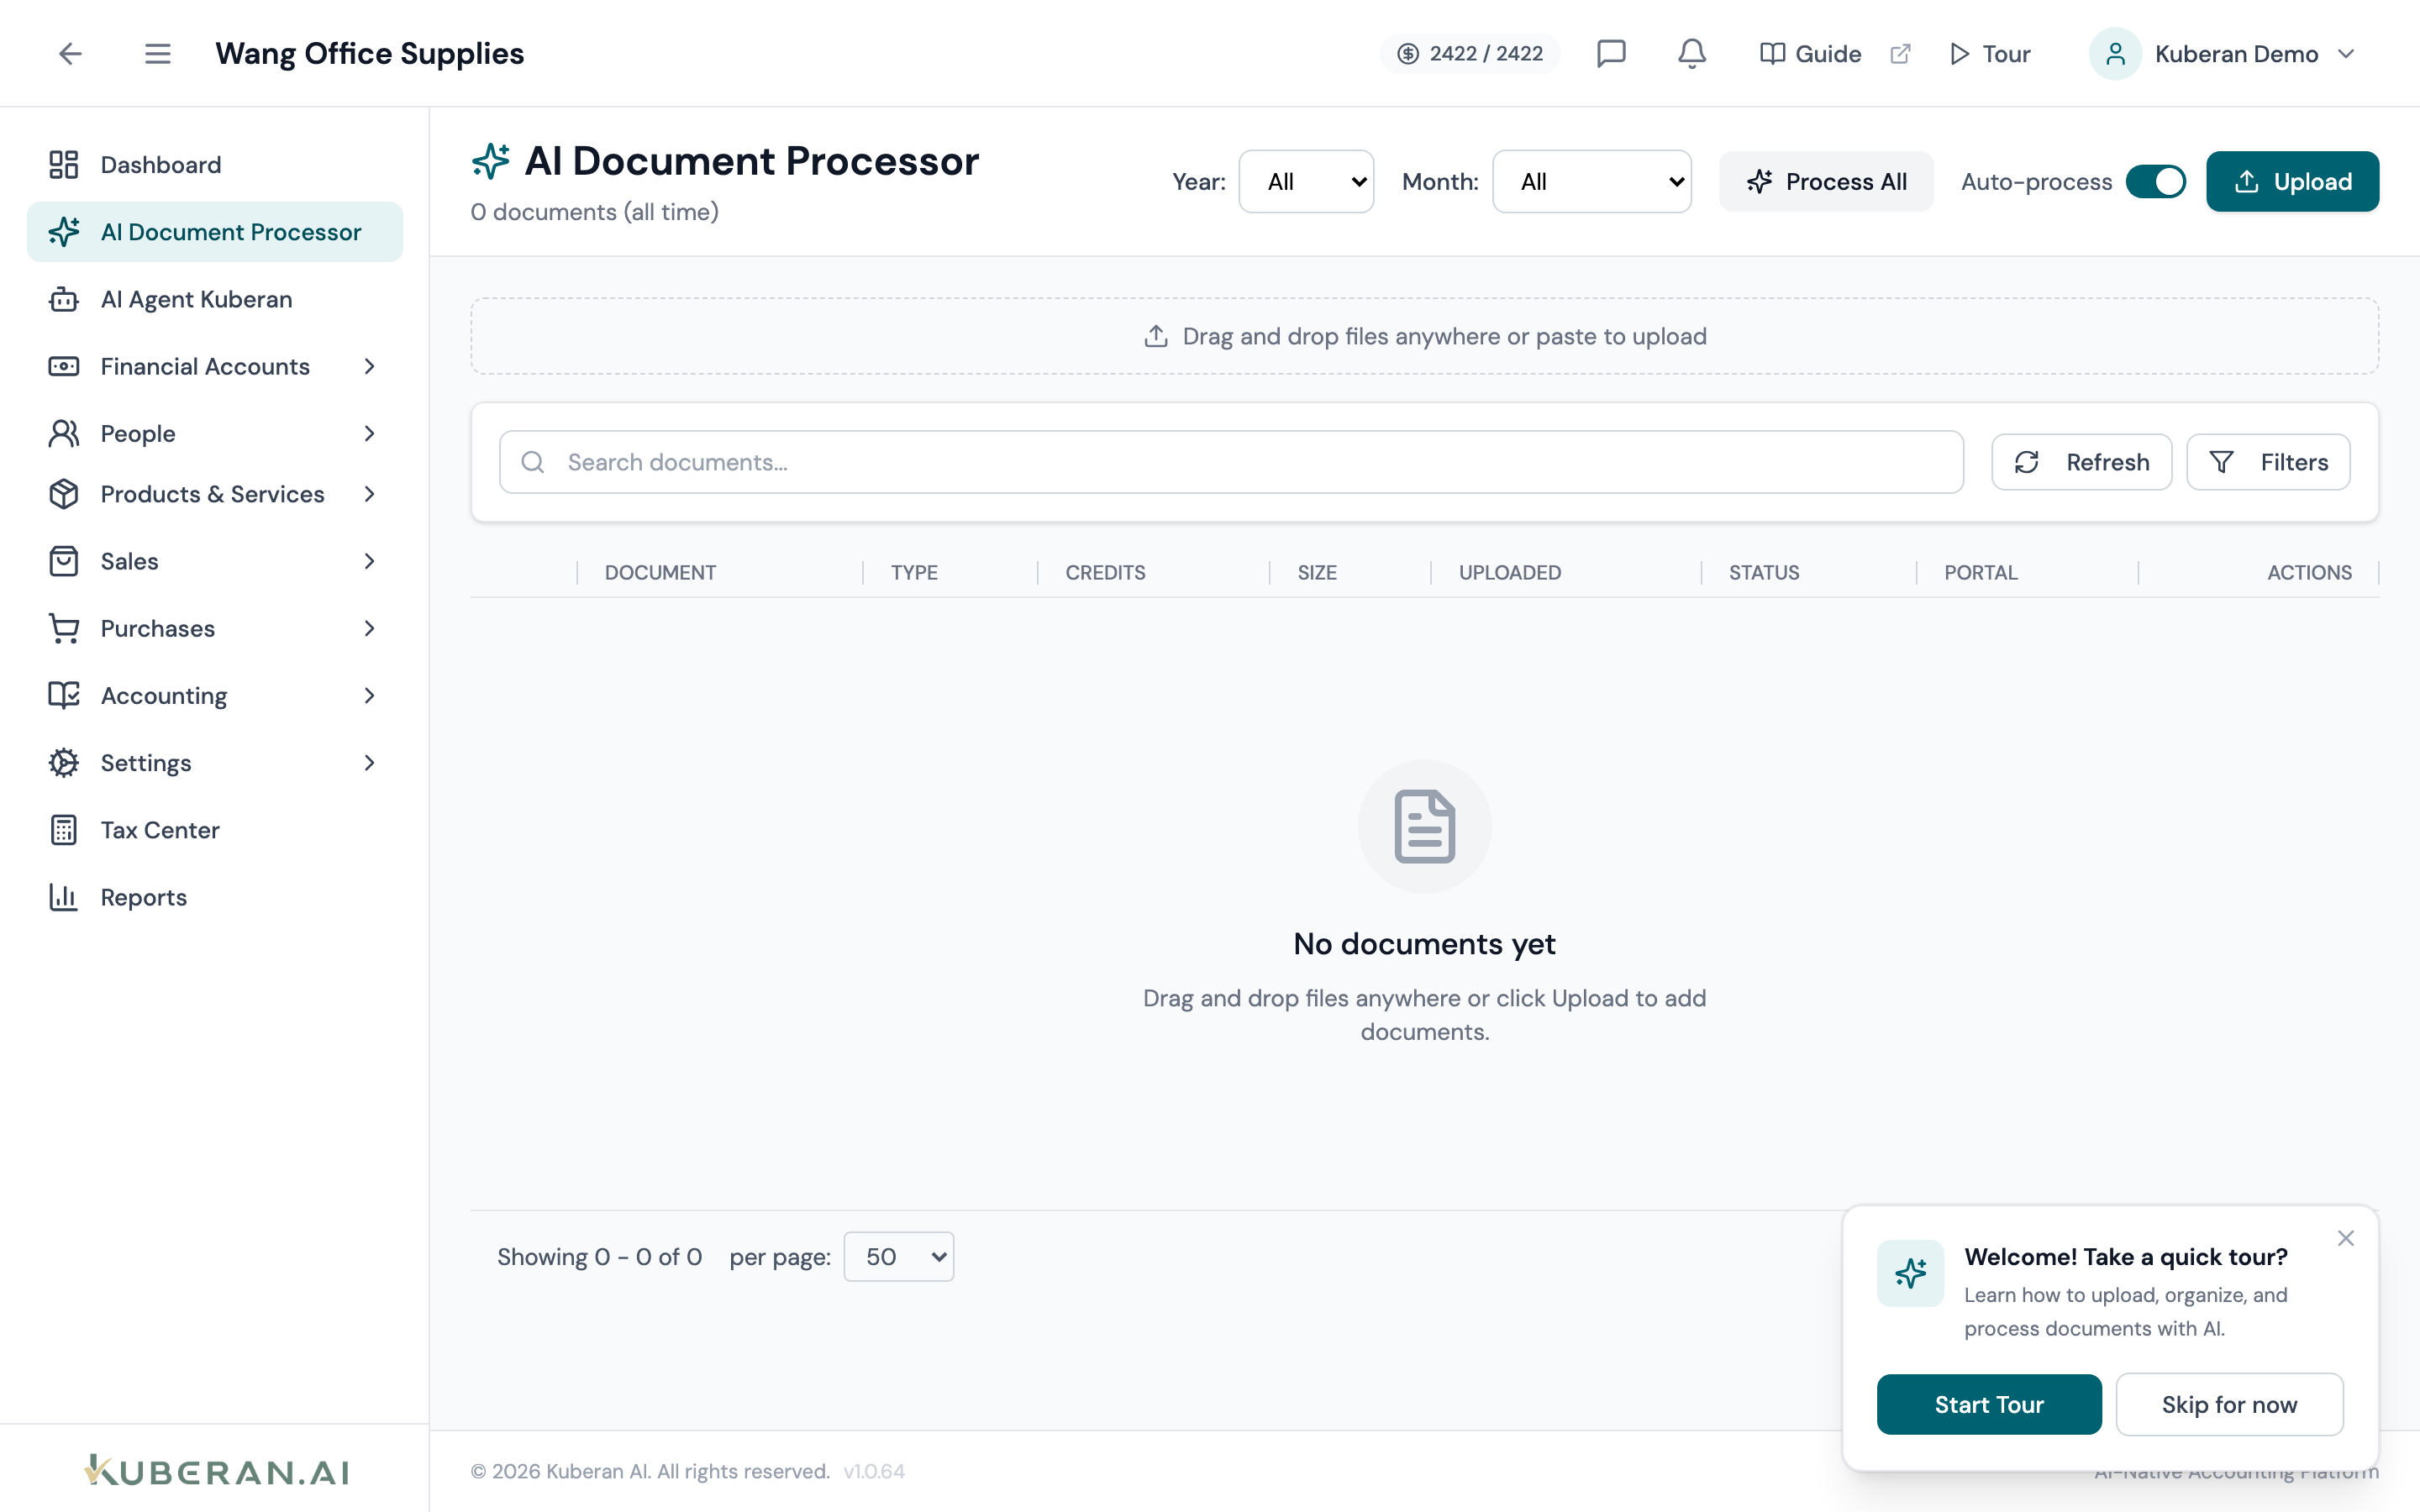
- (1) Folder tree — create and navigate folders for receipts, statements, and other file types
- (2) Upload button — drag-and-drop or file picker for single or batch uploads
- (3) AI status badge — shows extraction progress for each document
- (4) Document list — sortable table with file name, date, tags, and sharing status
- (5) Preview pane — opens when you click a document row
Screen Layout
The screen is split into two panels:
Left panel — Folder tree: A hierarchical folder navigator. The root contains system-generated folders (Receipts, Statements, Invoices, Other). You can create sub-folders under any parent. The selected folder is highlighted; its contents appear in the right panel.
Right panel — Document list: A table of all files in the selected folder. Columns include File Name, Date Added, Size, Tags, AI Status, Shared, and Actions.
UI Elements
Folder Tree
Right-click any folder in the tree, or click the + icon beside the folder tree header, to create a new sub-folder. Folder names must be unique within the same parent.
Right-click a folder to see Rename and Delete options. A folder must be empty before it can be deleted. System root folders (Receipts, Statements, Invoices, Other) cannot be deleted or renamed.
Document List
Opens a file picker or accepts drag-and-drop. Supported formats: PDF, JPG, PNG, HEIC, TIFF, CSV, OFX, QBO. Maximum file size: 50 MB per file. Multiple files can be uploaded at once; each is queued for AI processing.
The original file name. Click to open the document preview pane. You can rename a file by clicking the pencil icon that appears on hover.
Timestamp of the upload. Sortable ascending/descending.
Coloured label chips attached to the document. Click + Add Tag to select from existing tags or create a new one. Common tags: Receipt, Invoice, Statement, T4A, CRA Correspondence. Tags are searchable and filterable.
Shows the current state of AI data extraction for supported file types (PDF, JPG, PNG, HEIC, TIFF):
- Queued (grey) — document is waiting to be processed
- Processing (amber, animated) — AI is reading the document
- Review Required (blue) — extraction complete; a draft transaction is ready for your review
- Posted (green) — extracted data was accepted and a transaction was created
- Not Supported (slate) — file format cannot be processed (e.g., CSV, OFX)
A lock or share icon indicates whether the document has been shared with the client via the client portal. Green share icon = shared; grey lock = not shared.
Per-row actions: Preview, Download, Review AI Extraction, Tag, Share with Client, Move to Folder, Delete.
Actions
Upload a Document
- Select the target folder in the folder tree.
- Click Upload or drag files directly onto the document list area.
- Files appear immediately in the list with an AI Status of Queued. Processing begins within seconds and typically completes in under 30 seconds per document.
Review an AI-Extracted Transaction
When the AI processor reads a receipt or invoice, it creates a draft transaction pre-populated with the extracted vendor, date, line items, and GST/HST amounts. You must review and confirm this draft before it is posted to the ledger.
- Click Review AI Extraction in the document’s actions menu, or click the Review Required badge in the AI Status column.
- The AI Extraction Review panel opens on the right, showing the document image alongside the extracted fields: Vendor, Date, Amount, GST/HST, and suggested Chart of Accounts category.
- Correct any fields the AI extracted incorrectly. The AI confidence score (shown as a percentage) indicates how certain the system is about each field.
- Select the correct Expense Account from the chart of accounts dropdown if the suggestion is wrong.
- Click Post Transaction to create the journal entry. The AI Status badge changes to Posted and the document is linked to the new transaction.
- To discard the extraction without posting, click Dismiss. The document remains in the folder but no transaction is created.
Tag a Document
- Click ⋯ → Tag on a document row, or click the + Add Tag chip in the Tags column.
- Select existing tags from the dropdown or type a new tag name and press Enter to create it.
- Tags are saved immediately. Multiple tags can be applied to the same document.
Share a Document with the Client
- Click ⋯ → Share with Client on the document row.
- A confirmation dialogue shows which client portal user will receive access.
- Click Share. The document becomes visible in the client’s portal under their Documents section. The Shared badge turns green.
- To revoke sharing, click ⋯ → Unshare.
Delete a Document
- Click ⋯ → Delete on the document row.
- If the document is linked to a posted transaction, a warning is shown. You can delete the document without deleting the transaction, but the link will be removed.
- Confirm deletion. The file is removed from storage and cannot be recovered.
Related
- Bank Transactions — Review and categorise transactions, including those created by the AI processor
- Bills — Create a bill directly from a vendor invoice uploaded here
- AI Agent — Ask the AI questions about documents and extracted data