Contacts
Overview
The Contacts module is the CRM backbone of Kuberan AI. It stores individuals and businesses that your practice interacts with — clients, prospects, referral sources, vendors, and anyone else. Contacts are distinct from Clients: a Contact is the person or organisation, while a Client is the accounting or payroll file you maintain on their behalf. A single Contact can be linked to multiple Clients (e.g., a business owner contact linked to their corporation’s Books file and their personal holding company’s Books file). From the Contacts screen you can create and manage contacts, apply tags for segmentation, view interaction history, and merge duplicate records.
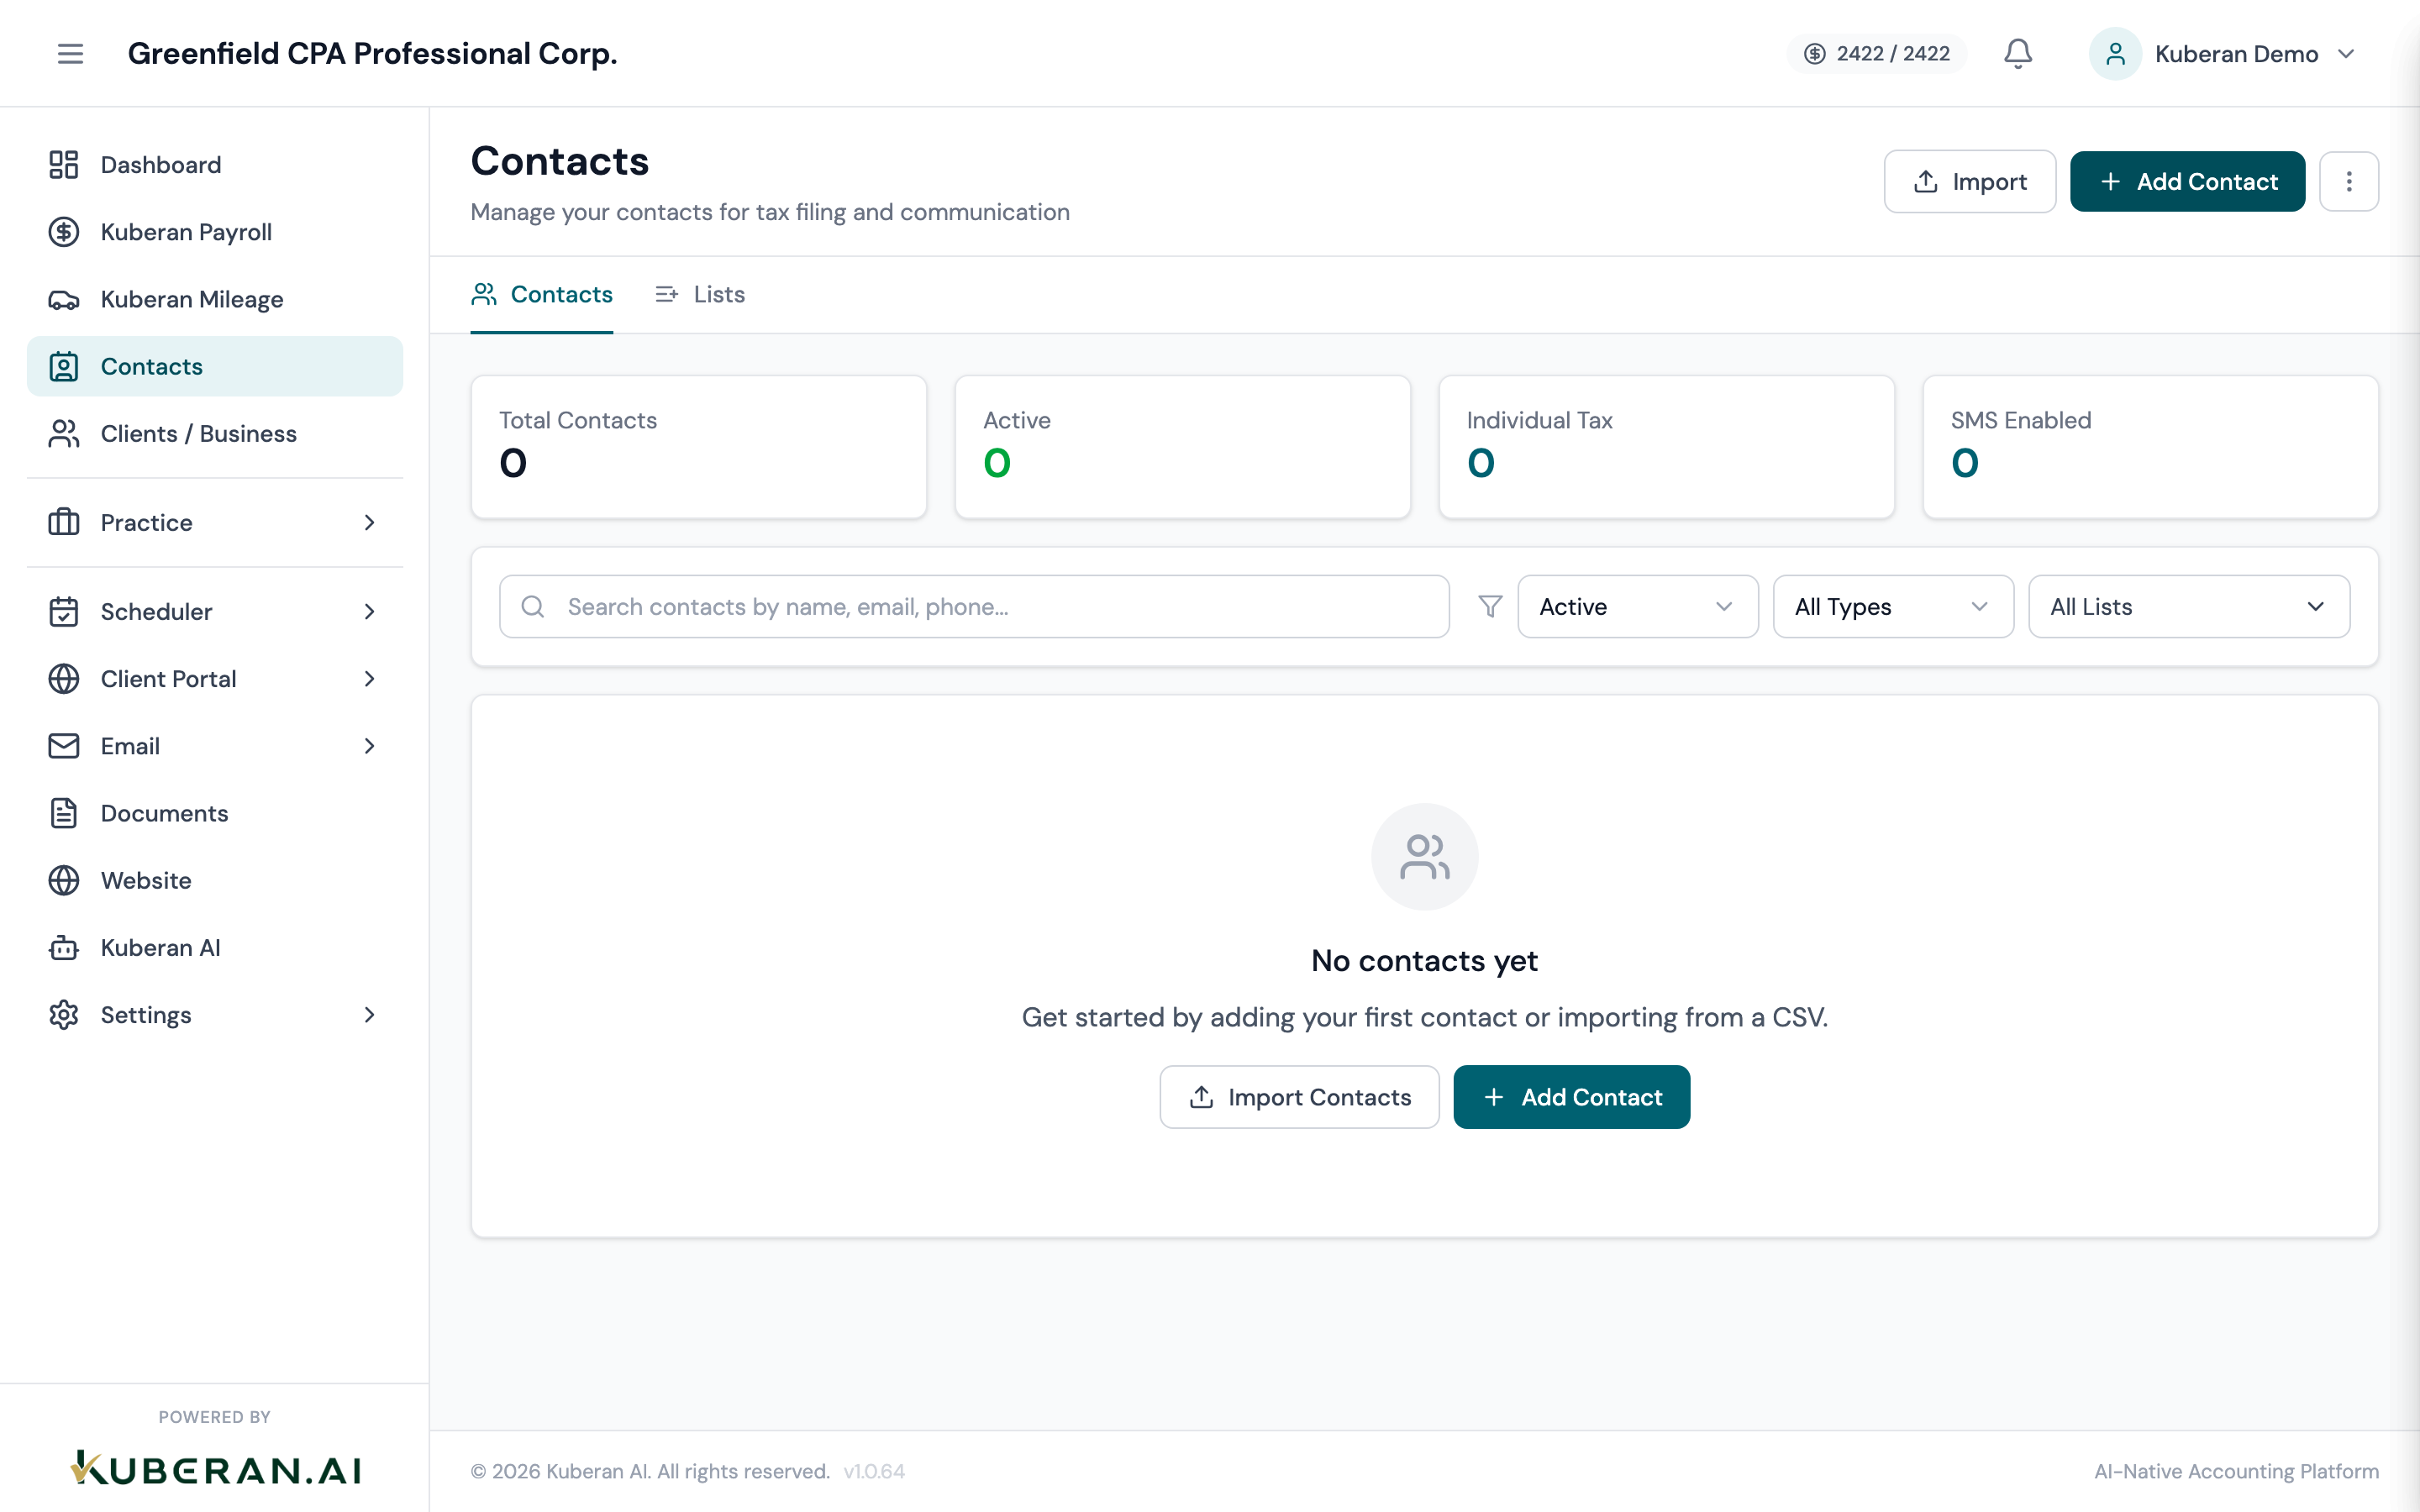
- (1) Search field — find contacts by name, email, or phone
- (2) Type filter — Individual or Business
- (3) Tag filter — narrow to contacts with a specific tag
- (4) Contact row — name, type badge, email, phone, linked clients, tags
- (5) Actions menu — Edit, Delete, Merge, Add Tag
Screen Layout
Toolbar (top): Search field, Type filter, Tag filter, and the Add Contact button.
Contacts table: One row per contact with columns for Name, Type, Email, Phone, Linked Clients, Tags, and Actions.
UI Elements
Searches across name, email address, and phone number. Partial matches are supported.
Individual — a person. Business — a company, partnership, or other organisation. The type affects which fields are shown in the contact record (e.g., Business Number is shown for Business contacts; SIN is shown for Individual contacts).
The accounting or payroll client files associated with this contact. A contact can be linked to multiple client files. Click any linked client pill to jump directly to that client’s record.
Coloured tag labels applied to the contact for segmentation. Examples: “New Client,” “Referral,” “T1 Only,” “Corporate + Personal.” Tags are workspace-defined and can be applied to multiple contacts.
Actions
Create a Contact
- Click Add Contact in the toolbar.
- Select the type: Individual or Business.
- Enter the contact’s name (first/last for individuals; business name for businesses).
- Add contact details: email address, phone number, and mailing address.
- For Individual contacts: optionally add date of birth, SIN (stored encrypted), and profession.
- For Business contacts: optionally add CRA Business Number, industry, and the names of any associated individuals (directors, shareholders).
- Link the contact to one or more client files using the Linked Clients field.
- Add any tags.
- Click Save Contact.
Edit a Contact
Click the contact’s name to open their record, or open the Actions menu and select Edit. All fields are editable. Changes are saved immediately when you click Save.
Delete a Contact
Open the Actions menu and select Delete. A confirmation prompt warns you that deleting the contact also removes their interaction history. Contacts linked to active client files cannot be deleted — unlink them from all clients first.
Merge Duplicate Contacts
When two contact records represent the same person or business:
- Open the Actions menu on one of the duplicates and select Merge.
- Search for and select the contact record to merge with.
- Kuberan AI shows a side-by-side comparison of the two records. For each field, select which value to keep.
- Click Confirm Merge. The duplicate record is deleted, all interaction history and linked clients are moved to the surviving record, and the surviving record is updated with the chosen field values.
Merging is permanent. The deleted record cannot be recovered.
Add a Tag
- Open the Actions menu on a contact and select Add Tag, or open the contact record and click the tag field.
- Select an existing tag from the dropdown or type a new tag name to create one.
- Click Save. The tag appears on the contact row in the list.
Bulk Tag
- Select multiple contacts using the checkboxes on the left side of each row.
- Click Bulk Tag in the toolbar.
- Choose one or more tags to apply to all selected contacts.
- Click Apply. Tags are added to all selected contacts simultaneously.
Bulk tagging adds the selected tags without removing existing tags. To remove a tag in bulk, use the Remove Tag option in the same bulk actions menu.
View Interaction History
Click on a contact’s name to open their record, then scroll down to the Interaction History section. This shows every email sent, document request, invoice, appointment, and chat message associated with the contact, in reverse chronological order. Use the module filter at the top of the history section to narrow to a specific type of interaction.
Tips
- Use tags generously. Tags are the primary way to segment your contact list for bulk SMS campaigns, announcements, and document request batches. A well-tagged list makes every mass communication more targeted.
- Link contacts to clients. A contact without a linked client file is harder to work with. Make it standard practice to link a contact to their client file when you create the client, so the connection is always there.
- Merge duplicates early. Duplicate contacts cause confusion in the interaction history and can result in duplicate communications being sent. Run a periodic search for common names to catch duplicates before they accumulate.