Vendor credits
Overview
A vendor credit records an amount a vendor owes back to the business — for returned goods, a billing error, a price adjustment, or an overpayment. It is the purchase-side mirror of a credit memo: where a credit memo reduces what a customer owes you, a vendor credit reduces what you owe a vendor.
When posted, a vendor credit creates a journal entry (typically a debit to Accounts Payable and a credit reversing the original expense or input-tax credit). The credit is then applied to an open bill, reducing the amount you have to pay. The list tracks each credit’s applied amount and remaining balance.
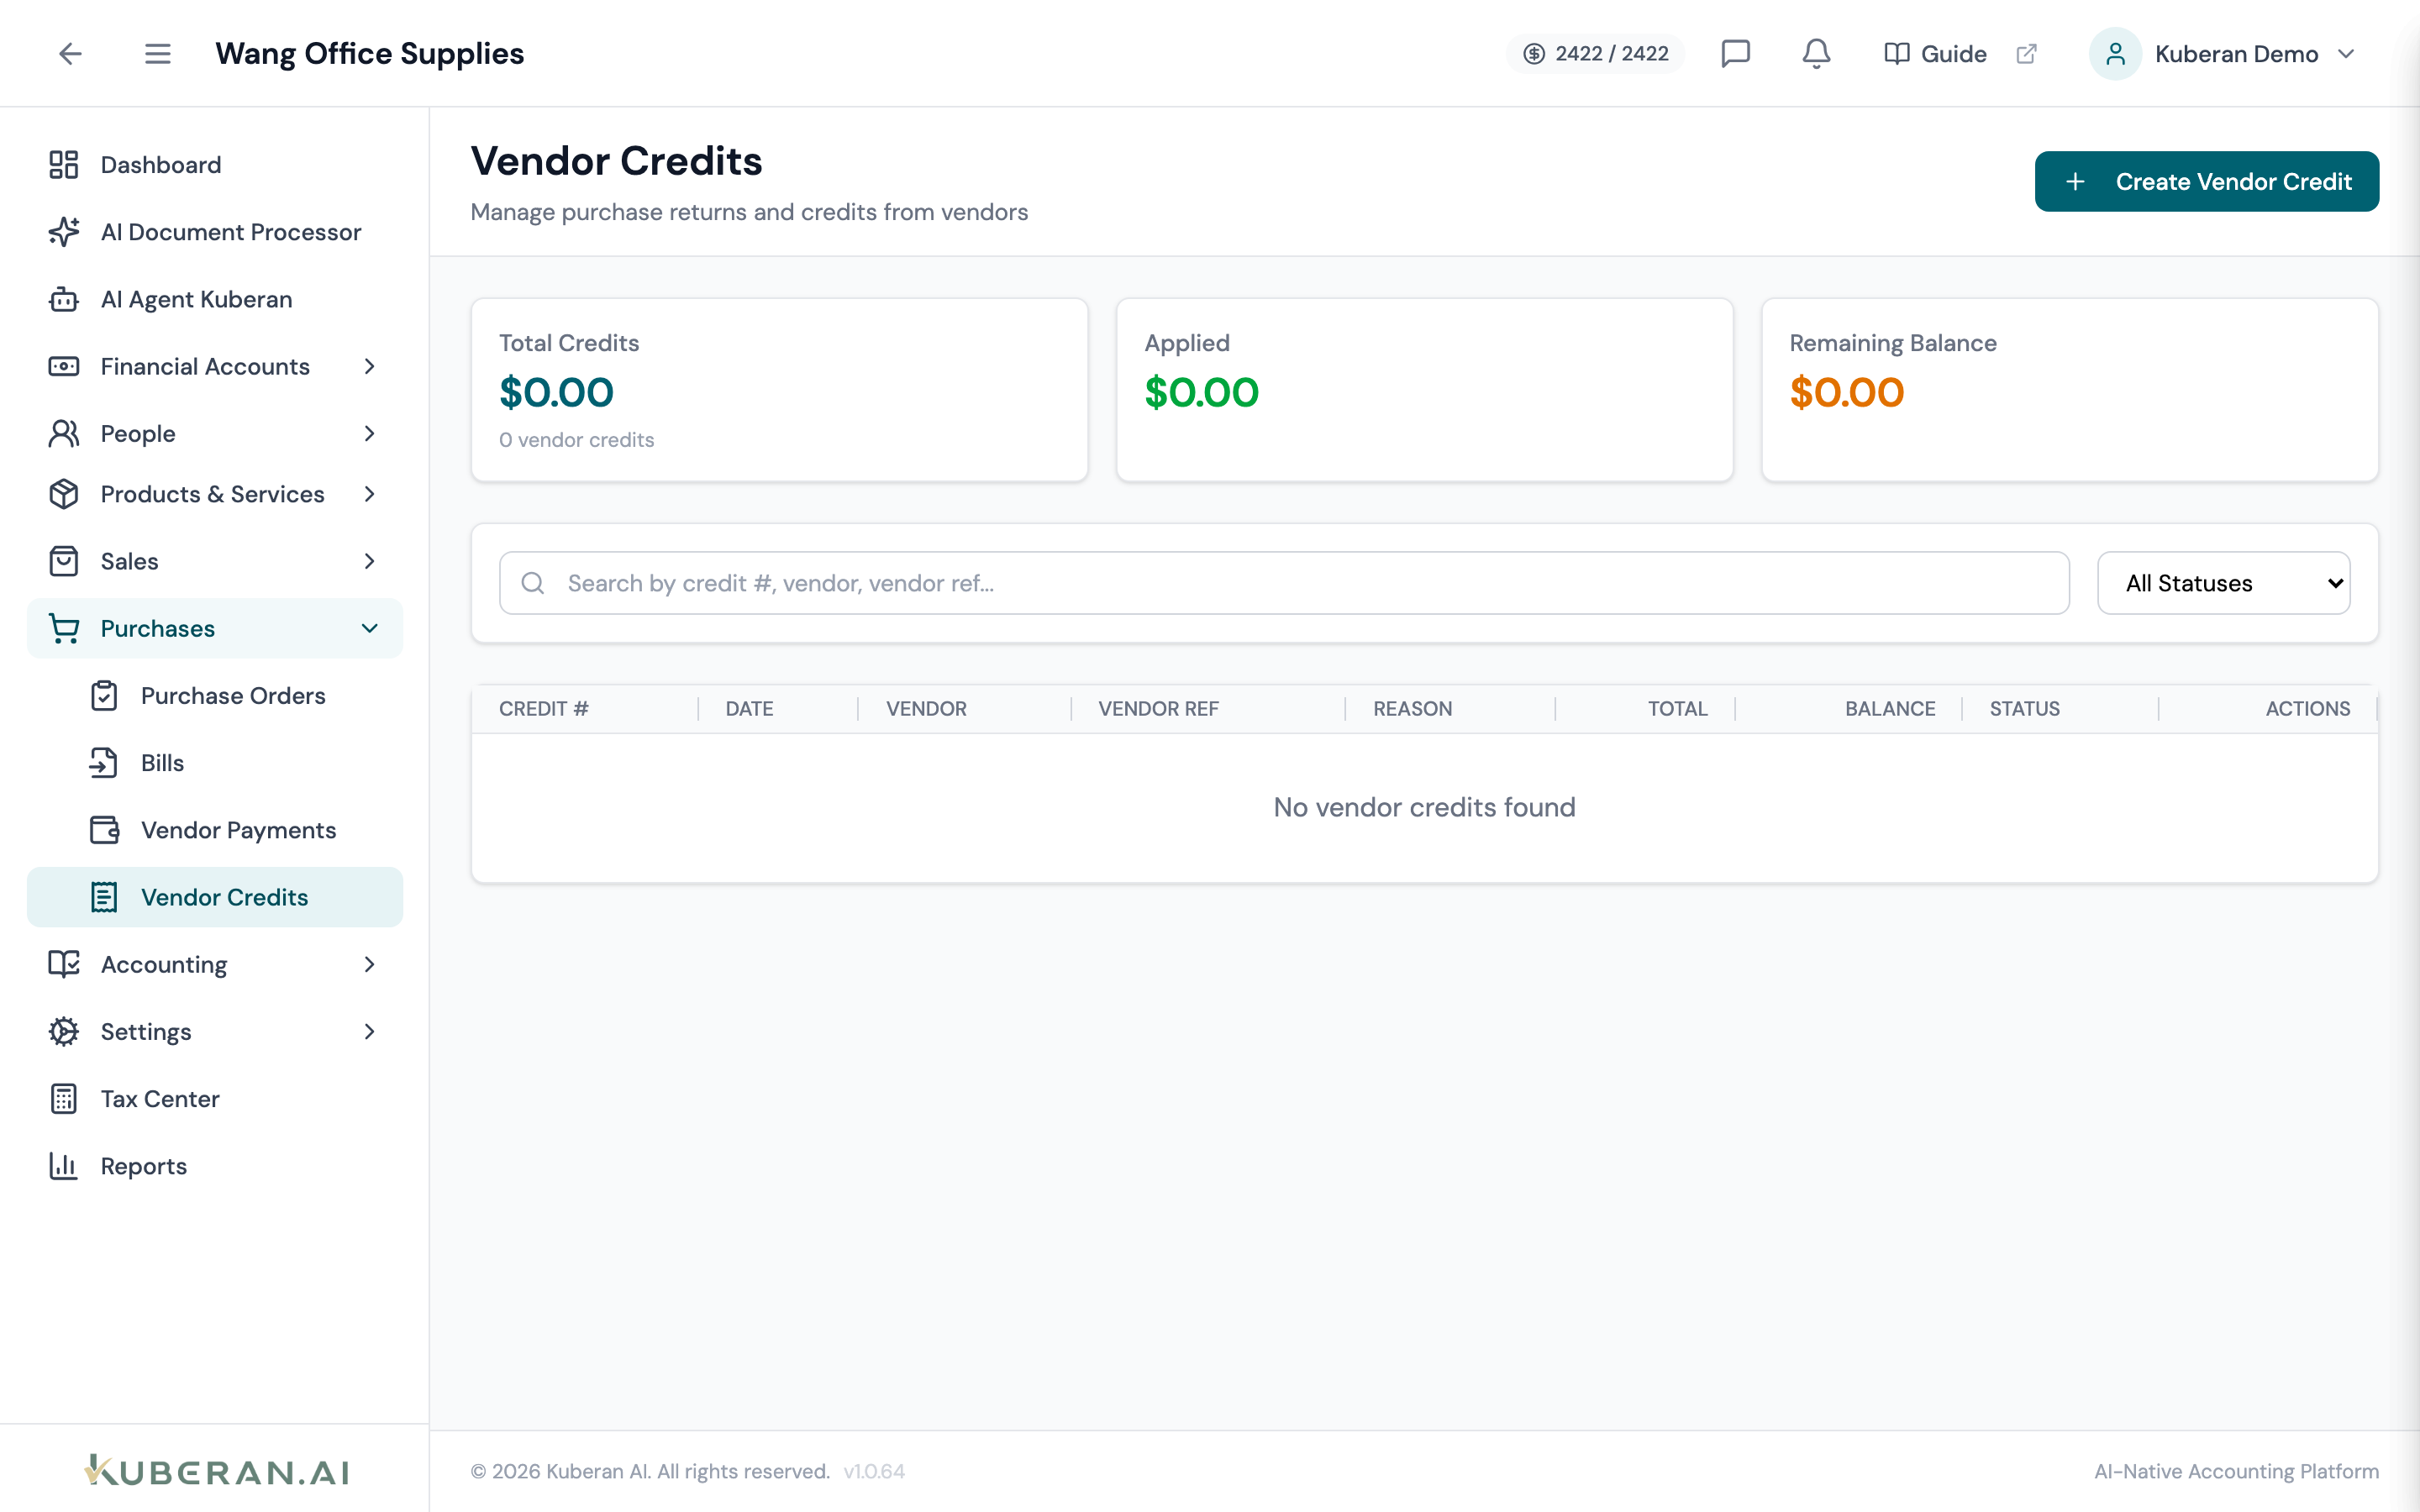
- (1) Summary cards — Total Credits, Applied, Remaining Balance
- (2) Create Vendor Credit button
- (3) Status badge — Draft, Posted, Partially/Fully Applied, Void
- (4) Balance column — credit still available to apply
- (5) Actions menu — post, apply to bill, void
Screen Layout
Summary cards (top): Total Credits (amount + count), Applied, and Remaining Balance.
Toolbar: Create Vendor Credit button, search, and a Status filter.
Credit table (centre): Columns: Credit #, Date, Vendor, Vendor Ref, Reason, Total, Balance, Status, and Actions.
Statuses
| Status | Colour | Meaning |
|---|---|---|
| Draft | Grey | Created but not posted; no ledger impact |
| Posted | Blue | Journal entry created; available to apply |
| Partially Applied | Amber | Some applied to bills; a balance remains |
| Fully Applied | Green | The entire credit has been applied |
| Void | Red | Reversed; the entry is backed out |
UI Elements
Editor Fields
Required. Pick an existing vendor or quick-add a new one.
Why the credit was issued: Return, Damaged Goods, Billing Error, Price Adjustment, Overpayment, or Other. An optional Reason Note adds detail.
Each line: Description, Qty, Rate, an optional expense Account, and an ITC checkbox for taxable lines.
Posts the journal entry on save instead of leaving the credit as a draft.
Table Columns
The remaining credit available to apply to bills.
Per-row: View Details, Post Vendor Credit (draft), Apply to Bill (when a balance remains), and Void Vendor Credit (only while nothing is applied).
Actions
Create a Vendor Credit
- Click Create Vendor Credit.
- Select the Vendor and enter the Date.
- Optionally enter the vendor’s Reference number and choose a Reason.
- Add line items: Description, Qty, Rate, and an expense Account. Tick ITC on taxable lines.
- Add a Memo if needed.
- Tick Post immediately to post now, or leave it to save a draft.
Post a Draft
Click ⋯ → Post Vendor Credit to create the journal entry. Posting cannot be undone — void instead if you need to reverse it.
Apply to a Bill
- Click ⋯ → Apply to Bill on a posted credit.
- Select the Bill (the list is filtered to the vendor’s unpaid bills) and enter the Amount to Apply (up to the remaining balance).
- Confirm. The bill’s payable balance is reduced and the credit’s status moves to Partially Applied or Fully Applied.
Void a Vendor Credit
A vendor credit can be voided only while nothing has been applied. Voiding reverses the posted journal entry.
Related
- Bills — The payables that vendor credits are applied against
- Vendors — Vendor records and balances
- Purchase Orders — Orders that become bills
- Credit Memos — The customer-side equivalent
- Tax Centre — Input Tax Credit adjustments