Vendors
Overview
The Vendors screen maintains a directory of all suppliers, contractors, and service providers associated with the client’s books. Each vendor record stores contact details, business number, default expense account, and T4A reporting settings. Vendor records link to bills and bank transactions, enabling accurate accounts payable reporting and the year-end generation of T4A slips for eligible contractors. The outstanding balance shown for each vendor is the net of all unpaid and partially paid bills.
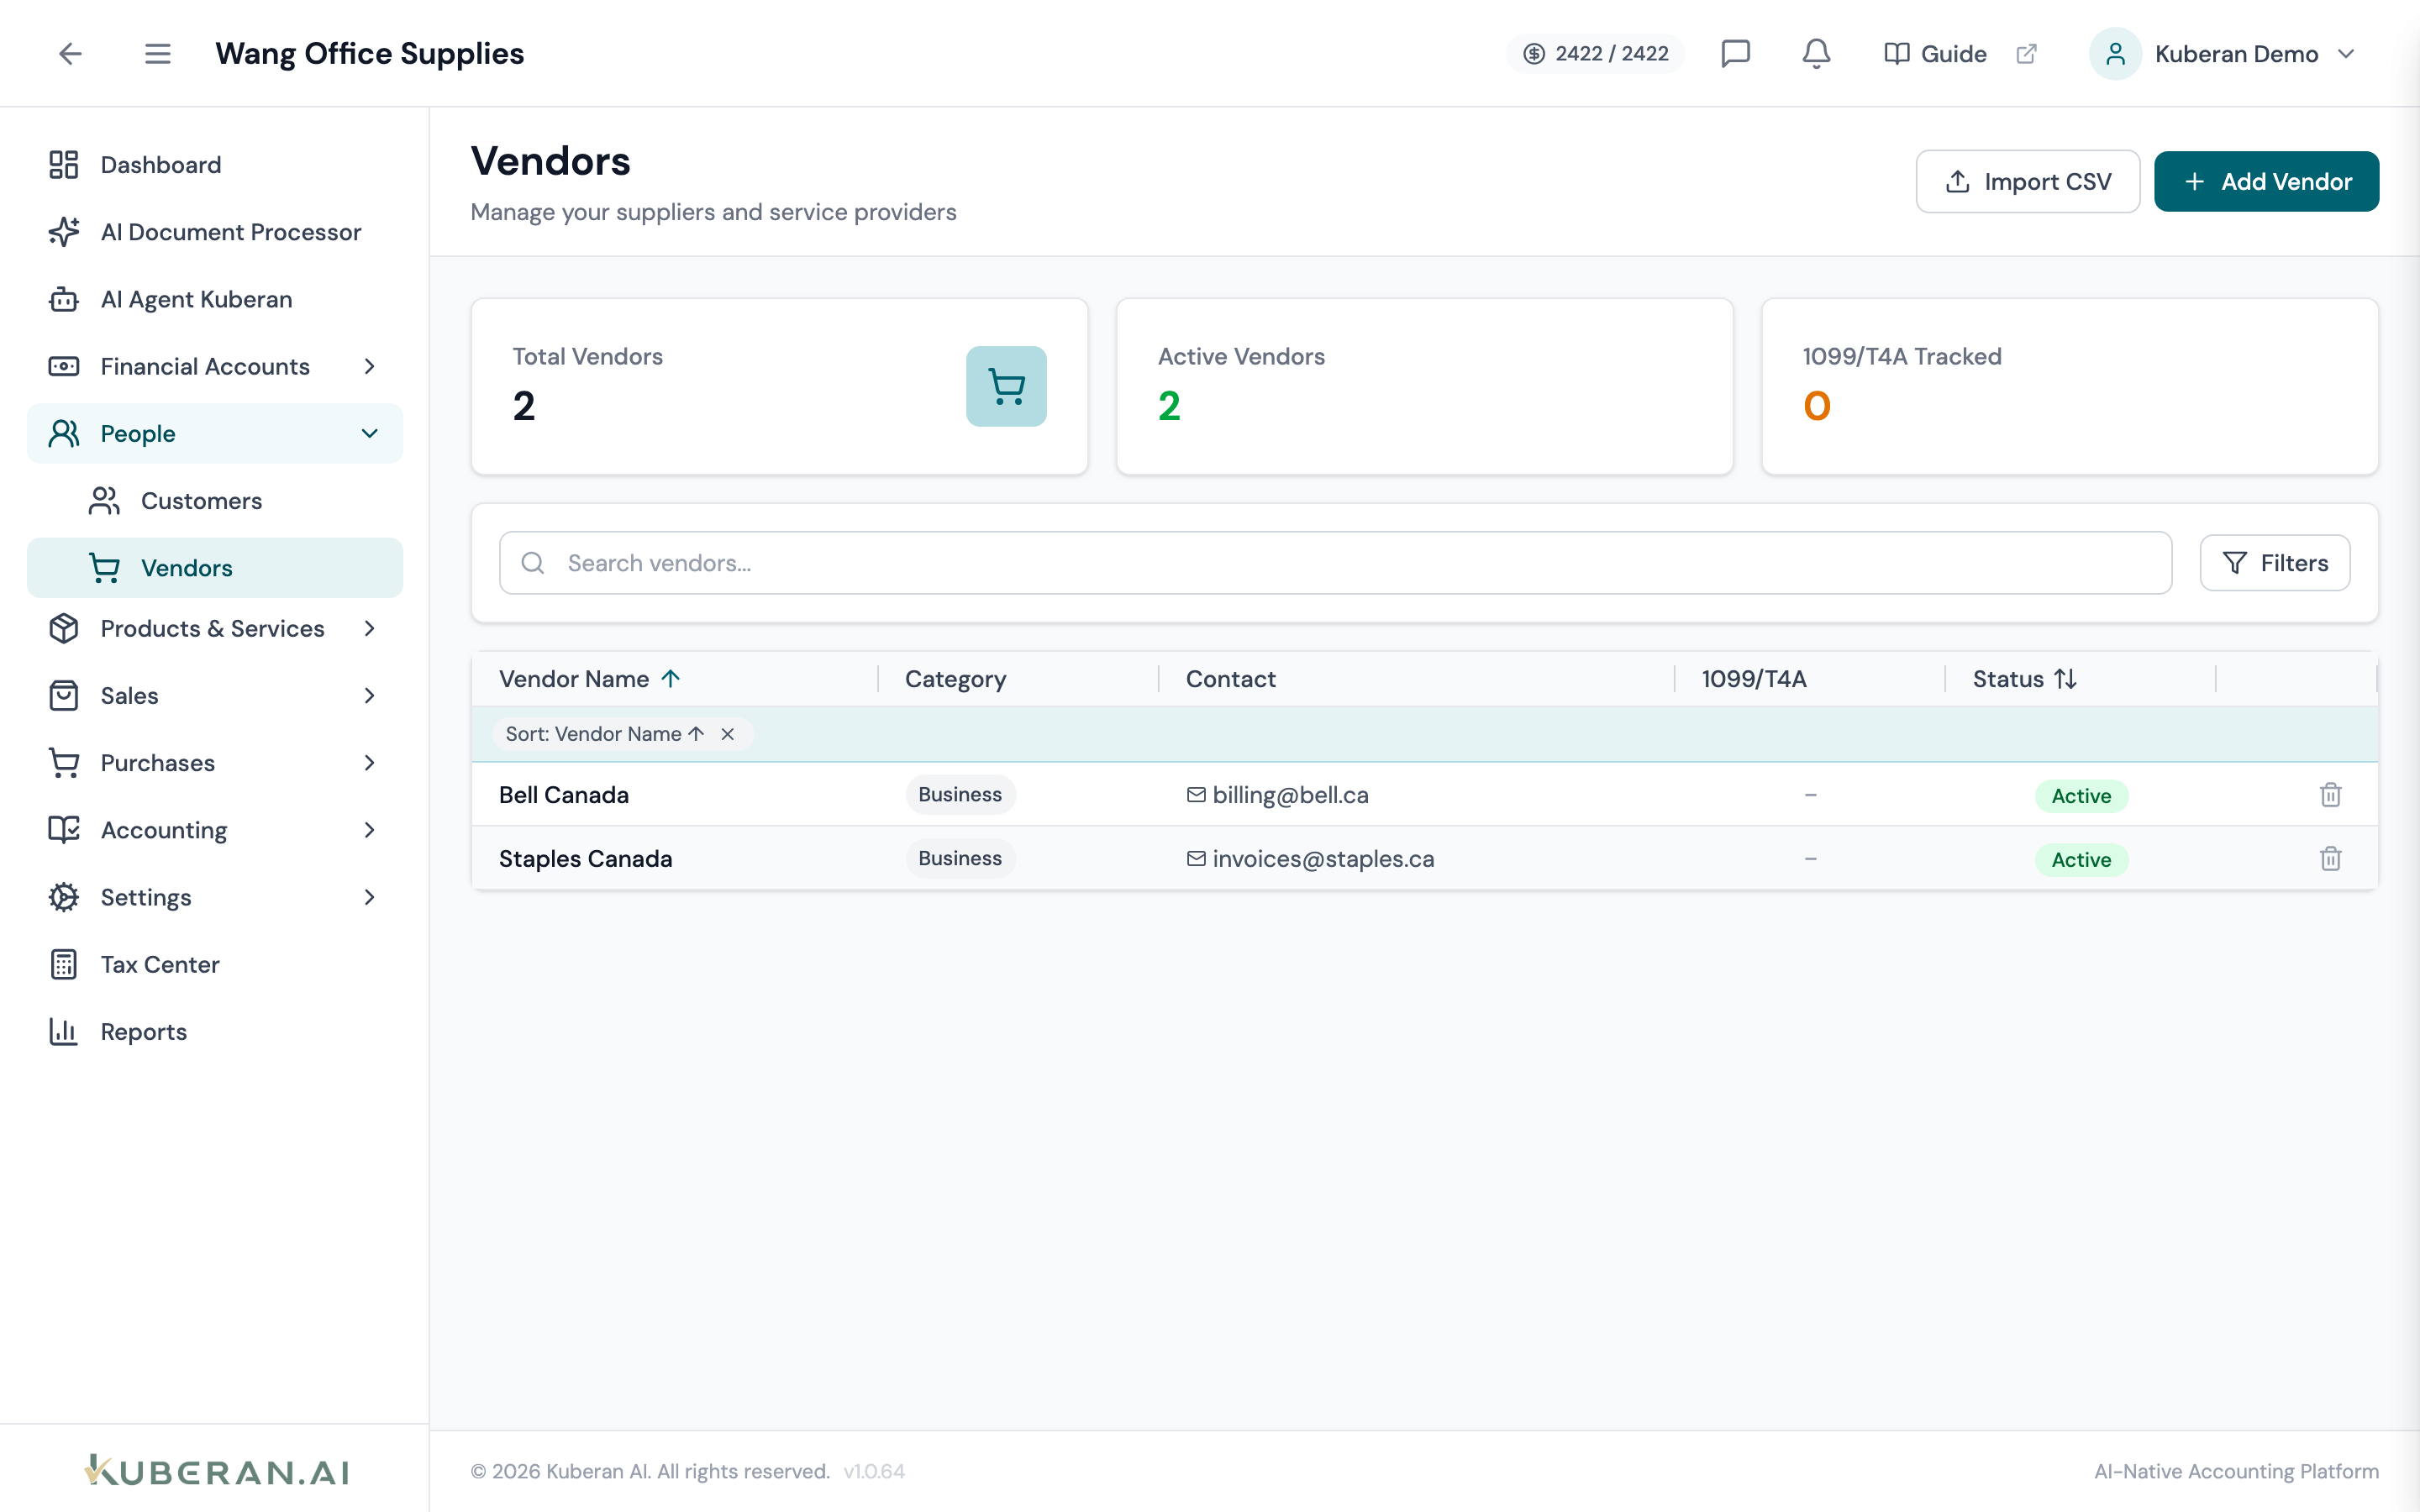
- (1) Create Vendor button — opens the New Vendor drawer
- (2) Search field — find vendors by name or business number
- (3) Outstanding Balance column — net unpaid bills for each vendor
- (4) Last Transaction column — date of the most recent bill or payment
- (5) Actions menu — edit, merge, view transactions, or delete
Screen Layout
Toolbar (top): Search field, Create Vendor button, and an optional Type filter.
Vendor table (centre): Each row is one vendor. Columns: Vendor Name, Type, Outstanding Balance, Last Transaction, and Actions. Click any row to open the vendor detail panel.
UI Elements
Toolbar
Searches by vendor name, display name, or CRA business number (BN). Updates results as you type.
Filter by vendor type: All, Supplier, Contractor, Utility, Government, Other.
Opens the New Vendor drawer.
Table Columns
The vendor’s display name. Click to open the vendor detail panel showing contact info, bill history, and settings.
Vendor classification: Supplier, Contractor, Utility, Government, or Other. Used for filtering and reporting.
The total amount owed to this vendor across all open bills (status: Open, Partially Paid, Overdue). Displayed in CAD.
The date of the most recent bill or payment associated with this vendor.
Per-row actions: View Transactions, Create Bill, Edit, Merge with…, Delete.
Vendor Detail Panel
Clicking a vendor row opens a detail panel with four tabs:
Overview: Name, type, contact details (email, phone, address), CRA Business Number, and GST/HST registration number.
Bills: A list of all bills for this vendor, with status, due date, and amount. Includes a Create Bill button.
Payments: A list of all payments recorded against this vendor’s bills.
Settings: Default expense account, T4A settings, and credit terms.
T4A Settings
Enable this flag for contractors and service providers who are individuals or partnerships paid $500 or more in the calendar year. When enabled, payments to this vendor are included in the year-end T4A summary report.
The contractor’s Social Insurance Number (SIN) or business number. Required for T4A slip generation. Handle with care in accordance with PIPEDA and your firm’s privacy policy.
The T4A box to report payments under. Common options: Box 048 (fees for services), Box 020 (self-employed commissions).
Default Expense Account
The chart-of-accounts account pre-populated when creating a new bill for this vendor. Saves time for vendors whose expenses always go to the same account (e.g., “Rent Expense” for a landlord).
Actions
Create a Vendor
- Click Create Vendor in the toolbar.
- Enter the Vendor Name (required) and optionally the display name, email, phone, and address.
- Select the Vendor Type.
- Enter the CRA Business Number and GST/HST Number if known.
- Set the Default Expense Account from the chart of accounts picker.
- If this vendor is a T4A-eligible contractor, enable the T4A Eligible toggle and enter the SIN or BN.
- Click Save Vendor.
Merge Duplicate Vendors
Use Merge to consolidate two vendor records that represent the same supplier (for example, if the same vendor was created twice with slightly different names).
- Click ⋯ → Merge with… on the vendor row you wish to keep.
- Search for and select the duplicate vendor record to merge into this one.
- Review the merge preview, which shows how many bills and transactions will be re-assigned.
- Click Confirm Merge. All bills, payments, and bank transactions linked to the duplicate are re-assigned to the surviving vendor. The duplicate record is deleted.
View Vendor Transactions
- Click ⋯ → View Transactions on the vendor row.
- The Bank Transactions screen opens, pre-filtered to show only transactions assigned to this vendor.
Delete a Vendor
A vendor can only be deleted if it has no associated bills or transactions.
- Click ⋯ → Delete on the vendor row.
- If the vendor has associated records, you will be prompted to reassign them first.
- Confirm deletion in the dialogue.
Related
- Bills — Create and pay vendor bills
- Bank Rules — Link bank rule actions to vendor records
- Reports — Expenses by Vendor report
- Chart of Accounts — Manage expense accounts available as vendor defaults