Journal Entries
Overview
The Journal Entries screen provides direct access to the general ledger through manual debit and credit entries. Most transactions in Kuberan AI create journal entries automatically (invoices, bills, bank categorisation), but certain adjustments require manual entries: depreciation, accruals, prepaid expense amortisation, owner draws, opening balance entries, and year-end adjustments. Every journal entry must balance — total debits must equal total credits — before it can be posted. A reverse function creates an offsetting entry dated at the start of the following period, a standard technique for accrual-based adjustments.
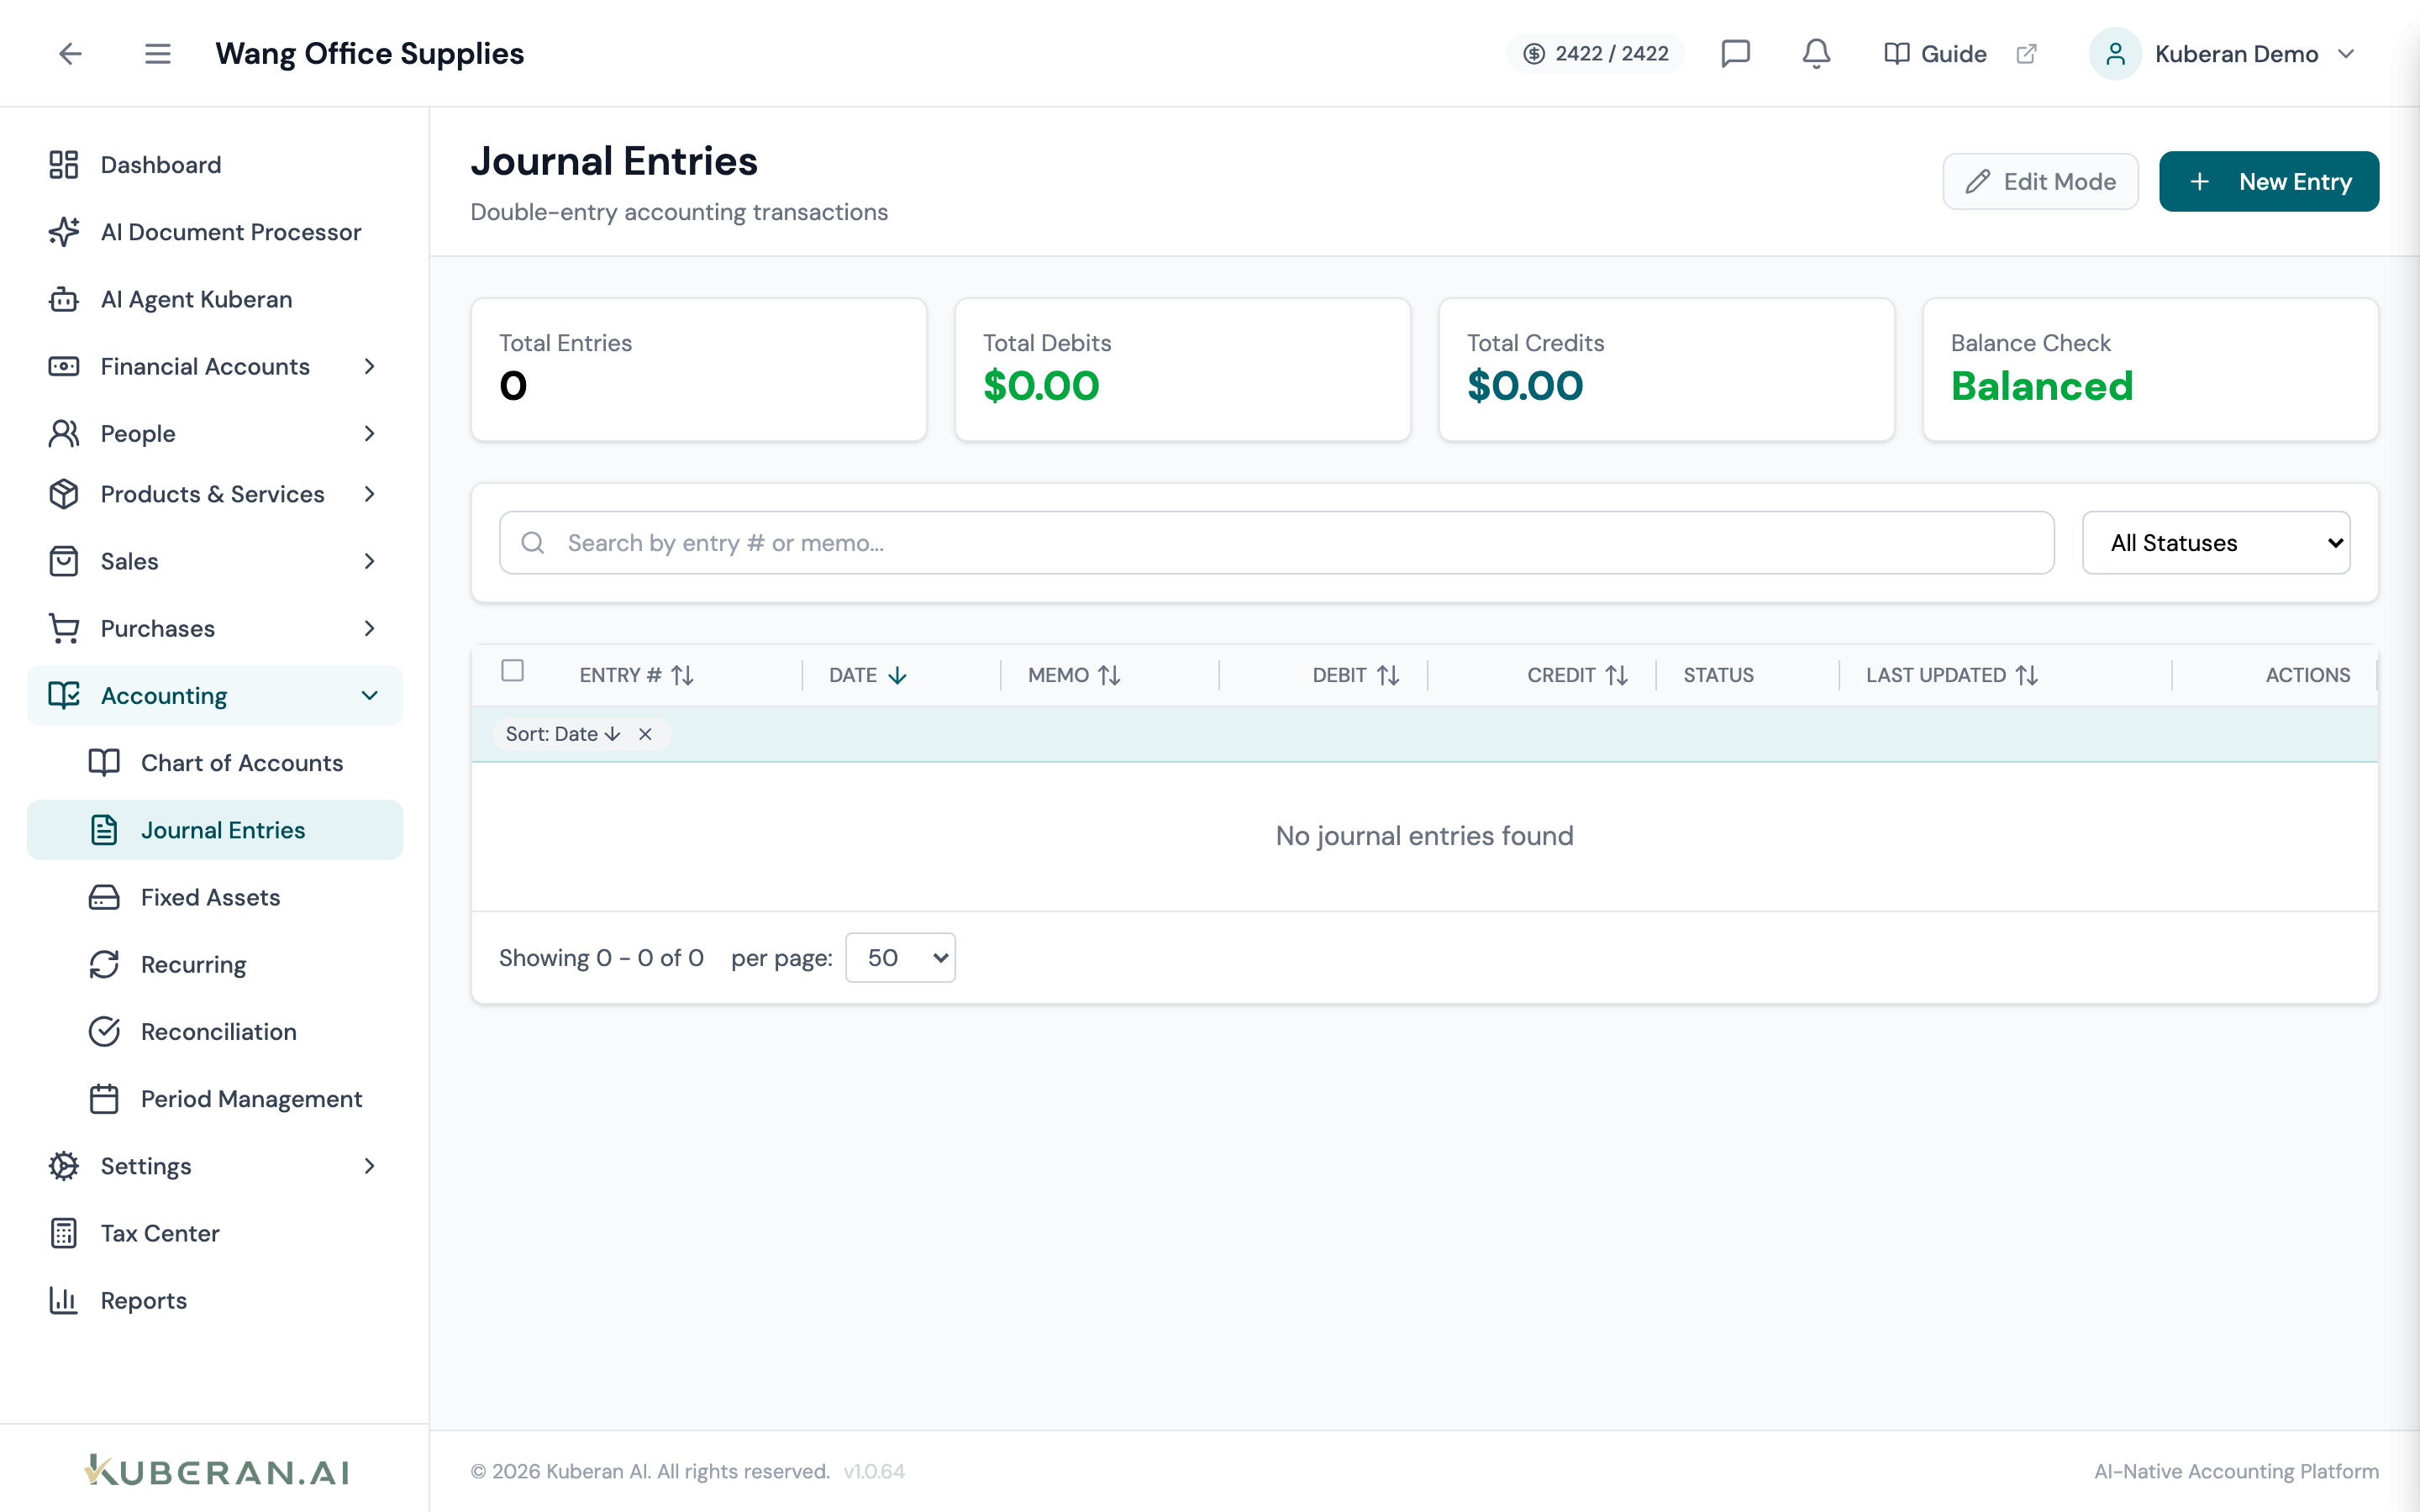
- (1) Create Journal Entry button — opens the journal entry editor
- (2) Entry number column — system-assigned reference number
- (3) Debit / Credit totals — must be equal for each entry
- (4) Source column — indicates if entry was auto-created or manual
- (5) Reverse action — creates an offsetting entry in the next period
Screen Layout
Toolbar (top): Date range filter, search field, Source filter (Manual / Auto-Created), and Create Journal Entry button.
Journal Entry table (centre): Each row is one entry. Columns: Date, Entry #, Description, Debit Total, Credit Total, Source, and Actions.
UI Elements
Toolbar
Filter entries by the entry date. Defaults to the current accounting period.
Search by entry number, description, or the name of any account on the entry lines.
Filter by entry origin: All, Manual (created directly on this screen), Auto-Created (generated by invoices, bills, bank transactions, or the AI processor).
Opens the journal entry editor.
Table Columns
The transaction date of the journal entry. This determines which accounting period the entry falls in.
System-assigned journal entry reference number (e.g., JE-0156). Clicking opens the full entry detail view.
A brief memo describing the purpose of the entry (e.g., “Depreciation — Equipment — December 2024”). Click to open the detail view.
The sum of all debit lines in this entry.
The sum of all credit lines. For a valid entry, Debit Total equals Credit Total.
Manual (blue) — created directly by a user. Auto (grey) — generated by the system from an invoice, bill, bank transaction, or payment. Auto-created entries can be viewed but not directly edited; edit the source transaction instead.
Per-row actions: View, Edit (Manual entries only), Reverse, Delete (Manual entries only; only if the period is open), View Source Transaction (Auto entries only).
Journal Entry Editor
The editor presents a line-item grid with columns: Account, Description (memo per line), Debit, and Credit. Each entry requires at least two lines. The running balance indicator at the bottom shows the difference between total debits and total credits; the Post button is disabled until the difference is zero.
Standard Patterns
| Entry Type | Debit | Credit |
|---|---|---|
| Record depreciation | Depreciation Expense | Accumulated Depreciation |
| Accrue an expense | Expense Account | Accrued Liabilities |
| Record prepaid expense | Prepaid Expense (Asset) | Cash / Bank |
| Amortise prepaid | Expense Account | Prepaid Expense (Asset) |
| Owner draw | Owner’s Draw (Equity) | Cash / Bank |
| Correct a categorisation error | Correct Account | Incorrect Account |
Actions
Create a Journal Entry
- Click Create Journal Entry in the toolbar. The entry editor opens.
- Set the Entry Date. This places the entry in the corresponding accounting period.
- Enter a Description that clearly identifies the purpose of the entry. This appears in the General Ledger report and the audit log.
- Click + Add Line to add the first line. Select the Account from the chart of accounts picker, enter an optional line Memo, and enter either a Debit or Credit amount.
- Add at least one more line. Continue adding lines until the entry is complete. The balance indicator must reach zero (debits = credits) before the entry can be saved.
- Attach a supporting document by clicking Attach File (optional but recommended for audit purposes).
- Click Post Entry. The journal entry is saved, assigned an entry number, and the account balances are updated immediately.
Edit a Manual Journal Entry
Manual journal entries can be edited if the accounting period is still open and the entry has not been reconciled.
- Click ⋯ → Edit on the journal entry row.
- Modify the date, description, or line items. The entry must still balance (debits = credits) after your changes.
- Click Post Entry to save the updated version. The original entry is overwritten; an edit event is recorded in the audit log.
Reverse a Journal Entry
Reversing creates an equal and opposite entry dated the first day of the following period. This is the standard accounting technique for reversing accruals at period-end.
- Click ⋯ → Reverse on the journal entry row.
- The reversal date defaults to the first day of the next period. Adjust if needed.
- Click Create Reversal. A new journal entry with all debits and credits swapped is posted. Both the original entry and the reversal are linked; clicking the reversal shows a banner pointing to the original.
Delete a Manual Journal Entry
- Click ⋯ → Delete on the journal entry row.
- Deletion is only permitted for manual entries in open periods that are not linked to a reconciliation.
- Confirm in the dialogue.
Related
- Chart of Accounts — Accounts available for journal entry lines
- Periods — Open and closed periods determine which entries can be edited
- Reconciliation — Reconciled entries are locked against editing
- Reports — General Ledger report shows all journal entry lines in account order