Deposits
Overview
The Deposits screen groups individual received funds — customer payments and daily sales routed to Undeposited Funds — into a single bank deposit. This mirrors real life: you take several cheques and cash to the bank and they appear as one lump sum on the statement. Grouping them here means your books match that single statement line instead of many separate entries, which makes reconciliation clean.
When you post a deposit, it creates a journal entry that moves funds from Undeposited Funds into the chosen bank account. You can also record cash back taken at the time of deposit, which is deducted from the bank amount and posted to a separate account. The screen has two tabs: Payments to Deposit (the pending items waiting to be grouped) and Deposit History (deposits already created).
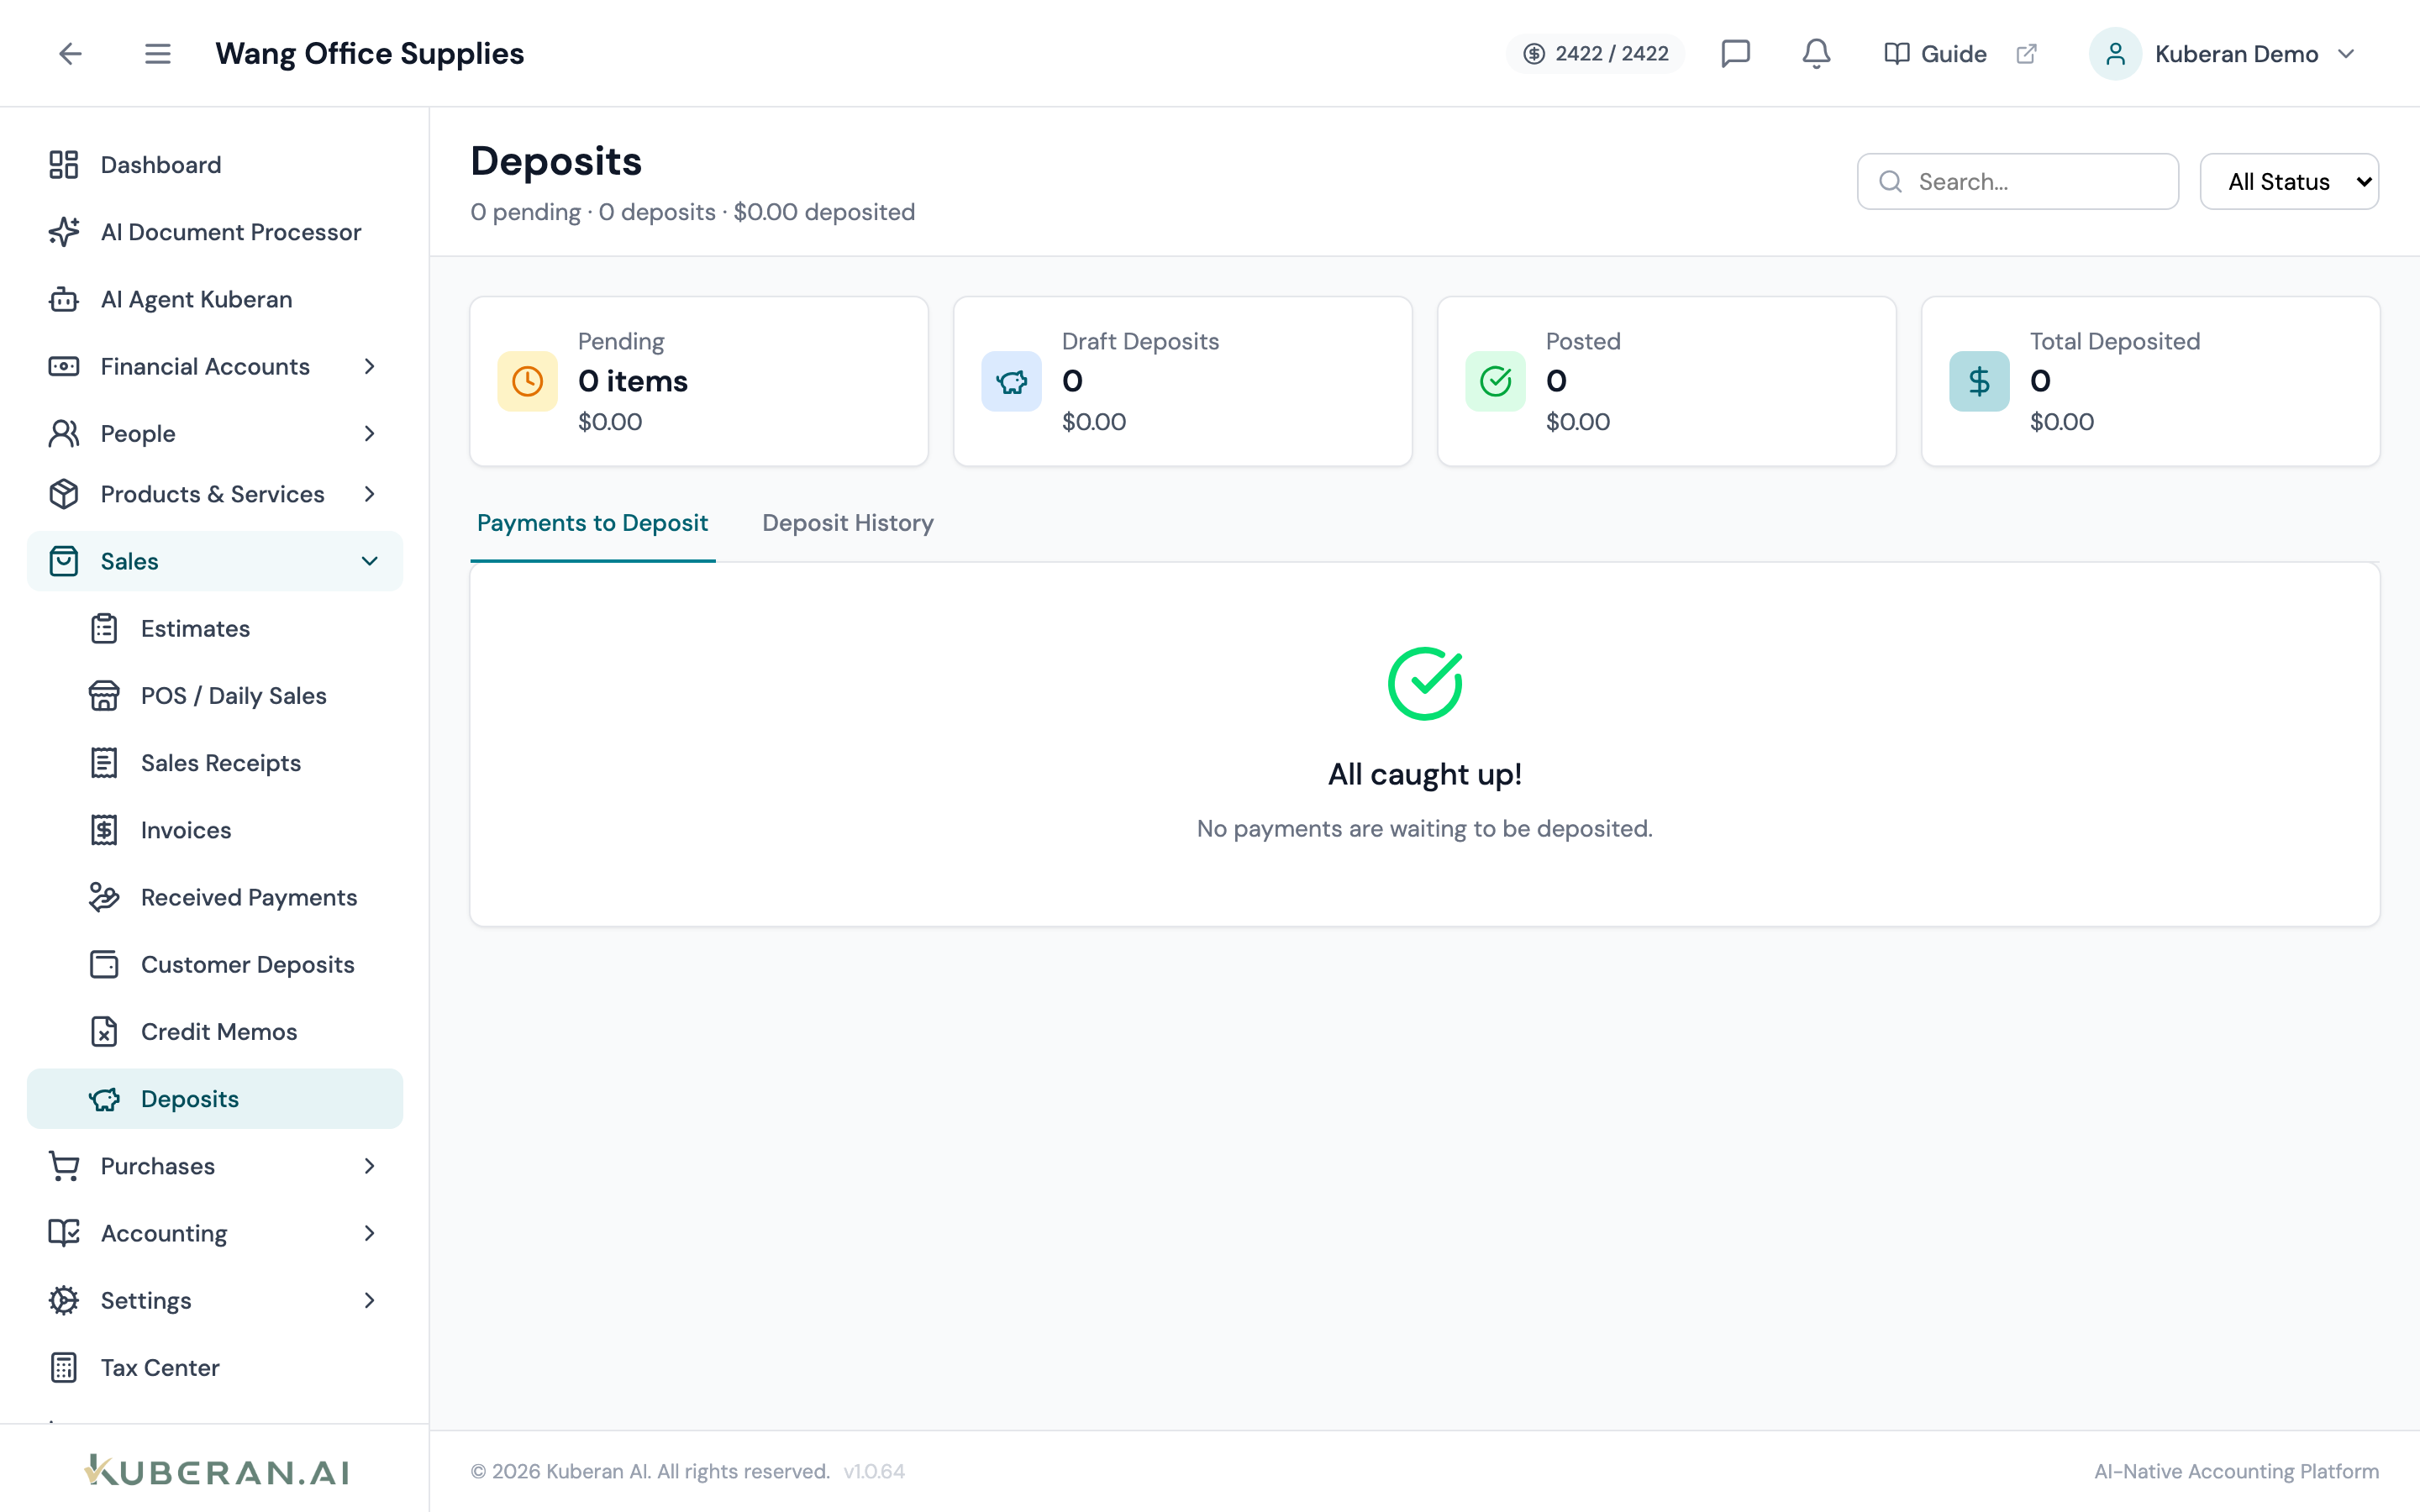
- (1) Summary cards — Pending, Draft Deposits, Posted, Total Deposited
- (2) Tabs — Payments to Deposit and Deposit History
- (3) Select items, then Create Deposit
- (4) Status badge — Draft, Posted, or Void
- (5) Row actions — view, post, void
Screen Layout
Summary cards (top): Pending, Draft Deposits, Posted, and Total Deposited — each with a count and amount.
Tabs: Payments to Deposit (pending items, with a count badge) and Deposit History.
Pending items table: Columns: Date, Type (Payment / POS Sales), Description, Method, Amount — each with a selection checkbox.
Deposits history table: Columns: Deposit #, Date, Bank Account, Items (count), Amount, Status, and Actions.
Statuses
| Status | Colour | Meaning |
|---|---|---|
| Draft | Grey | Deposit created but not yet posted |
| Posted | Green | Journal entry created; funds moved to the bank |
| Void | Red | Reversed; the entry is backed out |
UI Elements
Pending Items Tab
Select every pending item or clear the current selection. A counter shows the selected count and total.
Enabled once at least one pending item is selected. Opens the deposit form pre-filled with the selected items.
Deposit Form
Required. The bank account that receives the grouped funds.
Record cash taken back at deposit: pick an Account, enter an Amount, and optionally a Memo. The Net Deposit updates to the selected total minus cash back.
History Tab
Per-row: View, Post (draft deposits), and Void (non-void deposits).
Actions
Create a Bank Deposit
- On the Payments to Deposit tab, tick the items going to the bank together.
- Click Create Deposit.
- Choose Deposit To (the bank account) and set the Deposit Date.
- If you kept some cash, fill in the Cash Back account and amount; the Net Deposit recalculates.
- Add an optional Memo and save. The deposit appears under Deposit History as a Draft.
Post a Deposit
Click Post on a Draft deposit. This creates the journal entry that moves the grouped total out of Undeposited Funds and into the bank account (less any cash back). The single bank-side total now matches your statement line.
Void a Deposit
Click Void to reverse a deposit; the grouped items return to the pending list as Undeposited Funds.
Why Undeposited Funds?
When a received payment or daily sales entry is routed to Undeposited Funds instead of straight to the bank, it waits here until you group it into an actual deposit. This is what lets several receipts show on the statement as one line — and keeps reconciliation tidy.
Related
- Received Payments — Customer payments that feed Undeposited Funds
- Daily Sales — POS takings routed to Undeposited Funds
- Bank Accounts — The account a deposit lands in
- Reconciliation — Grouped deposits match single statement lines
- Transfers — Moving funds between the client’s own accounts