Portal Admin — Announcements
Overview
Announcements are messages you publish to the client portal that clients see when they log in. They appear as a banner or notification on the portal home page. Use announcements for practice-wide communication — tax season reminders, office closure notices, new service offerings, regulatory updates relevant to your clients, or any other message you want to ensure all (or selected) clients see. Announcements can be targeted to all clients or scoped to specific clients using tags. Each announcement can be published and unpublished at any time.
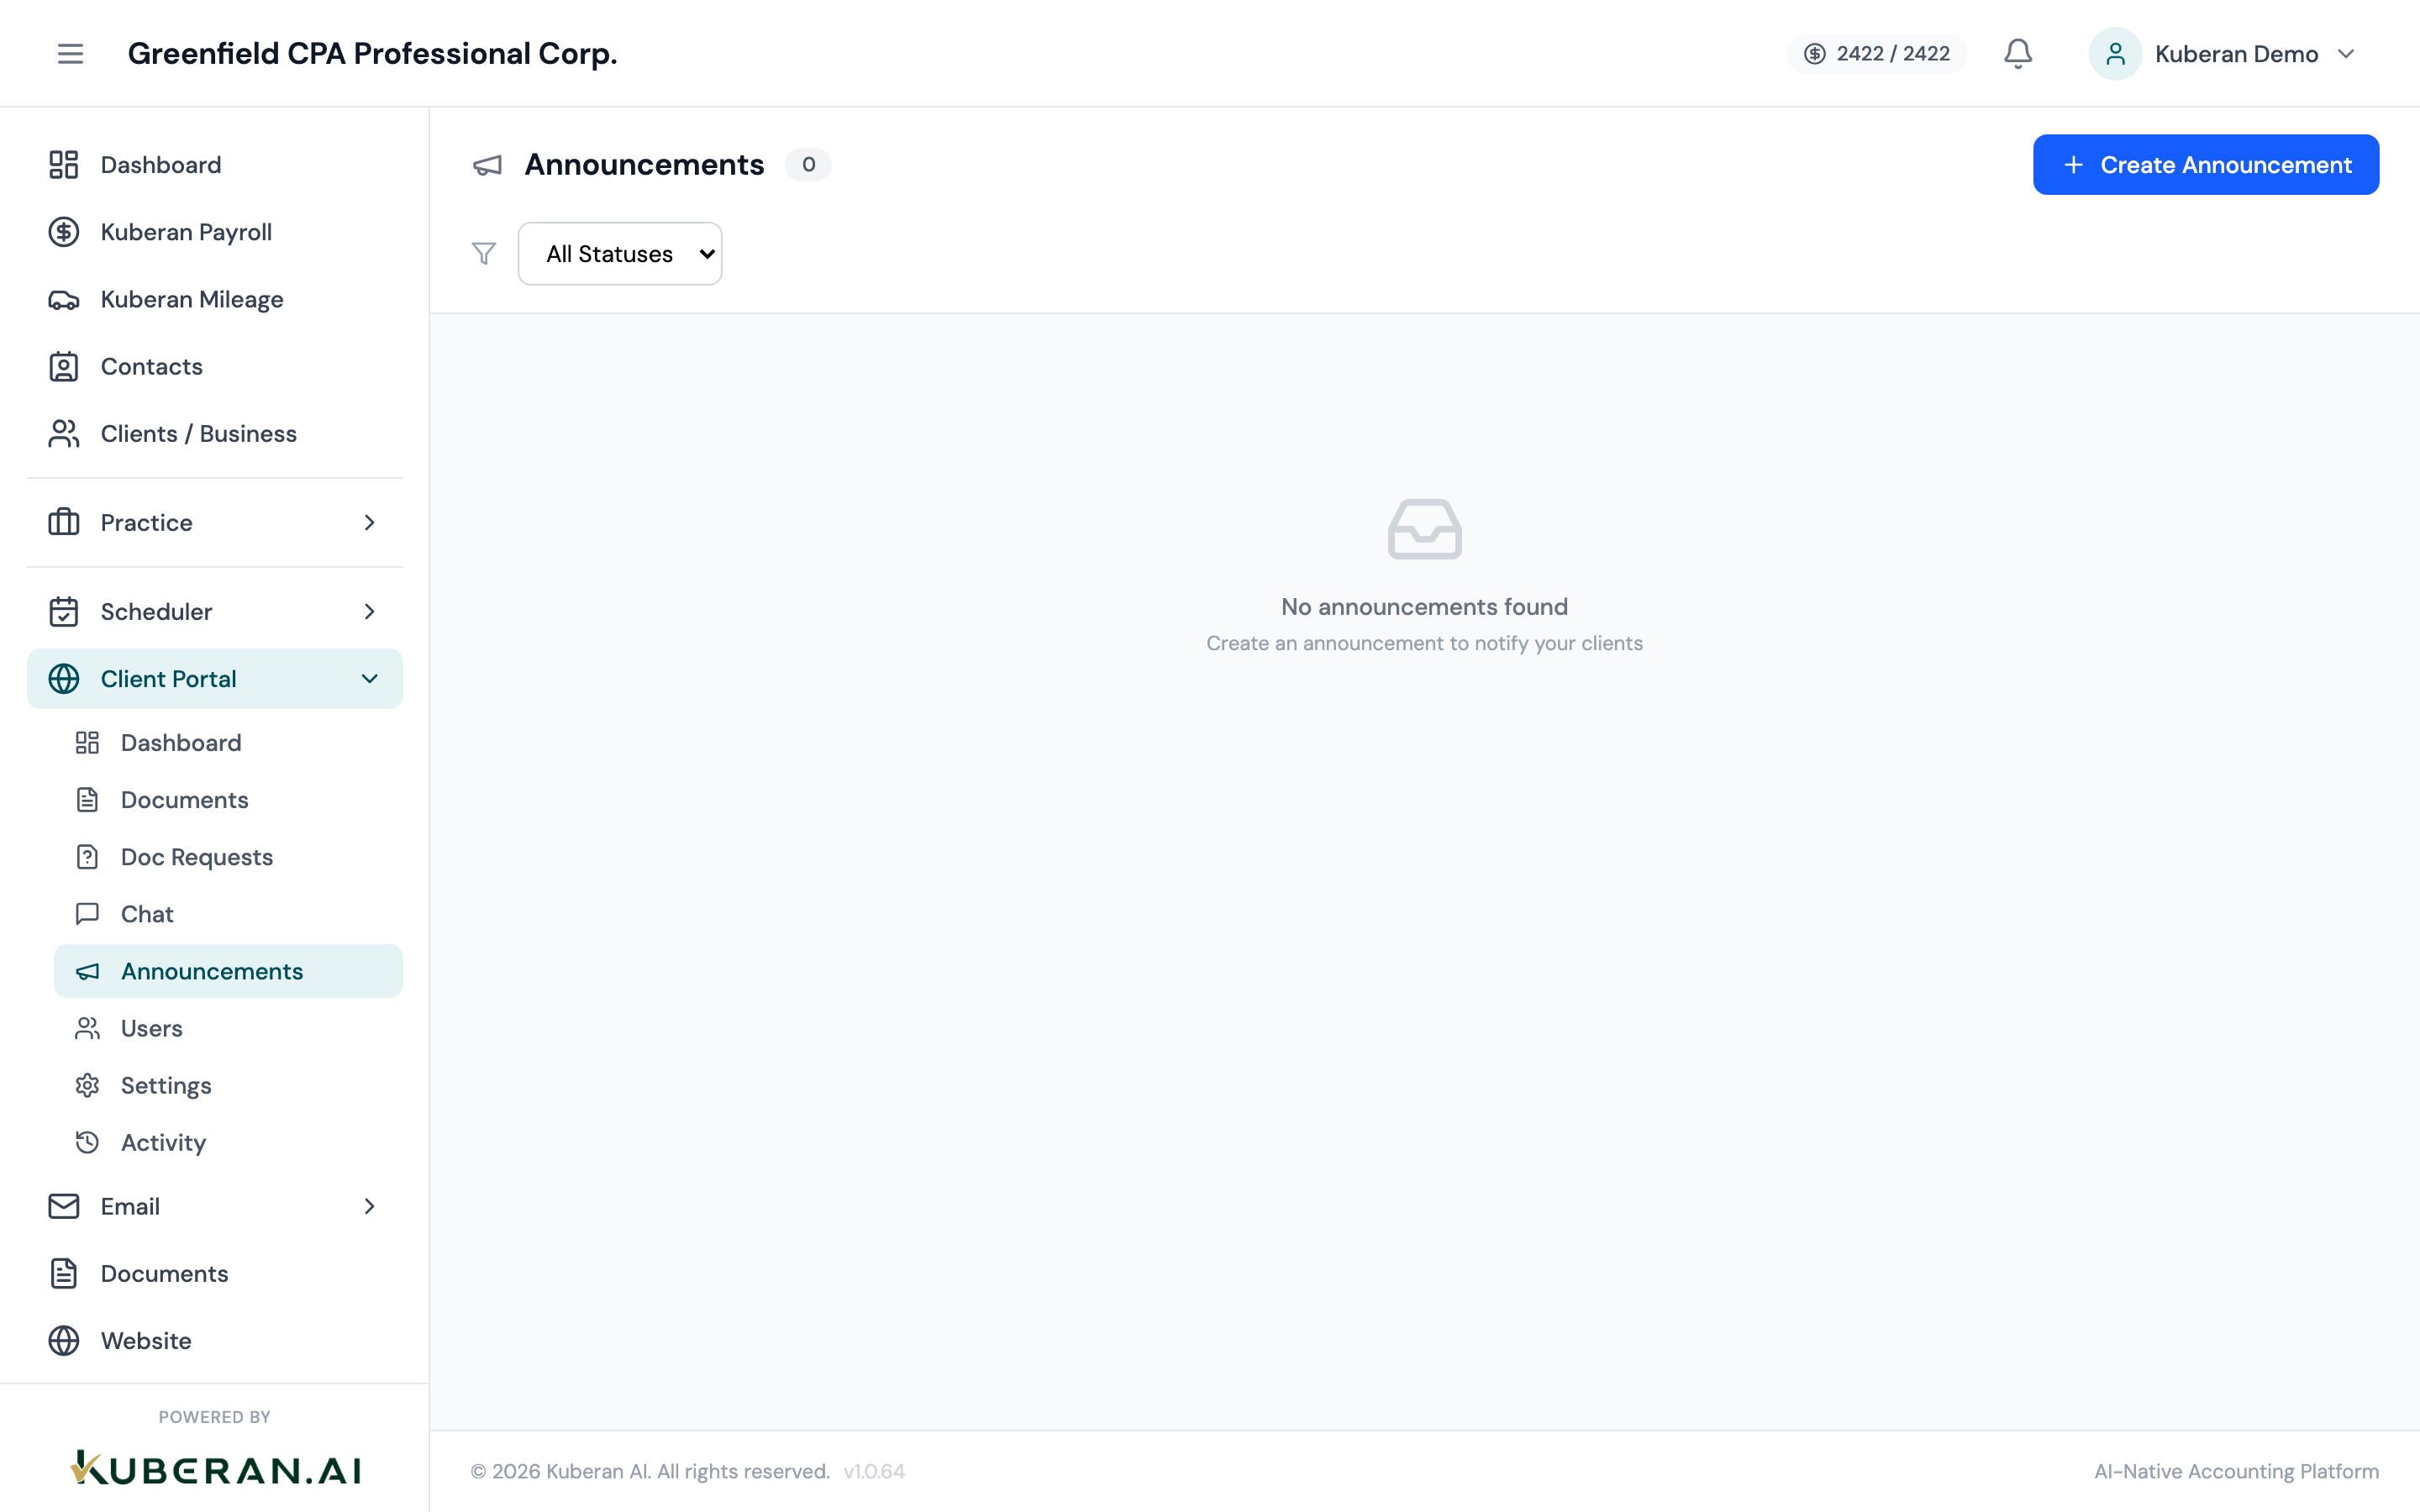
- (1) Create Announcement button
- (2) Announcement title and preview
- (3) Target — All Clients or specific tags
- (4) Status — Published or Unpublished
- (5) Publish date and expiry date
Screen Layout
Toolbar (top): Create Announcement button and a Status filter (All / Published / Unpublished).
Announcements list: One row per announcement with columns for Title, Target, Status, Publish Date, Expiry Date, and Actions.
Announcement Statuses
| Status | Meaning |
|---|---|
| Draft | Created but not yet published. Not visible to clients. |
| Published | Visible to the targeted clients in their portal right now. |
| Unpublished | Was published but has been manually unpublished. Not visible to clients. |
| Expired | Had an expiry date that has now passed. Automatically hidden from clients. |
Actions
Create an Announcement
- Click Create Announcement in the toolbar.
- Enter the announcement title (shown to clients as the headline).
- Write the announcement body. The body supports basic formatting: bold, italic, bullet lists, and hyperlinks.
- Select the target audience:
- All Clients — every portal user across all clients will see this announcement.
- By Tag — only portal users linked to clients with a specific tag (e.g., all clients tagged “Corporation” or “T1 Only”) will see it.
- Specific Clients — hand-pick individual clients from a search list.
- Set a Publish Date (default is now) and an optional Expiry Date. After the expiry date, the announcement is automatically hidden from portals.
- Configure Notification Settings:
- Portal notification — clients see a notification badge on the portal when they log in.
- Email notification — an email is sent to each targeted portal user with the announcement text.
- SMS notification — a short SMS is sent to targeted portal users with a link to the portal (requires SMS to be enabled and the client to have a phone number on file).
- Click Publish to make it live immediately, or Save as Draft to return later.
Edit an Announcement
Click the announcement title or open the Actions menu and select Edit. All fields are editable, including the title, body, and target audience. If the announcement is already Published, changes take effect immediately on the portal. Editing a Published announcement does not re-send notification emails or SMSs.
Publish or Unpublish
Open the Actions menu and select Publish (for Draft/Unpublished announcements) or Unpublish (for Published announcements). Unpublishing removes the announcement from client portals immediately but keeps it in the list so you can republish later.
Delete an Announcement
Open the Actions menu and select Delete. This permanently removes the announcement. Clients who have already seen it retain no trace of it in their portal.
Notification Settings
When enabled, a notification badge or banner appears on the client’s portal home page when they next log in. The client can dismiss the notification by clicking it.
When enabled and the announcement is published, an email is sent to each targeted portal user containing the announcement title and body. Sent once per announcement. Editing and republishing does not re-send.
When enabled, a brief SMS is sent to targeted clients: “New message from [Practice Name] — log in to your portal to read it: [portal URL].” Requires the Phone Line module to be configured and the client to have a mobile number on file.
Best Practices
- Use expiry dates for time-sensitive announcements (e.g., “Tax filing deadline is April 30”). An expired announcement no longer clutters the portal home page for clients who log in after the deadline.
- Target specifically when possible. A corporate client does not need an announcement about RRSP contribution deadlines; a personal T1 client does. Targeting by client tag keeps the portal experience relevant.
- Keep it concise. Portal announcements are more effective when they are short and scannable. For long-form content (e.g., a newsletter), link to an external page rather than putting everything in the body.