Engagements Board View
Overview
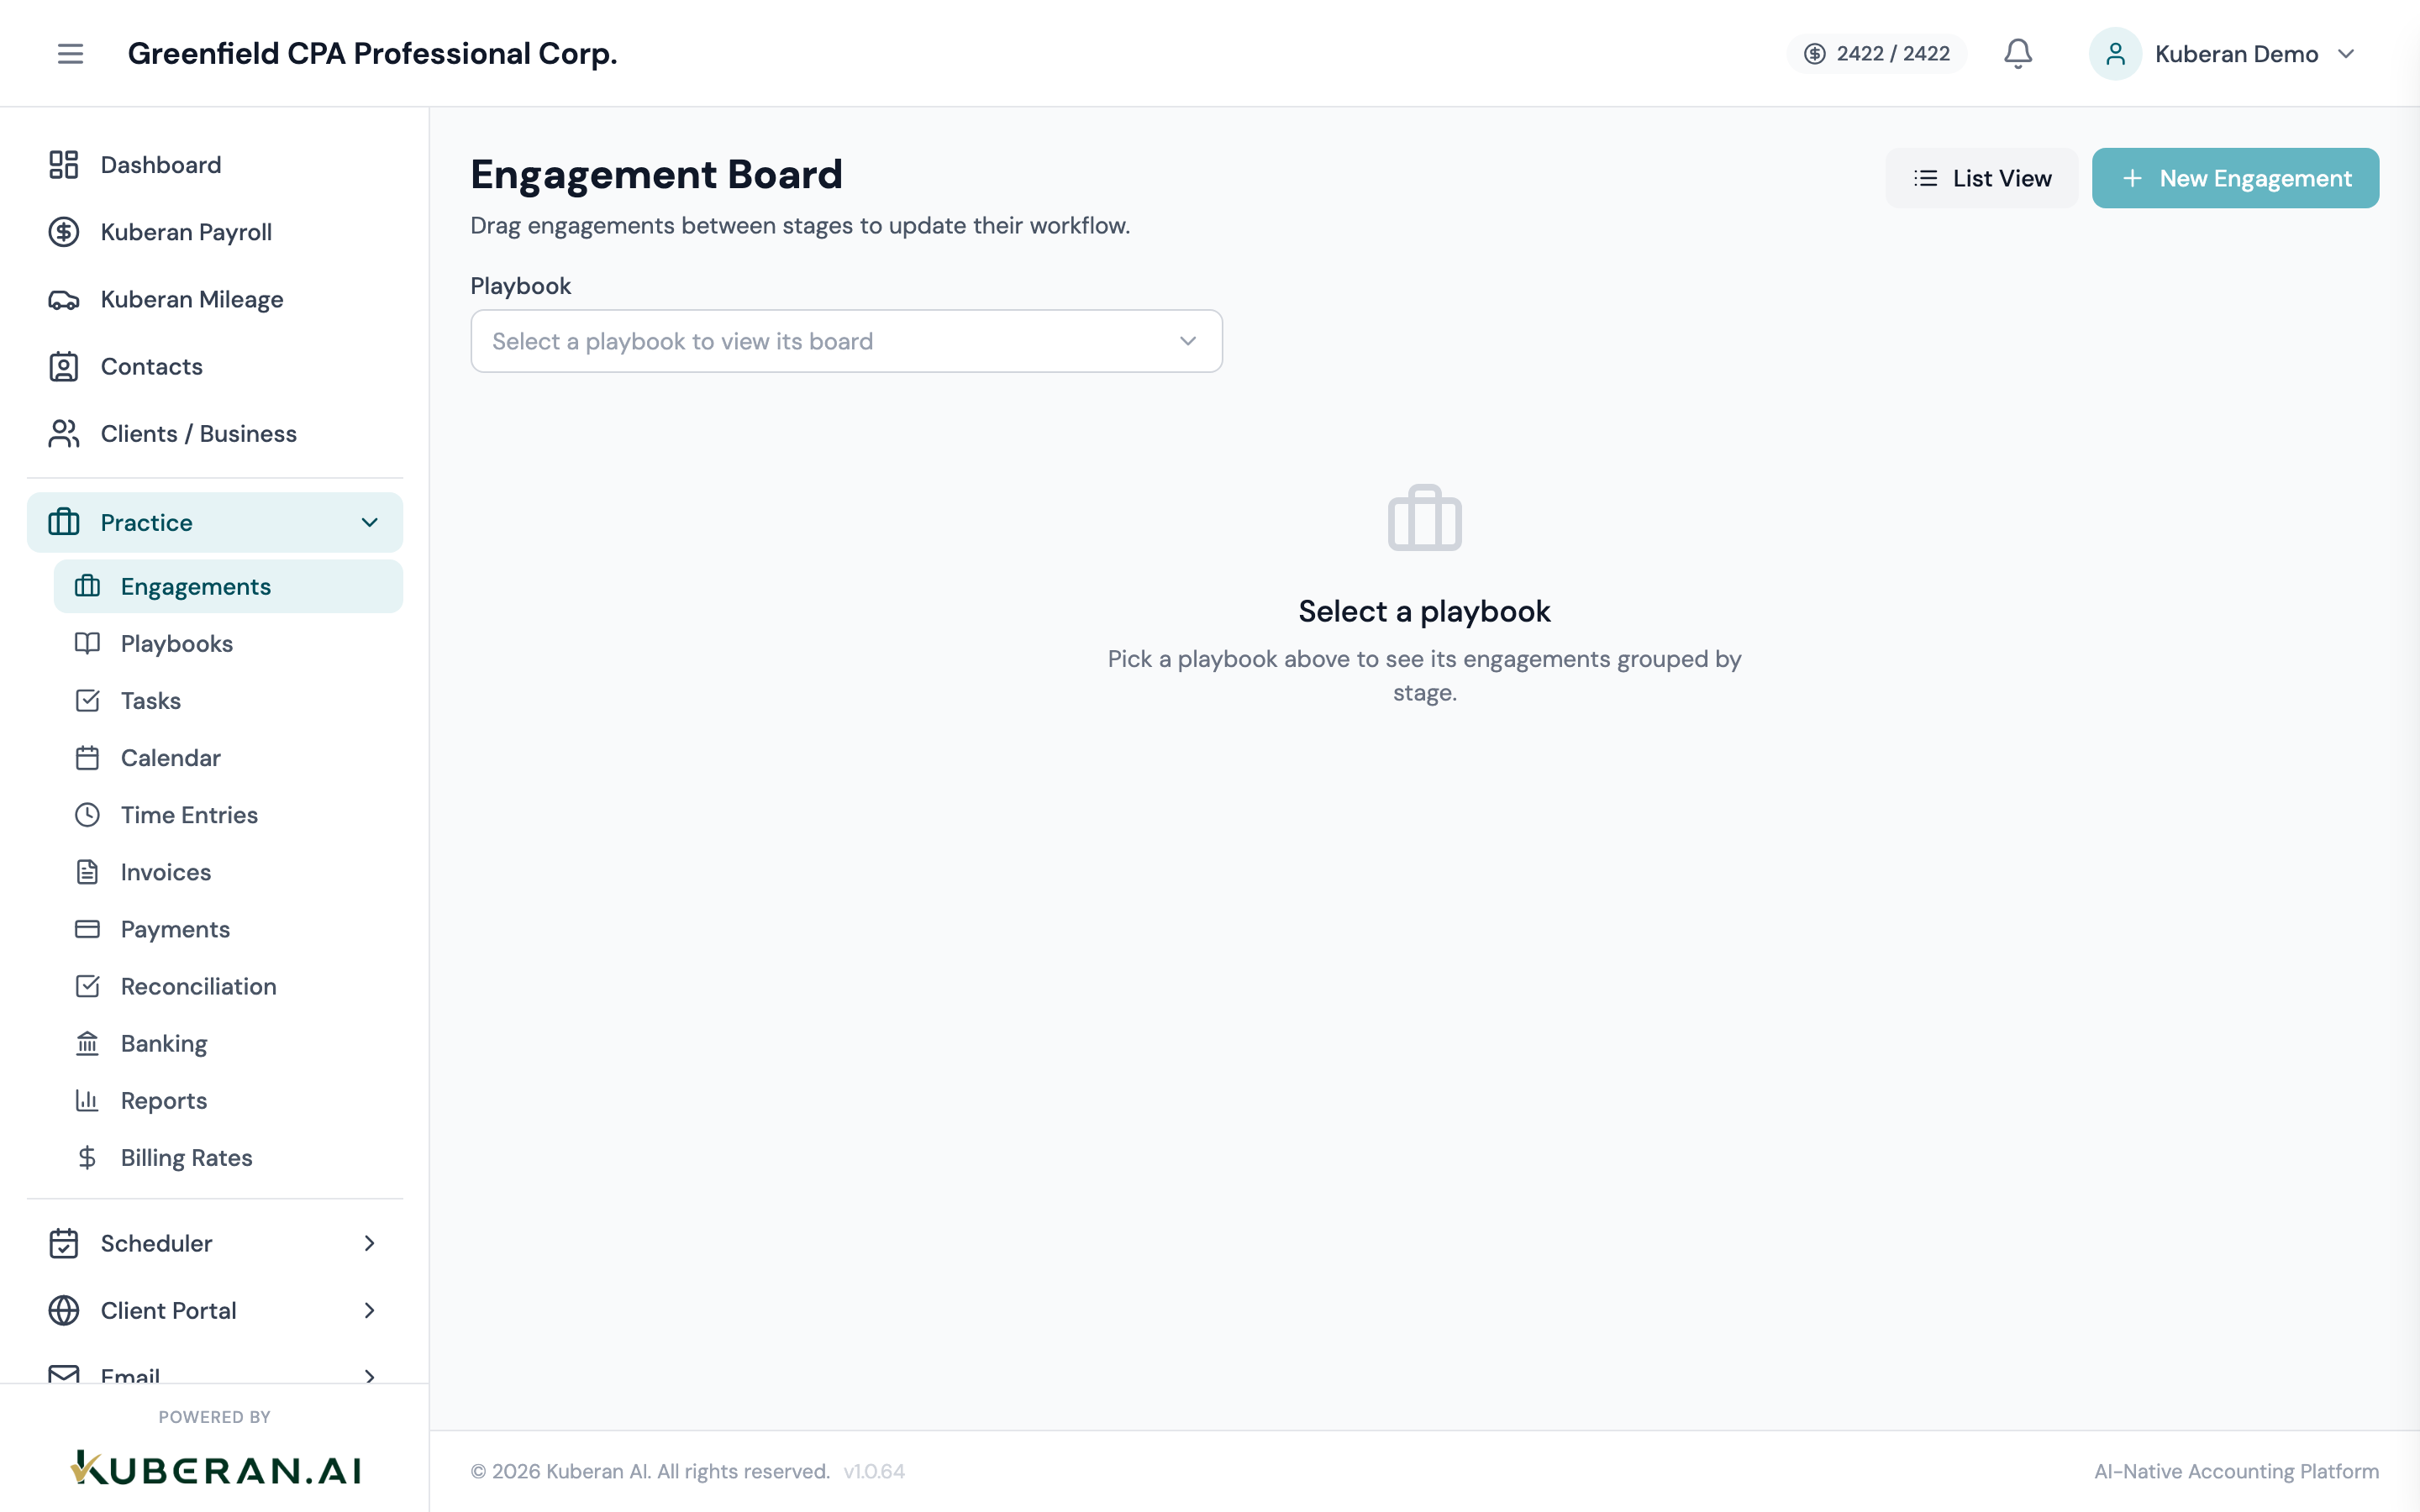
The Engagement Board view presents your practice pipeline as a Kanban board, with each status stage represented as a vertical column of cards. This visual layout is ideal for spotting bottlenecks — a crowded “Awaiting Info” column signals clients who need follow-up, while a full “In Review” column may indicate a capacity constraint with your review process. Toggle to this view from the Engagements list using the Board View button in the toolbar.
- (1) Status column header — shows column name and total card count
- (2) Engagement card — client name, title, due date, assignee avatar, and task progress ring
- (3) Add card button — creates a new engagement directly in that status column
- (4) List View toggle — returns to the table view while preserving filters
- (5) Swimlane selector — optionally group cards by Assignee or Engagement Type
Screen Layout
The board is a horizontally scrollable canvas. Columns are ordered left to right: Draft → Active → In Review → Awaiting Info → Completed → Archived. Each column shows a card count badge in its header. A collapsed Archived column keeps completed work accessible without cluttering the active pipeline.
Toolbar (top): Mirrors the list view toolbar. Filters applied here (assignee, type, date range) reduce which cards are visible on the board without affecting the underlying data.
Column headers: Each header displays the status label and a count of visible cards in that column. Hover over the header to reveal a + quick-add button.
Cards: Each card shows the client name, engagement title, due date (red if overdue, amber if within 7 days), assignee avatar, and a small circular task-progress ring.
Swimlane selector (toolbar): Enables grouping rows by Assignee or Engagement Type. When a swimlane is active, each row represents one assignee or type, and the column structure remains intact across all rows.
UI Elements
Returns to the tabular Engagements list. Any filters currently active are preserved during the transition.
Dropdown to group board rows by: None (default), Assignee, Engagement Type. Useful for identifying which team member’s pipeline is overloaded.
Clickable card representing a single engagement. The card body shows: client name (bold), engagement title, due date pill, assignee avatar, and task progress ring. Clicking the card opens the Engagement detail panel on the right.
Grey rounded badge showing the number of cards visible in the column under current filter conditions.
Appears on hover over a column header. Opens the New Engagement drawer with the Status field pre-set to that column’s status.
Appears on hover over a card. Options: Open, Edit, Duplicate, Archive, Delete — identical to the list view row actions.
Compact date pill on each card. Colour logic: white (more than 7 days away), amber (within 7 days), red (overdue).
Small circular ring showing the ratio of completed to total tasks. Fully filled in teal when all tasks are complete.
Actions
Drag a Card to a New Status
Moving a card between columns is the primary way to advance an engagement through your pipeline.
- Hover over the card you want to move. A drag handle (⠿) appears on the left edge of the card.
- Click and hold the card, then drag it horizontally to the target status column.
- A blue drop-zone highlight appears when you hover over a valid column. Release the card to drop it.
- The engagement status updates instantly, and a status-change event is recorded in the engagement activity log with a timestamp.
- If you drag a card to Completed, you will be prompted to confirm that all tasks are resolved. You can proceed even if tasks remain open.
Create an Engagement from the Board
- Hover over the column header of the status where you want the new engagement to begin (usually Draft or Active).
- Click the + button that appears in the column header.
- The New Engagement drawer opens with the Status field pre-filled to that column’s status.
- Fill in Client, Title, Type, Due Date, and Assignee as required.
- Click Create Engagement. The card appears at the top of the chosen column.
View Engagement Card Detail
- Click anywhere on the engagement card (avoid the ⋯ actions menu).
- The Engagement detail panel slides in from the right, overlaying the board. The board remains visible and interactive behind the panel.
- From the detail panel you can view and edit all fields, browse tasks, log time, and review the activity log.
- Click the × or press Escape to close the panel and return to the board.
Enable Swimlane Grouping
- Click the Swimlane dropdown in the toolbar.
- Select By Assignee to separate each team member’s work into their own horizontal lane, or By Type to group by Bookkeeping, Tax, and Advisory rows.
- The board re-renders with labelled row headers on the left. Cards are sorted within each lane by due date.
- To collapse a swimlane, click the chevron (›) next to the lane label. The lane collapses to a count summary.
- Select None to return to the flat board.
Filter Cards on the Board
- Use the Assignee, Type, and Due Date Range dropdowns in the board toolbar.
- Cards that do not match the selected criteria are hidden, but the column structure and headers remain visible.
- Active filter chips appear below the toolbar. Click × on any chip to remove it individually, or click Clear all to reset.
Related
- Engagements List — Table view of all engagements with sortable columns
- Tasks — Manage individual tasks within each engagement
- Calendar — See engagement deadlines alongside task due dates in a time-based view