Scheduler — Today's Schedule
Overview
The Today’s Schedule screen is the front-desk view of the Scheduler module. It shows every appointment booked for today, sorted chronologically by time. This is the screen you keep open during office hours to manage the flow of clients — confirming arrivals, marking appointments as complete, handling no-shows, and adding walk-ins who did not book in advance. The screen refreshes automatically, so it always reflects the current state of your schedule without needing a manual reload.
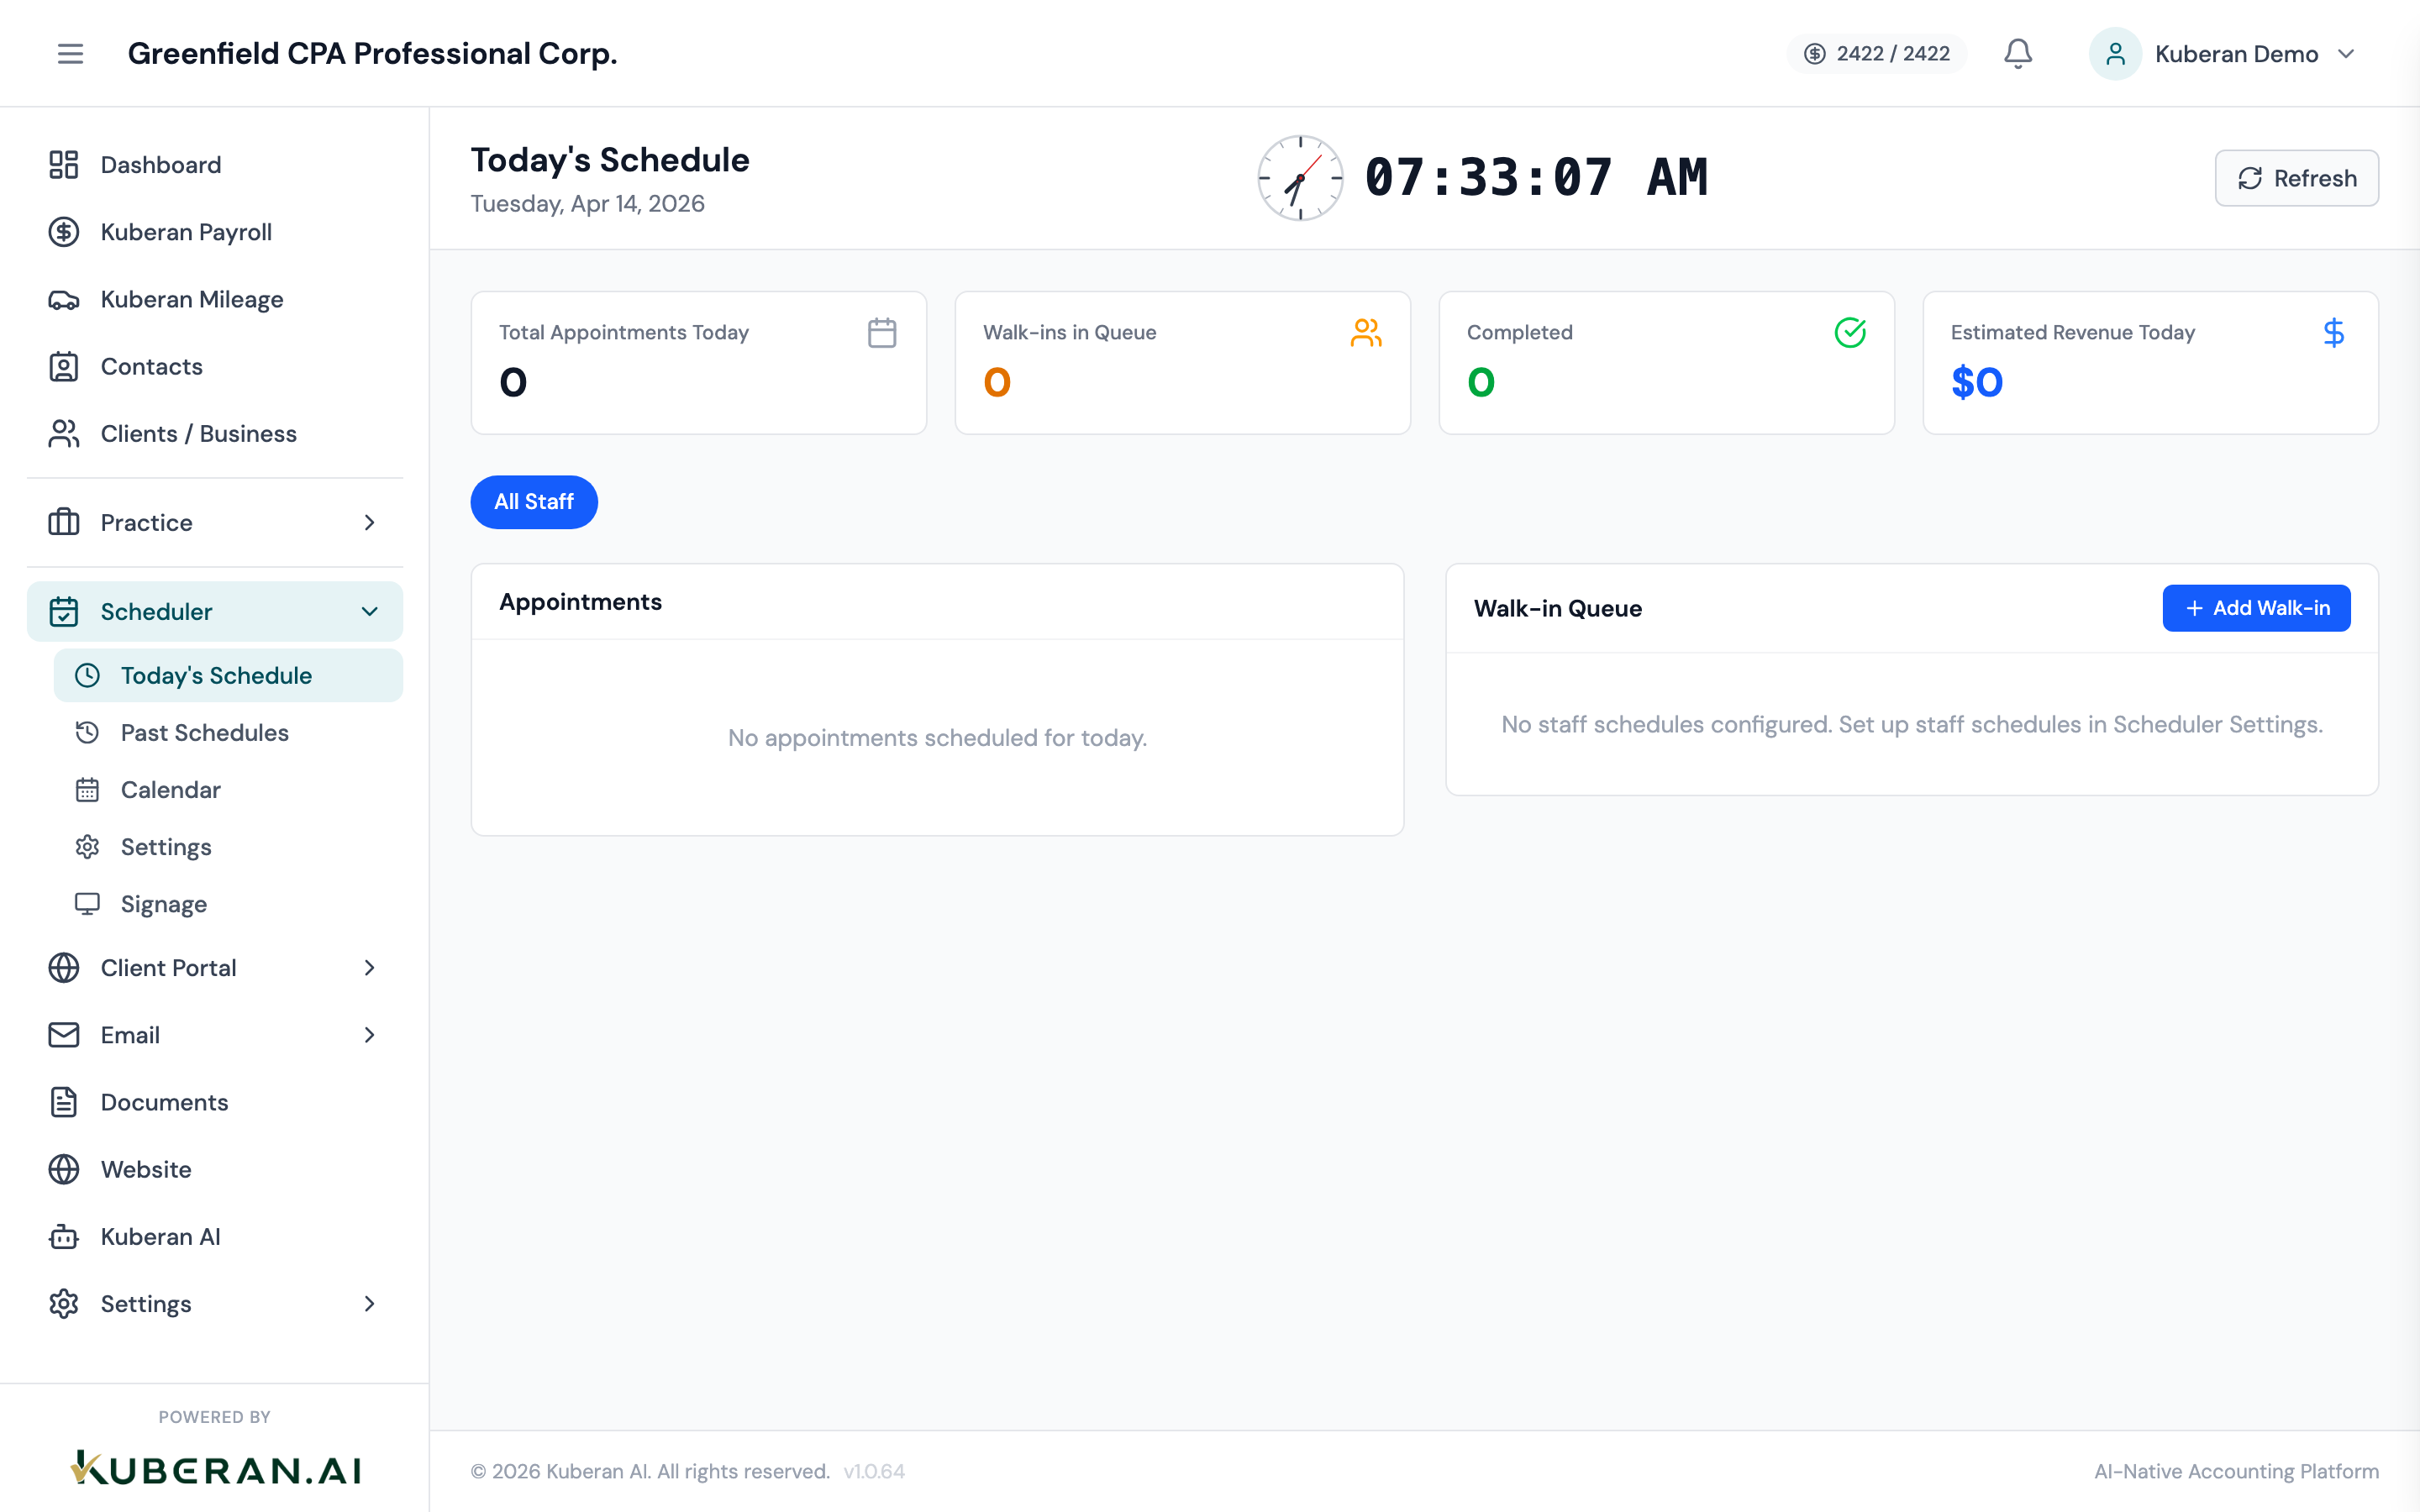
- (1) Date display — confirms you are viewing today
- (2) Add Walk-In button
- (3) Appointment time and duration
- (4) Client name and service
- (5) Status badge — Confirmed, No-show, Completed
- (6) Quick action buttons — Complete, No-Show, Reschedule
Screen Layout
Header: Displays today’s date and a count of total appointments, completed appointments, and remaining appointments.
Add Walk-In button: Prominent button in the top-right to create an immediate appointment.
Appointment list: Chronological list of all appointments. Each row shows the scheduled time, client name, service type, duration, assigned staff member, and current status. Quick action buttons appear on hover.
Appointment Statuses
| Status | Meaning |
|---|---|
| Confirmed | Appointment is booked and the client is expected. This is the default status for all booked appointments. |
| No-Show | Client did not arrive and did not cancel. Marked manually by staff. |
| Completed | Appointment has been finished and the client has left. |
| Cancelled | Client or staff cancelled the appointment. Cancelled appointments are hidden from Today’s view by default (toggle to show). |
UI Elements
The scheduled start time and duration (e.g., 10:00 AM — 45 min). Appointments that have started but are not yet completed show a blue left border as a visual indicator that the time slot is currently active.
The type of service booked, colour-coded to match the colour assigned in Scheduler Settings (e.g., Tax Consultation in blue, T1 Return Review in green). The colour coding matches the calendar view for consistency.
The team member the appointment is assigned to. If your practice has multiple staff members, each appointment shows who is responsible.
Actions
Mark as Completed
When an appointment finishes, click Complete on the appointment row. The status badge changes to Completed (green) and the appointment moves to the bottom of the completed section. Completing an appointment triggers any configured follow-up automations (e.g., sending a satisfaction survey or a document request).
Mark as No-Show
If a client does not arrive by their appointment time, click No-Show. The status badge changes to No-Show (amber). The appointment remains visible on Today’s Schedule for your records. You can still reschedule a no-show appointment.
Reschedule an Appointment
- Click Reschedule on any appointment row.
- A date and time picker opens. Select the new date and time from the available slots.
- Optionally send a confirmation notification to the client (email or SMS).
- Click Confirm Reschedule. The appointment moves to the new date and is removed from today’s list if rescheduled to a future date.
Create a Walk-In Appointment
- Click Add Walk-In in the top-right corner.
- Enter the client’s name (search existing contacts or enter a new name).
- Select the service type.
- Assign a staff member (defaults to the current user).
- The start time defaults to now. Adjust if needed.
- Click Create Walk-In. The appointment appears at the top of the active appointments list and is added to the digital signage queue if the waiting room display is enabled.
Walk-in appointments are marked with a “Walk-In” label so they are visually distinct from pre-booked appointments.
Tips
- Digital signage integration: When you mark a walk-in as checked in, their name appears on the waiting room display automatically. See the Digital Signage page for setup details.
- Completed appointment count: The header count gives a quick summary for end-of-day reporting. A high no-show rate compared to completions may indicate a need to implement appointment reminders.
- Viewing other days: To view tomorrow or a past day, switch to the Calendar view. The Today screen always shows today only.