Bills
Overview
The Bills screen manages the accounts payable side of the client’s books. A bill represents an obligation to pay a vendor for goods or services already received. Entering a bill creates a debit to the appropriate expense account and a credit to Accounts Payable; recording a payment clears the payable and debits the bank account. When a line item is an inventory-tracked product, approving the bill instead raises that item’s quantity on hand and recomputes its weighted-average cost (on both cash- and accrual-basis clients); no Cost of Goods Sold posts until the item is later sold. Bills can be created manually, imported from the Documents screen when the AI processor extracts a vendor invoice, or entered through the Quick Create flow. The AP aging breakdown in the dashboard draws directly from the open bills recorded here.
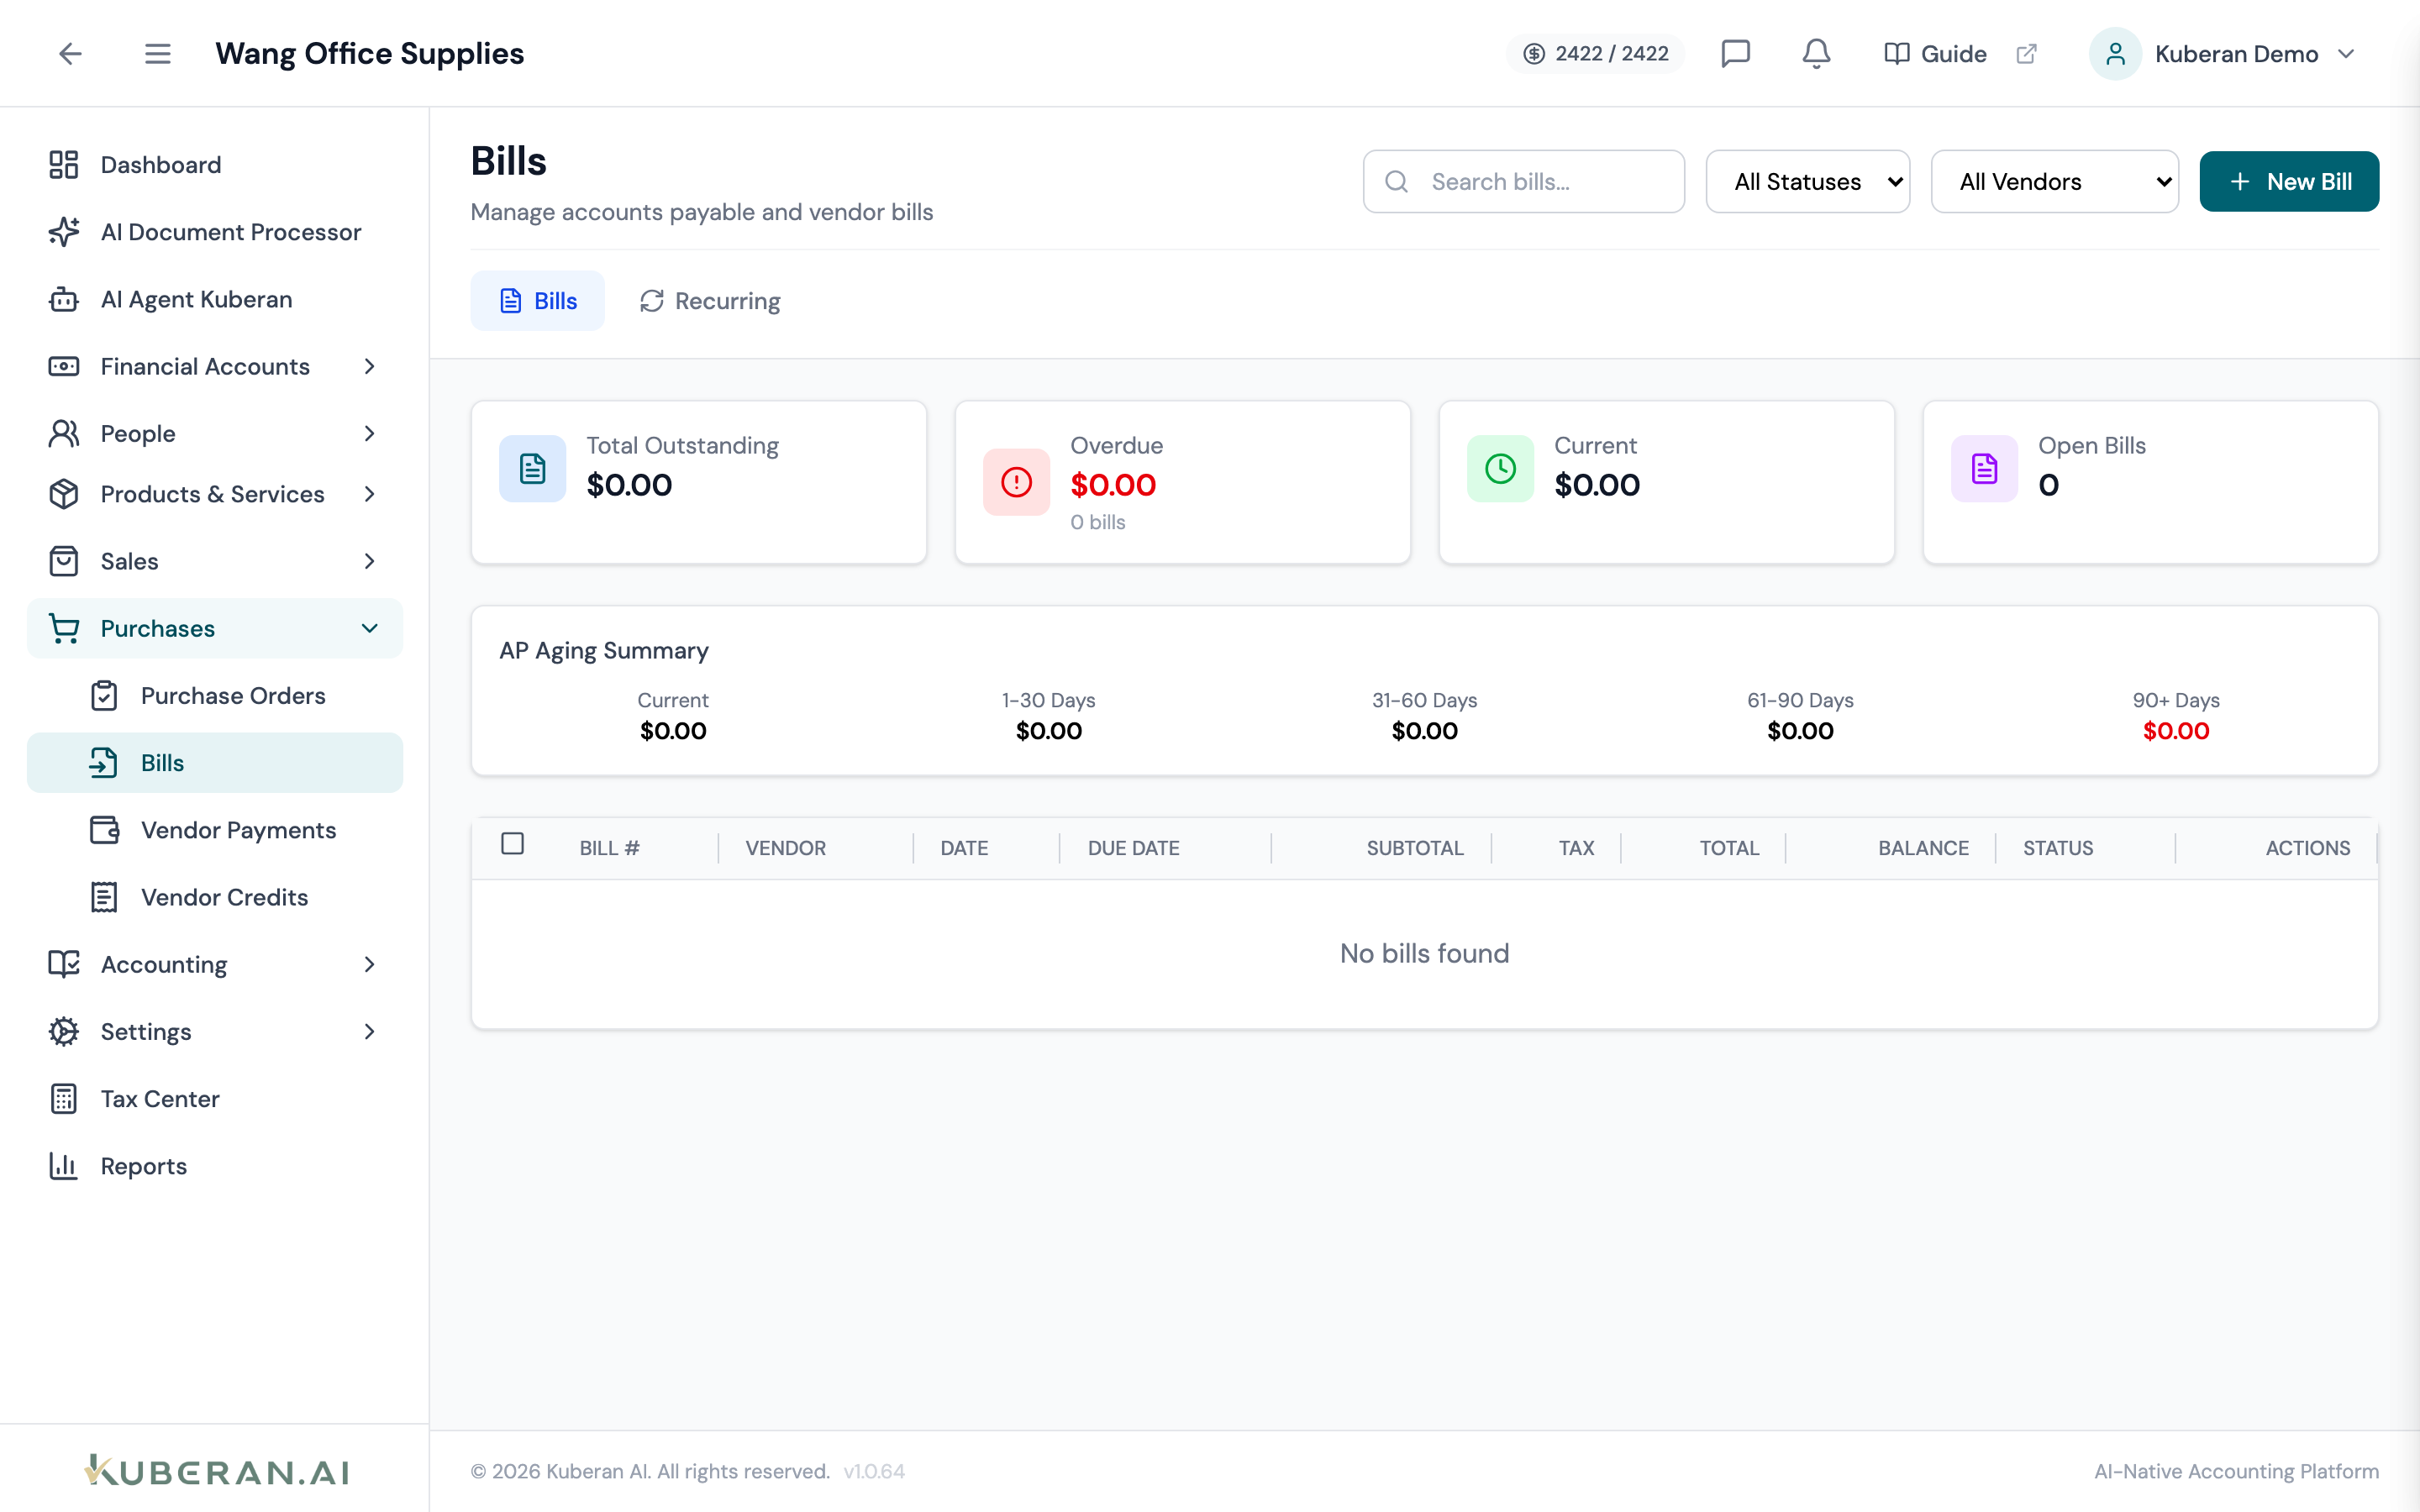
- (1) Status filter tabs — All, Draft, Open, Overdue, Partially Paid, Paid, Voided
- (2) Create Bill button — opens the bill editor
- (3) Overdue indicator — due date shown in red when past due
- (4) Amount Due column — remaining unpaid balance
- (5) Record Payment button — inline quick action on each row
Screen Layout
Toolbar (top): Status filter tabs, search field, date range picker, vendor filter, and Create Bill button.
Bills table (centre): Each row is one bill. Columns: Vendor, Bill #, Bill Date, Due Date, Amount, Amount Due, Status, and Actions.
Bill Statuses
| Status | Colour | Meaning |
|---|---|---|
| Draft | Grey | Entered but not yet approved; journal entry not yet posted |
| Open | Blue | Approved and posted; payment pending |
| Partially Paid | Amber | One or more payments recorded but balance remains |
| Paid | Green | Bill fully settled; balance is zero |
| Overdue | Red | Past due date with outstanding balance |
| Voided | Slate | Cancelled; journal entries reversed |
UI Elements
Toolbar
Filter bills by payment status. The Overdue tab auto-includes any Open or Partially Paid bill whose due date has passed.
Filter the list to show bills from a specific vendor.
Filter by bill date or due date. Toggle between the two date fields.
Opens the bill creation form.
Table Columns
The vendor this bill was received from. Clicking the name opens the vendor record.
The vendor’s invoice reference number as entered on the bill. Not auto-incremented — enter the number from the vendor’s invoice document.
The date the bill was issued by the vendor.
The payment due date. Calculated from the bill date plus the vendor’s payment terms. Shown in red when past due.
The total bill amount including GST/HST.
The remaining unpaid balance. Zero for fully paid bills.
Per-row actions: View / Edit (Draft only), Approve, Record Payment, Void, Delete (Draft only), View Source Document.
Actions
Create a Bill
- Click Create Bill. The bill editor opens.
- Select the Vendor from the dropdown. If the vendor does not exist, click Create Vendor inline.
- Enter the Bill Number (the vendor’s own invoice number — important for duplicate detection).
- Set the Bill Date and verify the Due Date.
- Add line items: select an Item or type a description, enter quantity, unit price, and confirm the tax code for any GST/HST Input Tax Credits (ITCs).
- If this bill has GST/HST that the client is entitled to claim as an ITC, ensure the correct tax code is selected on each line. The system calculates the ITC automatically.
- Click Save as Draft to review later, or Save & Approve to post the journal entry immediately. Inventory only moves on approval — a draft bill does not change stock or cost. Approve carefully: a posted bill with an inventory-tracked item cannot be edited and must be voided and re-entered to change.
Create a Bill from a Document Upload
When a vendor invoice is uploaded to the Documents screen and processed by the AI, a draft bill can be created directly from the extracted data.
- In the Documents screen, click Review AI Extraction on a processed vendor invoice.
- Verify the extracted fields: vendor, bill date, line items, amounts, and HST.
- Click Create Bill. The bill editor opens pre-populated with the extracted data.
- Review, adjust if needed, and click Save & Approve.
Record a Payment
- Click ⋯ → Record Payment on an Open, Overdue, or Partially Paid bill row.
- Enter the Payment Date, Amount Paid, and Payment Method.
- Select the Payment Account (the bank account from which the payment was made).
- Optionally enter a Cheque Number or Reference Number.
- Click Save Payment. The Accounts Payable balance is reduced by the payment amount. If the balance reaches zero, the status changes to Paid.
Tag Line Items to a Property
When the Properties module is enabled, each bill line item can be tagged with a Property and optional Unit, so property-level expenses (utilities, repairs, management fees, insurance) flow into the Property P&L.
- In the bill editor, click the Property picker on any line item.
- Select a Property. The Unit picker filters to units under that property.
- Save. The
propertyId/unitIdstamp sticks on both sides of the AP posting so voids and payments cancel correctly against the report.
Capital vs expense classification: the split is driven by the account you pick on the line, not a Property flag. Use an expense account (Repairs, Utilities, Property Tax…) for operating expenses; use a Fixed Asset account for capitalisable work (major renovations, roof replacement). Capitalised costs become part of the property’s book value once the Fixed Asset record captures them — typically by creating a new asset with category: real-estate-improvement and linking it to the property.
For Construction-status properties, every bill tagged to that property accumulates in the WIP account until the property is Converted to Operating (see Construction to operating guide).
Void a Bill
- Click ⋯ → Void on an Open or Partially Paid bill.
- Enter a void reason.
- Click Void Bill. Reversing journal entries are created automatically, and any linked payments are unlinked (but not deleted — payments must be handled separately). For inventory-tracked lines, the quantity bought is removed from stock; the weighted-average cost is not unwound (averages are not reversible — post an inventory adjustment if the cost basis needs correcting).
Related
- Vendors — Manage vendor records and T4A settings
- Inventory Accounting — How buying a tracked item updates quantity and cost
- Documents — Upload vendor invoices for AI-assisted bill creation
- Chart of Accounts — Expense and liability accounts used on bills
- Reports — AP Aging and Expenses by Vendor reports
- Tax Centre — GST/HST paid on bills generates Input Tax Credits