Billing Rates
Overview
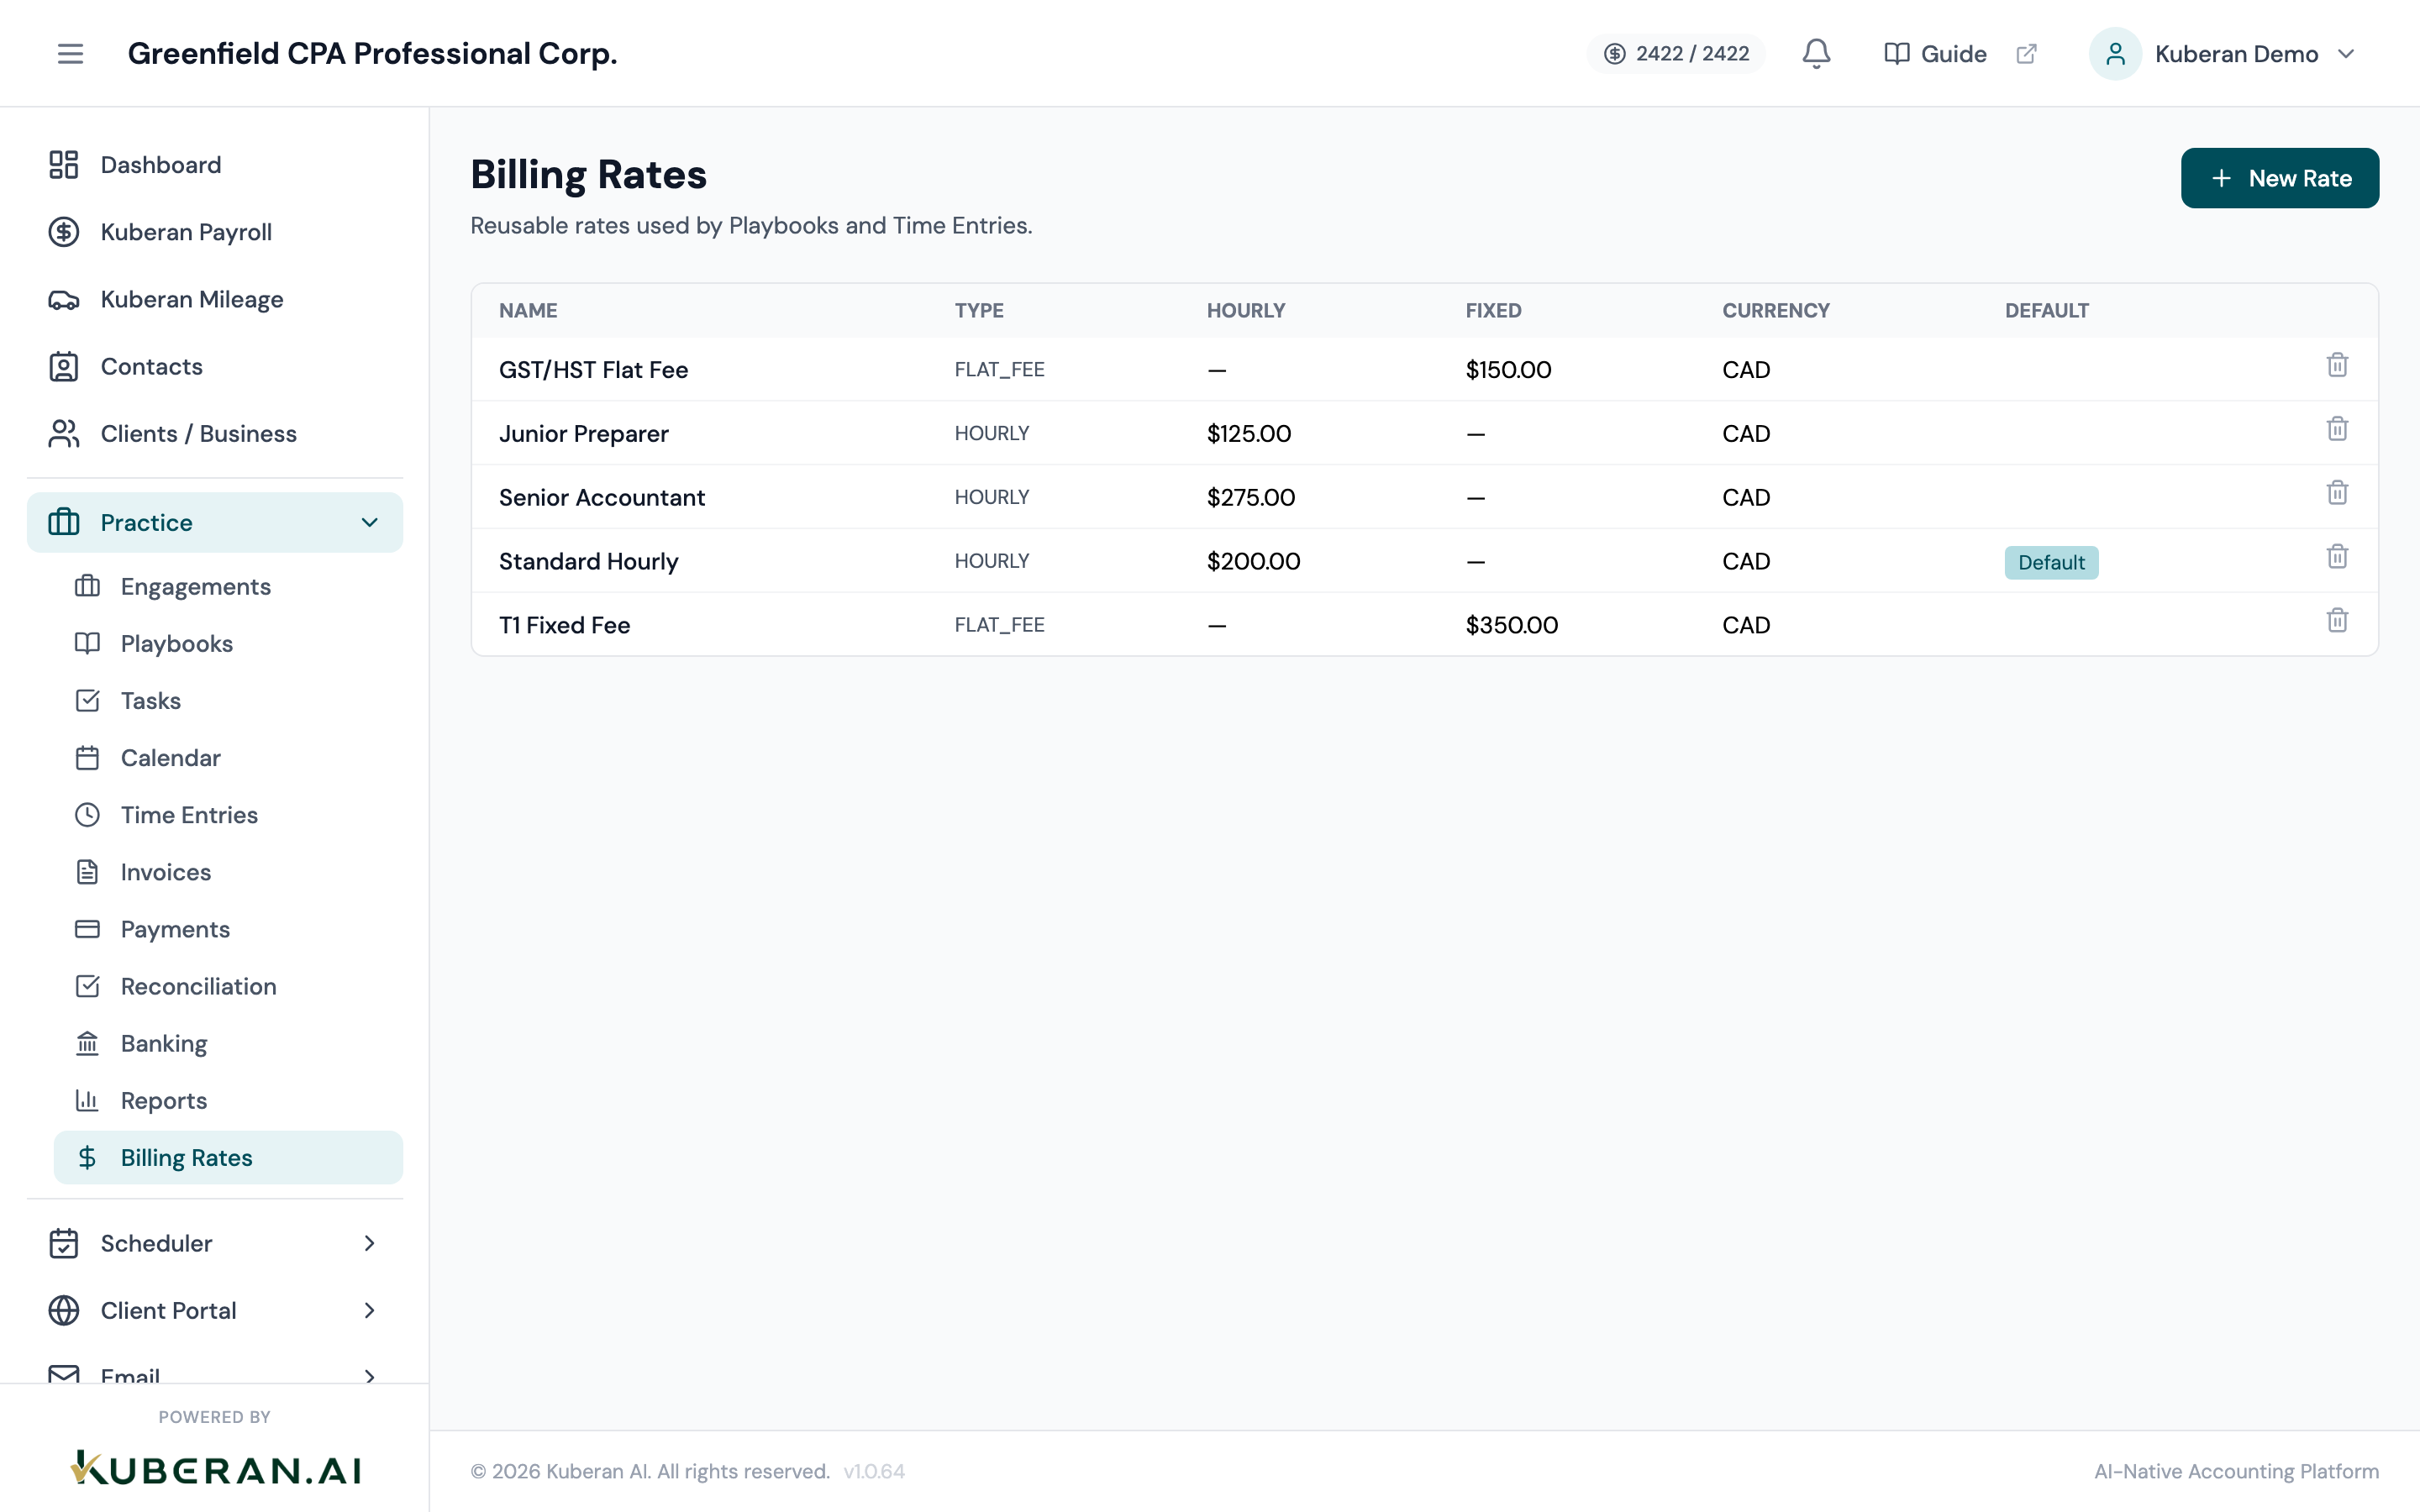
Billing Rates define the hourly prices your firm charges clients for different categories of professional work. Rather than entering a dollar amount on each time entry individually, team members select a pre-configured rate — ensuring consistent, policy-driven billing across all engagements. Rates can be role-based (Partner, Senior, Junior) or custom (e.g., “Bookkeeping Retainer Rate”), and any rate can be designated as the workspace default so it pre-selects automatically when logging time.
- (1) Add Rate button — opens the New Billing Rate drawer
- (2) Rate card — name, type badge, hourly rate, description, and usage count
- (3) Default badge — teal star marking the workspace default rate
- (4) Usage count — number of time entries currently using this rate
- (5) Card actions menu — Edit, Set as Default, Delete
Screen Layout
The Billing Rates screen uses a responsive card grid. Each card represents one billing rate and shows its name, type badge, hourly rate, description (truncated to two lines), usage count, and an actions menu. A teal star badge marks the current default rate.
There is no separate list/grid toggle — the card layout is the only view.
UI Elements
Opens the New Billing Rate drawer. Positioned at the top right of the screen.
Clicking a card opens the Edit Billing Rate drawer. Each card displays: rate name, type badge, hourly rate (large display), description preview, usage count, and a teal star if this is the default.
Teal star badge on the card that is currently set as the workspace default. Only one rate can be the default at a time.
Displays how many time entries currently reference this rate (e.g., “42 entries”). Helps you understand the impact before deleting or editing a rate.
Options: Edit, Set as Default, Assign to Engagement, Delete. Delete is disabled if the rate has active time entries linked to it.
Rate Form Fields
Required. A short, recognisable label for the rate (e.g., “Partner — $350/hr”, “Junior Accountant”, “Bookkeeping Flat”). Maximum 80 characters.
Required. The dollar amount charged per hour (CAD). Enter a numeric value; the currency symbol is added automatically. Two decimal places are supported.
Required. Dropdown. Options:
- Partner — Senior principal-level work
- Senior — Senior staff and managers
- Junior — Staff accountants and bookkeepers
- Custom — Any rate that does not fit a standard role tier
Rate type is used for filtering in reports and for default selection when a team member logs time (the system suggests the rate matching their role assignment).
Optional. A longer explanation of when this rate applies (e.g., “Applies to all T2 corporate tax work billed at the senior accountant level”). Visible in the rate selection dropdown when logging time entries.
When enabled, this rate pre-selects automatically in the billing rate dropdown on new time entries. Only one rate can be the default; enabling this on a new rate removes the default flag from the current default.
Actions
Create a Billing Rate
- Click Add Rate in the top-right corner. The New Billing Rate drawer opens.
- Enter a Rate Name that clearly identifies this rate for team members (e.g., “Partner — Advisory”).
- Enter the Hourly Rate in Canadian dollars.
- Select the Rate Type: Partner, Senior, Junior, or Custom.
- Optionally add a Description to clarify when this rate should be used.
- Toggle Set as Default on if this should be the pre-selected rate on new time entries.
- Click Save Rate. The card appears in the grid immediately.
Edit a Billing Rate
- Click the rate card or click ⋯ → Edit on the card.
- Modify the name, hourly rate, type, or description as needed.
- Click Save. The updated rate applies to all future time entries. Existing time entries retain the rate value that was in effect when they were created — changing the rate here does not retroactively recalculate old entries.
Set a Rate as the Default
- Click ⋯ → Set as Default on the rate card you want to become the default.
- A confirmation prompt notes that the current default rate will be changed. Click Set as Default to confirm.
- The teal star badge moves to the selected card. The next time any team member creates a time entry, this rate will be pre-selected.
Delete a Billing Rate
- Confirm that the rate’s Usage Count is zero. Rates with active time entries cannot be deleted — you must first reassign those entries to a different rate.
- If the usage count is non-zero: navigate to Time Entries, filter by the rate you want to delete, select all entries, and use the bulk Edit action to reassign them to a different rate.
- Once the usage count is zero, click ⋯ → Delete on the rate card.
- Confirm the deletion in the dialogue. The rate is permanently removed.
Assign a Rate to an Engagement
Engagement-level billing rates override the workspace default for time entries logged against that specific engagement.
- Click ⋯ → Assign to Engagement on the rate card, or open an engagement and set the rate from the engagement’s Billing Settings section.
- In the Assign to Engagement dialogue, select one or more engagements from the dropdown.
- Click Assign. When team members log time to the selected engagements, this rate is pre-selected instead of the workspace default.
Related
- Time Entries — Select billing rates when logging time; see the rate applied on each entry
- Invoices — Invoice line items show the rate and amount for each time entry
- Reports — Revenue by Team Member report shows effective billing rates per person