Purchase orders
Overview
A purchase order (PO) is a commitment to buy from a vendor — it lists what is being ordered, at what price, and on what terms. A PO is not a financial transaction on its own: it does not post to the ledger. Instead it is a tracking document that moves through a lifecycle as goods are received and, finally, is converted into a bill — and that bill is what posts to Accounts Payable and the expense accounts.
POs support partial receipts (you can receive some line items before others), carry an Input Tax Credit (ITC) calculation on taxable lines, and can be duplicated, cancelled, or voided. Converting a PO to a bill optionally posts the bill immediately.
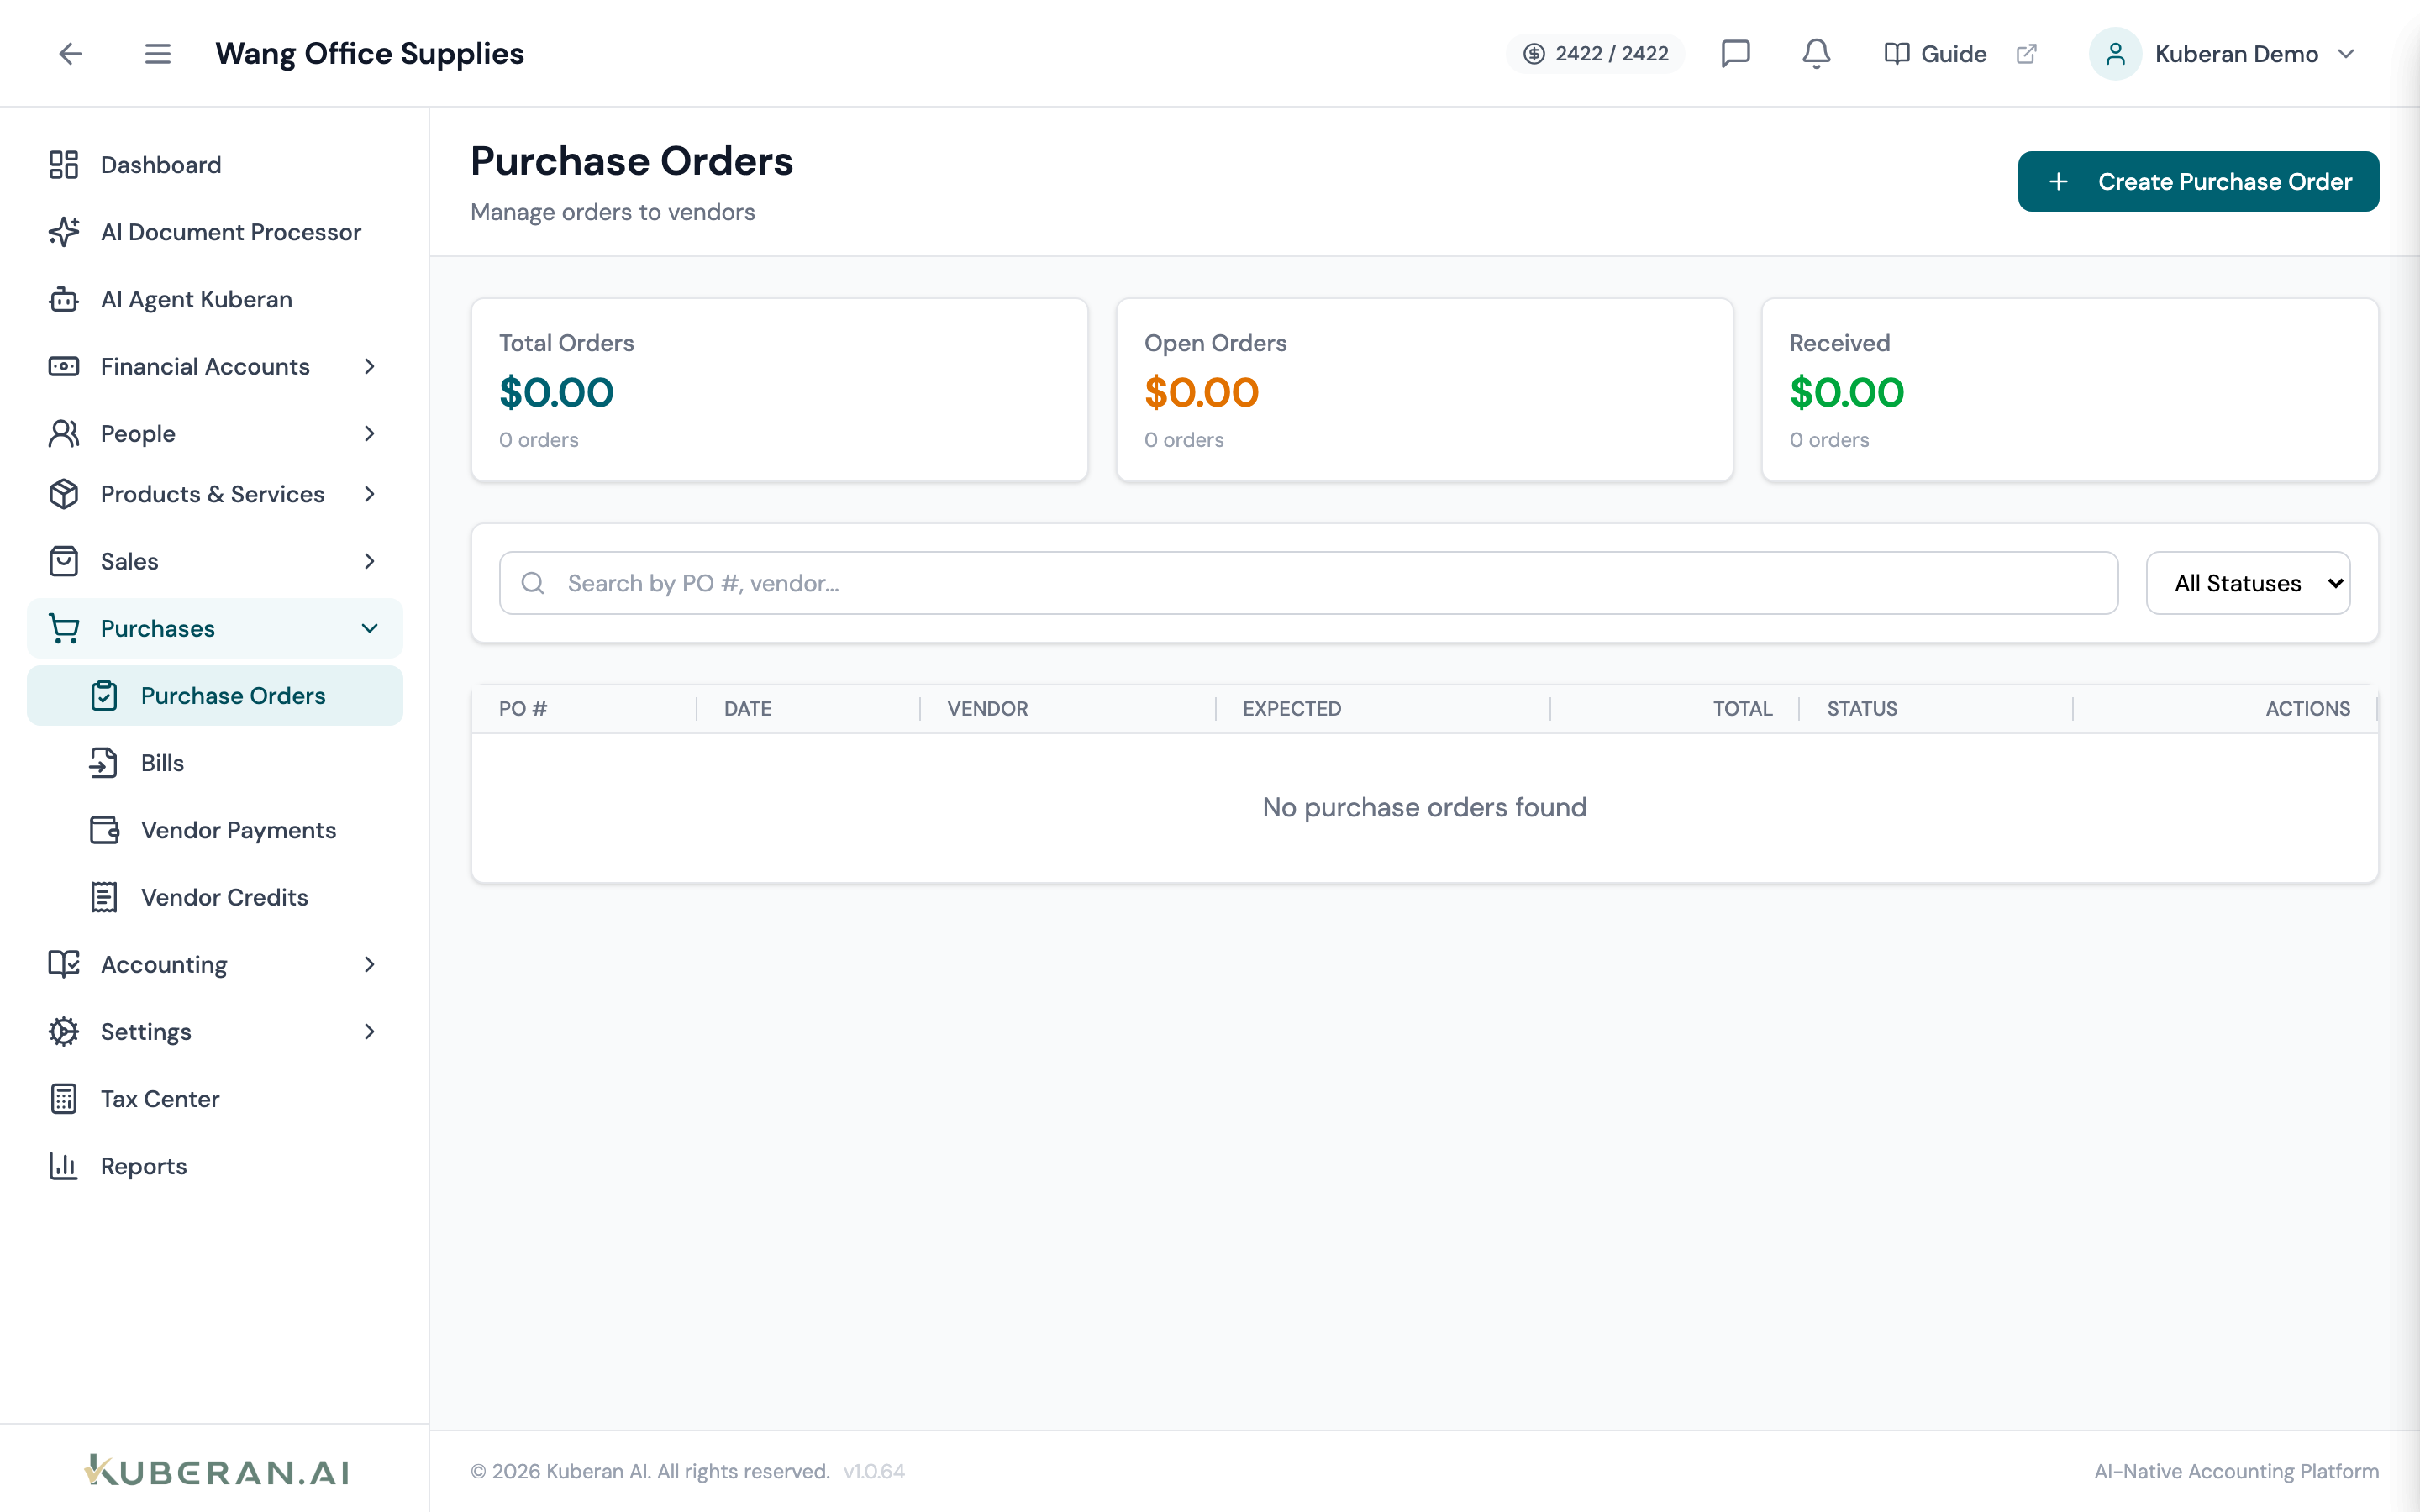
- (1) Summary cards — Total Orders, Open Orders, Received
- (2) Create Purchase Order button
- (3) Status badge — Draft, Sent, Partial, Received, Converted, Cancelled, Void
- (4) Total column — order total including ITC
- (5) Actions menu — send, convert to bill, duplicate, cancel, void
Screen Layout
Summary cards (top): Total Orders (amount + count), Open Orders (draft + sent + partial), and Received.
Toolbar: a Settings (gear) control, a Create Purchase Order button, a search field, and a Status filter.
PO table (centre): Columns: PO #, Date, Vendor, Expected, Total, Status, and Actions.
Statuses
| Status | Colour | Meaning |
|---|---|---|
| Draft | Grey | Created but not yet sent to the vendor |
| Sent | Blue | Issued to the vendor; awaiting goods |
| Partial | Amber | Some line items have been received |
| Received | Green | All ordered items received |
| Converted | Purple | Turned into a bill |
| Cancelled | Orange | Cancelled before completion |
| Void | Red | Reversed / nullified |
UI Elements
Toolbar
Opens the PO editor.
Configure the PO number prefix, next number, and default payment terms / vendor note.
Editor Fields
Required. Pick an existing vendor or quick-add a new one.
The order date (required) and an optional expected-delivery date.
Due on Receipt, Net 15, Net 30, Net 45, or Net 60.
Each line: Description, Qty, Rate, an optional expense Account, and an ITC checkbox (marks the line taxable and shows the tax rate). Subtotal, ITC tax, and total are calculated automatically.
Table Columns
Per-row: View Details, Mark as Sent (draft), Convert to Bill (sent / partial / received), Duplicate, Cancel Order, and Void Order.
Actions
Create a Purchase Order
- Click Create Purchase Order.
- Select the Vendor and set the Order Date (and optional Expected Delivery).
- Choose Payment Terms.
- Add line items: Description, Qty, Rate, and an expense Account. Tick ITC on taxable lines to claim the input tax credit.
- Add a Vendor Note (printed on the PO) and/or an Internal Note.
- Review the Subtotal, Tax (ITC), and Total, then save the order.
Send to the Vendor
Click ⋯ → Mark as Sent to move a Draft to Sent. (Sending does not post anything to the ledger.)
Receive Goods
As items arrive, record the received quantities. Receiving part of an order moves it to Partial; receiving everything moves it to Received.
Convert to a Bill
- Click ⋯ → Convert to Bill on a Sent, Partial, or Received PO.
- Set the Bill Date and Due Date, and tick Auto-post to post the bill immediately (or leave it as a draft bill to review).
- Confirm. A bill is created from the PO lines; the PO status becomes Converted. Posting the bill is what debits the expense accounts and credits Accounts Payable.
Cancel or Void
Use Cancel Order to stop a PO that is no longer needed, or Void Order to nullify it entirely. Neither affects the ledger (a PO never posted on its own).
Related
- Vendors — The suppliers POs are raised to
- Bills — What a PO becomes when converted; this posts to AP
- Vendor Credits — Credits for returns against a vendor
- Items — Products and services on PO lines
- Tax Centre — Input Tax Credits claimed on purchases