Portal Admin — Settings
Overview
Portal Settings controls how the client portal looks and what features are available to clients when they log in. The portal is the first thing your clients see when they interact with your practice digitally, so presenting it with your branding — logo, colours, and practice name — makes a strong impression. Feature toggles allow you to tailor the portal to your practice’s workflows, hiding features you do not use so the portal remains simple and focused for clients.
- (1) Appearance tab — logo, colours, and practice name
- (2) Domain tab — custom subdomain configuration
- (3) Features tab — enable/disable portal modules
- (4) Portal Preview — live preview of changes
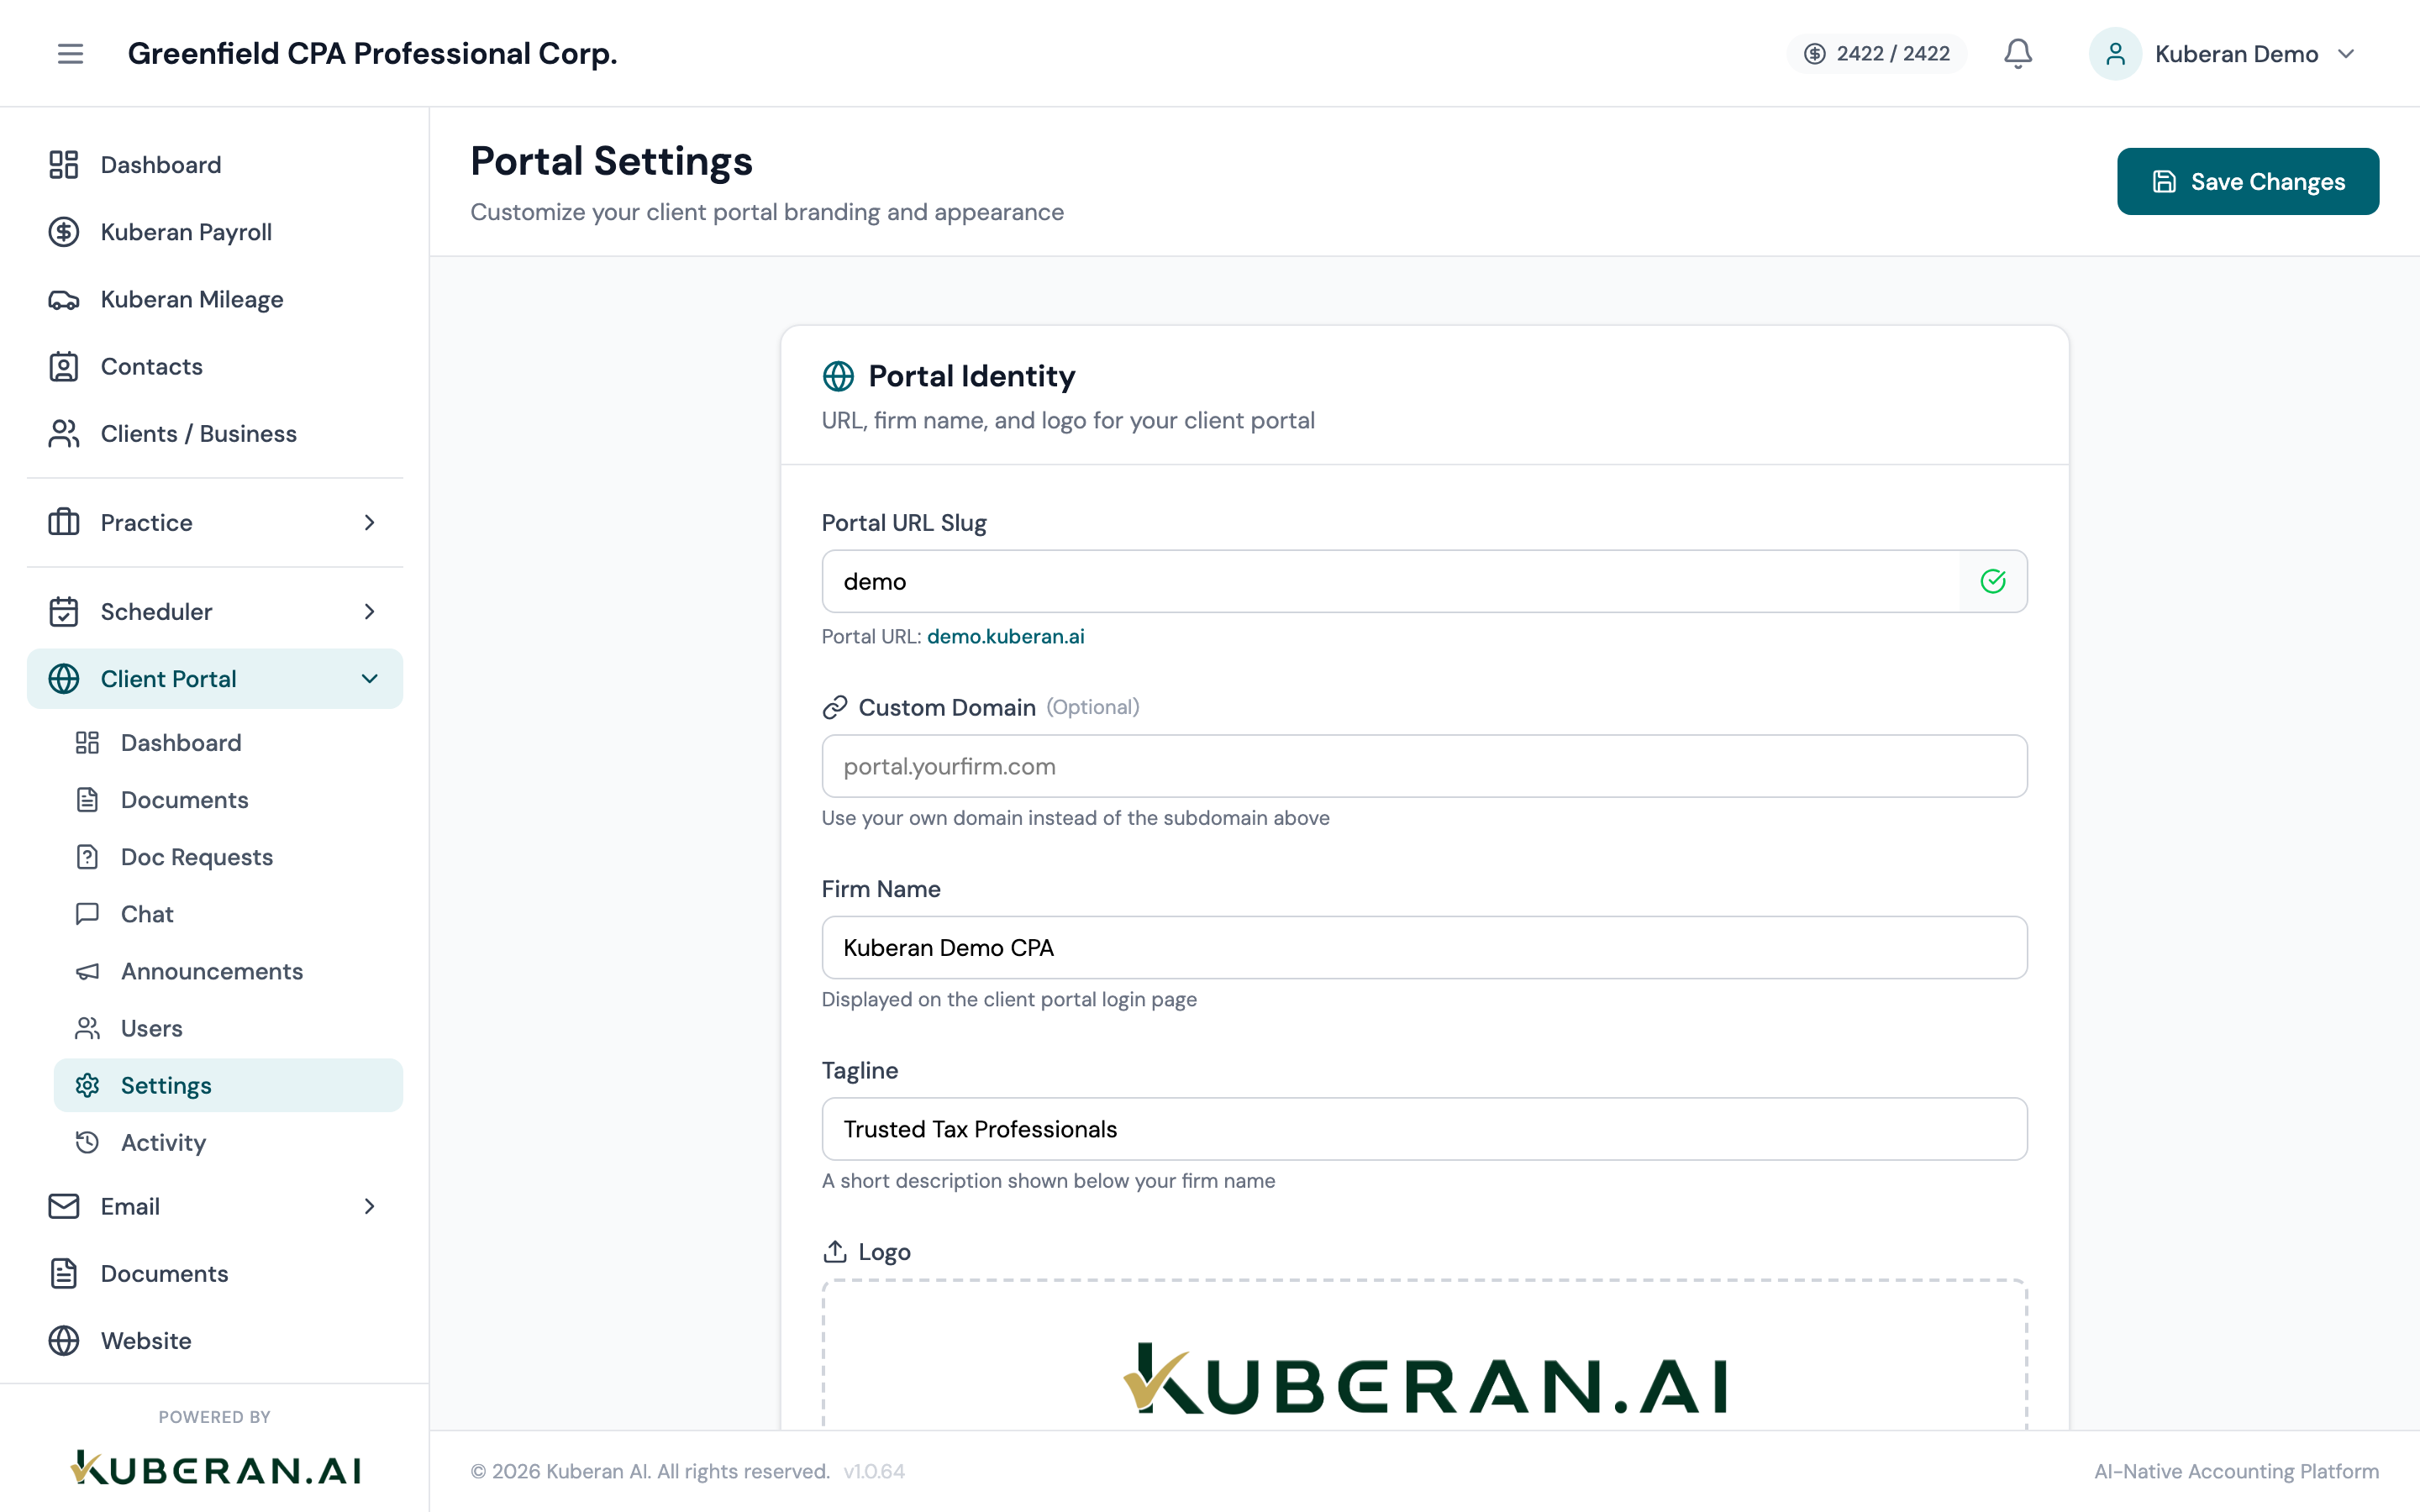
Appearance
Upload your practice’s logo (PNG, SVG, or JPG, recommended minimum 400×120 px, max 2 MB). The logo appears in the top-left corner of every portal page and in the portal login screen. A high-resolution transparent PNG works best.
Your practice name as displayed in the portal header, the browser tab title, and notification emails. This does not need to match the workspace name exactly — you might use “Smith & Associates CPA” here even if your workspace is named “Smith CPA.”
The main accent colour used for buttons, links, active states, and highlights throughout the portal. Enter a hex code or use the colour picker. A good primary colour is a medium-to-dark shade that has sufficient contrast against white text.
A complementary colour used for secondary buttons, borders, and secondary highlights. Typically a lighter tint of the primary colour or a neutral tone.
The right side of the Appearance tab shows a live preview of how the portal login page and home page will look with the current settings. Changes update in the preview in real time before you save.
Domain
By default, the client portal is accessible at yourworkspaceslug.portal.kuberanai.com. You can customise the subdomain portion (the part before .portal.kuberanai.com) to match your practice name, for example: smithcpa.portal.kuberanai.com. Enter the desired subdomain slug and click Save. The change takes effect immediately.
For full white-labelling, you can point your own domain (e.g., portal.smithcpa.ca) to the Kuberan AI portal. Enter your domain here, then add a CNAME DNS record at your domain registrar pointing to portal.kuberanai.com. SSL is provisioned automatically. Custom domain setup may take up to 24 hours for DNS propagation.
Shows the currently active portal URL. Use this to share the portal link with clients. A Copy URL button is available.
Features
Each feature toggle enables or disables a section of the client portal for all clients. Individual client overrides can be set per user in the Portal Users screen.
When enabled, clients can view their invoices, see amounts owing, and access payment links. When disabled, the Invoices section is hidden from the portal entirely.
When enabled, clients can view document requests, upload documents, and see files shared with them. When disabled, the Documents section is hidden.
When enabled, clients can initiate and participate in chat conversations with your team. When disabled, the Chat section is hidden. Disabling chat also hides the Portal Chat from the Portal Admin section (since there would be no conversations to show).
When enabled, clients can see your availability and book appointments through the portal. The booking page pulls its configuration from the Scheduler Settings. When disabled, the Appointments section is hidden.
When enabled, portal announcements you publish are visible to clients on their portal home page. When disabled, announcements are hidden even if published.
Tips
- Use a transparent logo (PNG with a transparent background) so it looks clean against any background colour you choose. A logo on a white background looks unprofessional when the portal has a coloured header.
- Test your portal URL after making changes by opening it in a private/incognito browser window. This lets you see exactly what clients see when they log in.
- Disable unused features. If your practice does not take online bookings, disable the Booking feature. A simpler portal is a better client experience — clients do not need to see sections that are not relevant to them.