Vendor payments
Overview
The Vendor Payments screen records money paid out to vendors and applies it against their open bills. It is the accounts-payable settlement step: a payment reduces the vendor’s outstanding balance and clears (or partially clears) the payable.
Each payment posts a journal entry that credits the account you pay from (a bank or cash account) and debits Accounts Payable. A payment can be applied to one bill or split across several, and any amount you don’t allocate is tracked as unapplied. Posted payments link through to their journal entry and bank transaction, and the list supports inline and bulk editing of a payment’s expense account, tax rate, and memo.
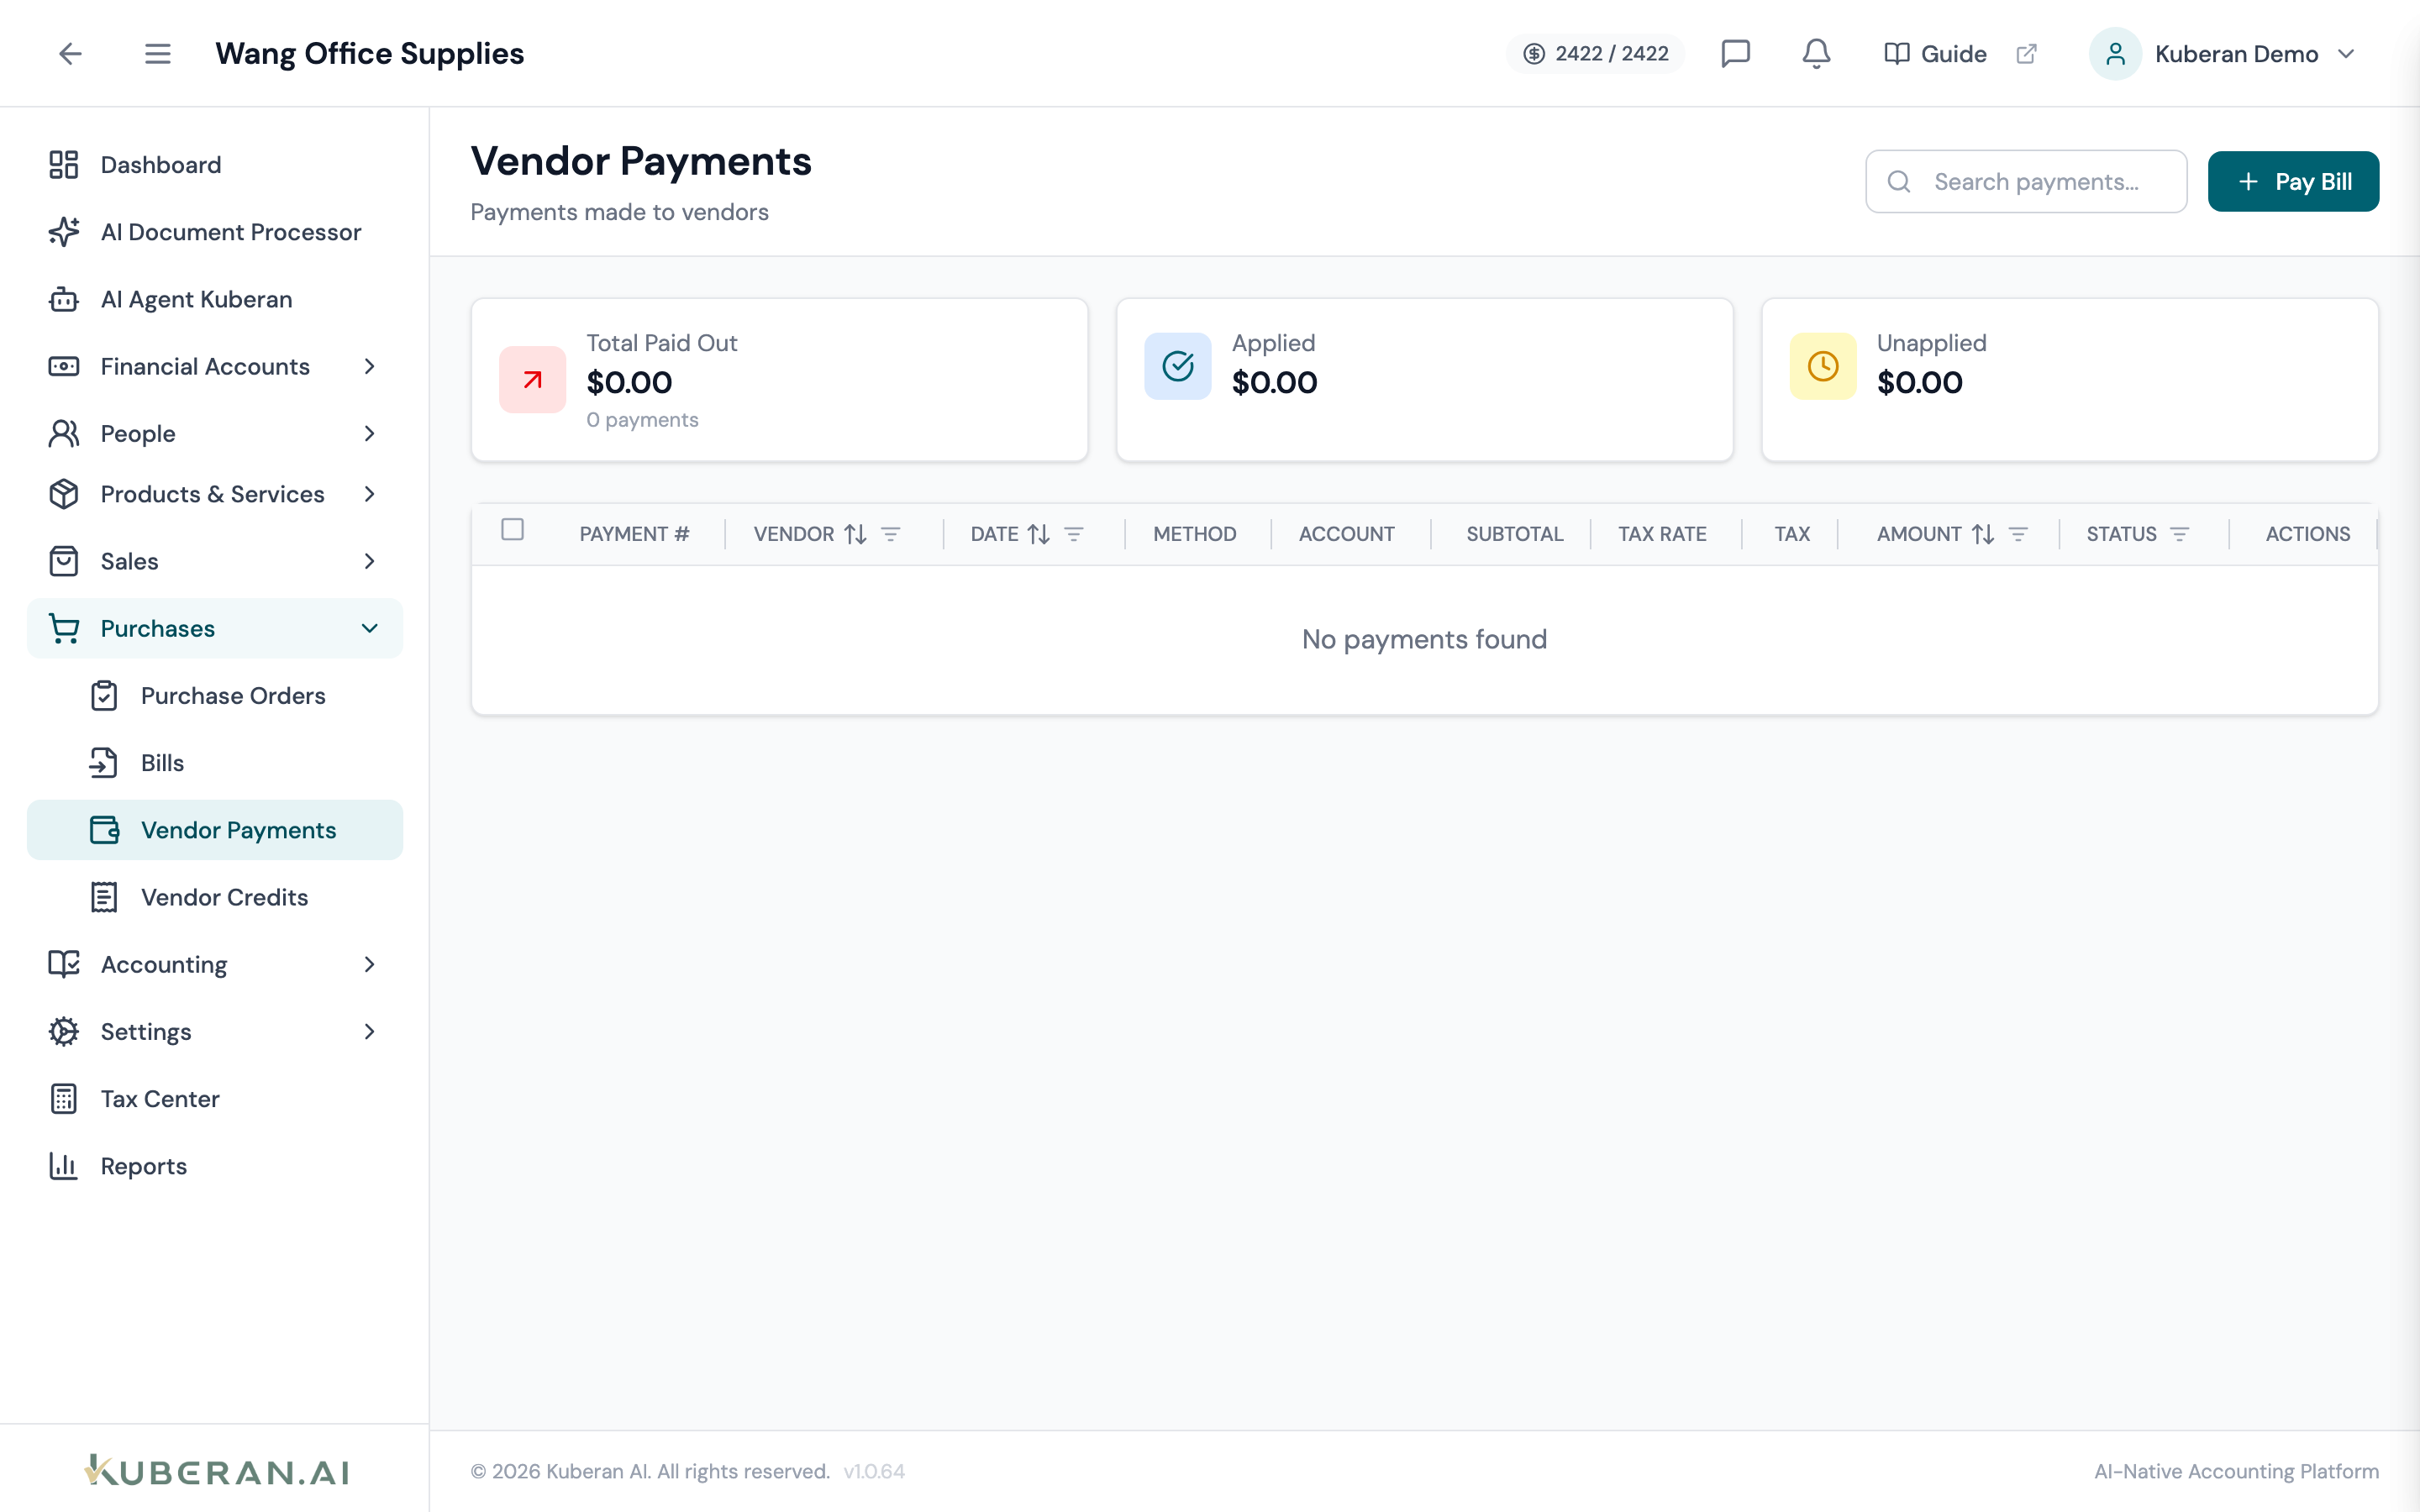
- (1) Summary cards — Total Paid Out, Applied, Unapplied
- (2) Pay Bill button — opens the payment form
- (3) Status badge — Applied, Partial, Unapplied, or Void
- (4) Amount column — total paid
- (5) Actions menu — view or void
Screen Layout
Summary cards (top): Total Paid Out (amount + count), Applied, and Unapplied.
Toolbar: a search field and a Pay Bill button. Selecting rows reveals bulk-edit controls.
Payment table (centre): Columns: Payment #, Vendor, Date, Method, Account, Subtotal, Tax Rate, Tax, Amount, Status, and Actions. A page-total row sums the visible Subtotal, Tax, and Amount.
Statuses
| Status | Colour | Meaning |
|---|---|---|
| Applied | Green | Fully applied to bills; nothing unapplied |
| Partial | Blue | Some applied; a balance remains unapplied |
| Unapplied | Amber | Paid but not yet applied to any bill |
| Void | Grey | Reversed; the journal entry and applications are backed out |
UI Elements
Toolbar
Opens the payment form to pay one or more of a vendor’s open bills.
Search payments by number, vendor, or reference.
Editable Columns
Vendor, Date, Payment Method, Expense Account, and Tax Rate can be edited directly in the grid — on a single row or across several selected rows at once. Save or discard the pending changes from the action bar.
Detail Panel
A posted payment links to its Journal Entry and Bank Transaction (both open in a new tab) and lists the bills it was Applied To.
Edit the expense account and tax rate; when taxed, the panel shows the Subtotal, Tax, and ITC Claim %.
Actions
Pay a Bill
- Click Pay Bill.
- Select the Vendor (required). Their open bills load below.
- Enter the Payment Date and Amount.
- Choose the Payment Method (Cash, Cheque, EFT, Credit Card, Bank Transfer, Other). If Cheque, a Cheque Number field appears.
- Choose Pay From — the bank or cash account the money leaves.
- Under Apply to Outstanding Bills, enter how much to apply to each bill.
- Add a Memo if needed and click Save Payment.
The payable is reduced by each applied amount; a fully settled bill becomes Paid, a partial one Partially Paid.
Edit a Payment
Open the detail panel and click Edit to change the expense account, tax rate, memo, or reference. For routine bulk changes (e.g., re-coding several payments to one expense account), select the rows and use the column bulk-edit controls.
Void a Payment
- Click ⋯ → Void on the payment row.
- Confirm. The journal entry is reversed and every bill application is removed, restoring those bills’ balances.
Vendor Payment vs Bill
A bill records what you owe (it creates the payable). A vendor payment records paying it (it clears the payable). Enter the bill first, then pay it here.
Related
- Bills — The payables that vendor payments settle
- Vendors — Vendor records and balances
- Vendor Credits — Credits applied against bills
- Bank Transactions — The bank-side record of each payment
- Reports — AP Aging reflects applied and outstanding balances