Calendar
Overview
The Practice Calendar provides a time-based view of all deadline-sensitive items in your firm: engagement due dates, individual task due dates, and manually created appointments or reminders. Unlike a standalone scheduling tool, the calendar in Kuberan AI is deeply integrated with the practice pipeline — clicking an engagement deadline opens its engagement workspace, and overdue items persist visibly until resolved. Three view modes (Month, Week, Day) let you choose the appropriate level of detail for planning or daily standup.
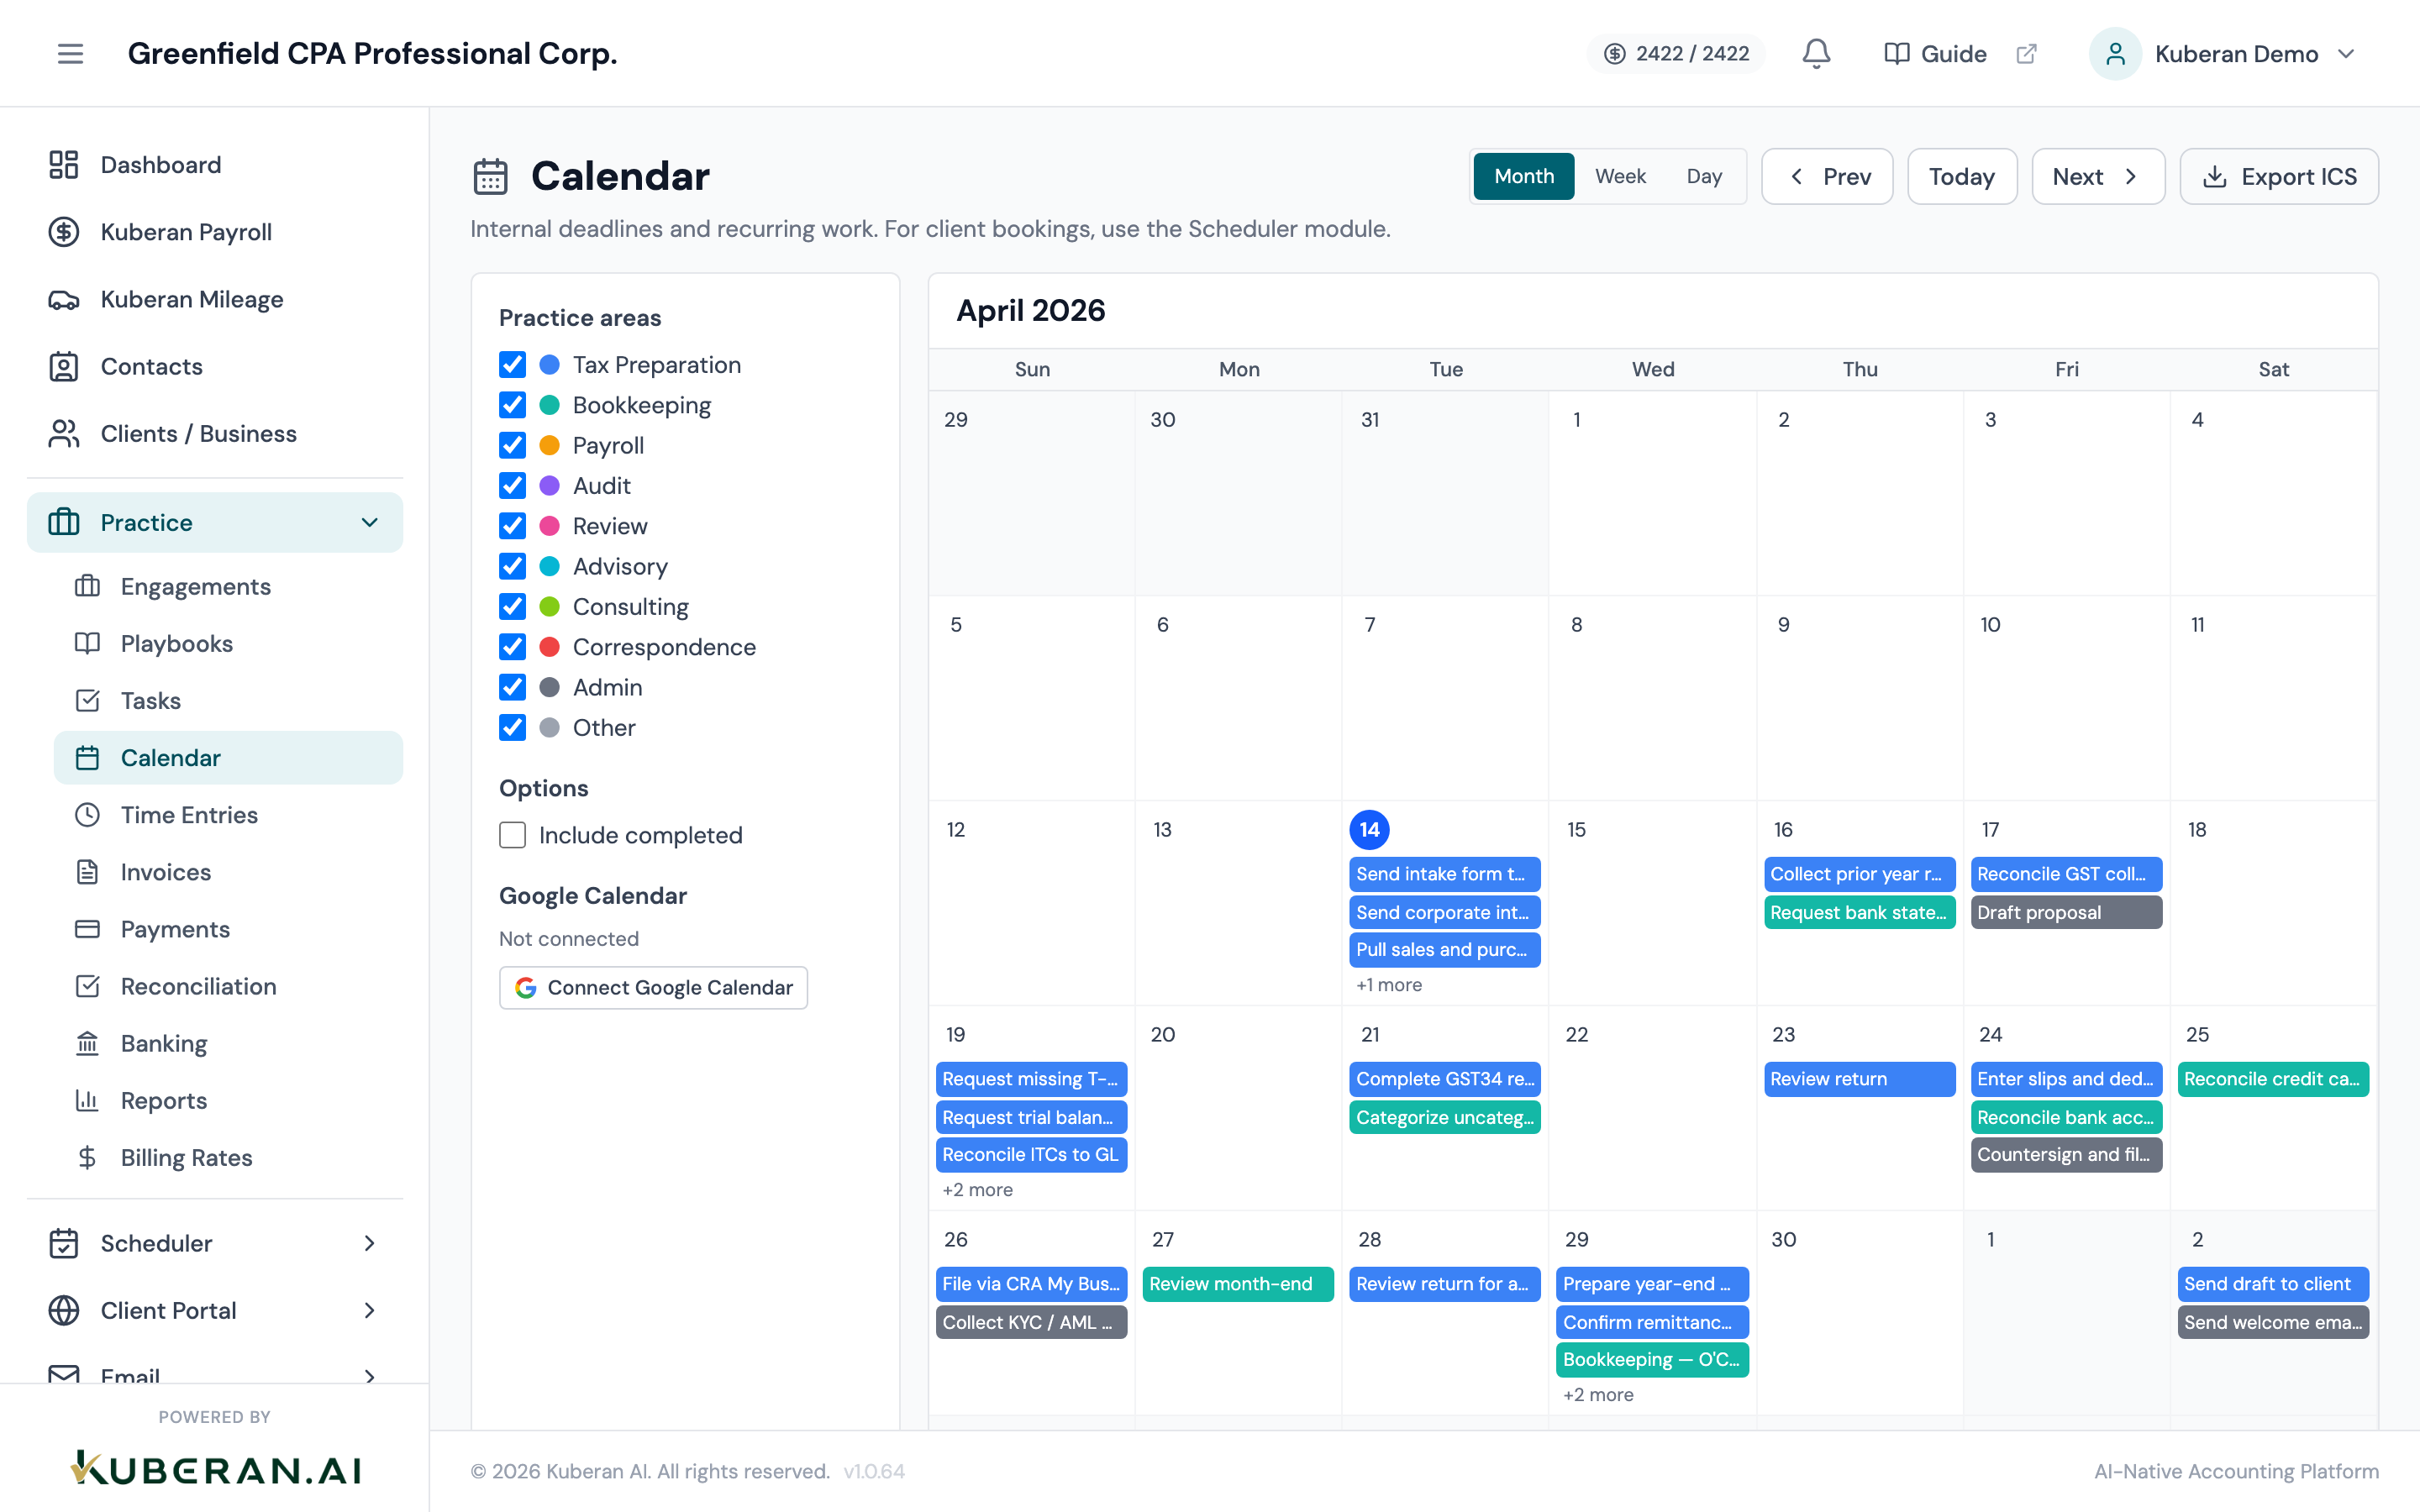
- (1) View selector — toggle between Month, Week, and Day views
- (2) Navigation arrows — move to previous or next period; Today button resets to current date
- (3) Event type legend — colour key for engagement deadlines, task due dates, and appointments
- (4) Engagement deadline event — teal pill showing client and engagement title
- (5) Task due date event — blue pill showing task title and engagement
- (6) Appointment event — amber pill for manually created events
Screen Layout
Toolbar (top): Contains the view selector (Month / Week / Day), the Today button, previous/next navigation arrows, the current period label (e.g., “April 2026”), the event-type filter toggles, and the + Add Event button.
Calendar Grid (centre): The main date grid. In Month view, each cell represents one day with up to 3 events visible before a “+N more” overflow link. In Week view, time slots are 30 minutes each. In Day view, the full day is shown as an hourly timeline.
Event detail popover: Clicking any event opens a small popover with the event’s key fields and a link to Open Full Detail, which opens the relevant engagement, task, or appointment drawer.
Mini-calendar (sidebar, Week and Day views): A compact month calendar on the left allows quick date navigation. Clicking a date jumps the main view to that day.
UI Elements
Displays the entire calendar month in a 7-column grid. Shows up to 3 events per day cell; overflow events are summarised with a “+N more” link.
Shows a 7-day time grid from Sunday to Saturday with 30-minute slots. Timed events appear as blocks at their scheduled time. All-day events (like deadlines) appear in a pinned row at the top.
Shows a single day as an hourly timeline. Best for reviewing a specific day’s appointments and deadlines in detail.
Navigates the calendar back to the current date regardless of which period is displayed.
Navigation arrows that move backward or forward by one month (Month view), one week (Week view), or one day (Day view).
Opens the New Event drawer for creating a manual appointment or reminder. Engagement deadlines and task due dates are created from their respective screens, not from here.
Shows or hides engagement due-date events. On by default. Toggle off to reduce visual noise when focusing on tasks only.
Shows or hides task due-date events. On by default.
Shows or hides manually created appointment events.
Filters calendar events to show only those belonging to a selected team member. Useful during one-on-one reviews or standup meetings.
Event Pills
| Colour | Type | Clicking opens |
|---|---|---|
| Teal | Engagement deadline | Engagement detail panel |
| Blue | Task due date | Task detail drawer |
| Amber | Appointment / reminder | Appointment detail drawer |
| Red border | Overdue item | Same as above, with overdue warning |
Actions
Navigate Calendar Views
- Click Month, Week, or Day in the view selector to switch layouts. Your current date position is preserved when switching.
- Click the ‹ or › arrows to move to the previous or next period.
- Click Today to return to the current date in any view.
- In Week or Day view, use the mini-calendar sidebar to jump to any date by clicking on it.
Create an Appointment or Reminder
- Click the + Add Event button in the toolbar, or click directly on a date/time cell in the Week or Day view grid.
- The New Event drawer opens. Enter an Event Title (required).
- Set the Date and, for timed appointments, the Start Time and End Time.
- Optionally link the event to an Engagement and select an Assignee from your team.
- Add optional Notes in the description field.
- Click Save Event. The appointment appears as an amber pill on the calendar.
Click an Event to View Detail
- Click any event pill on the calendar. A popover appears showing the event title, date/time, engagement link (if applicable), and assignee.
- Click Open Full Detail in the popover to open the full engagement workspace, task drawer, or appointment editor.
- Click Edit in the popover to edit appointment events directly (engagement deadlines and task due dates are edited from their respective screens).
- Press Escape or click elsewhere to close the popover without opening the detail view.
Filter the Calendar by Team Member
- Click the Assignee Filter dropdown in the toolbar.
- Select one or more team members. The calendar dims events not belonging to the selected assignees.
- Select All Team Members to return to the unfiltered view.
Edit an Appointment
- Click the appointment event pill to open the detail popover.
- Click Edit in the popover. The appointment drawer opens with all fields editable.
- Update the title, date, time, notes, or assignee as needed.
- Click Save. The calendar updates immediately.
Related
- Engagements List — Set and modify engagement due dates
- Tasks — Set task due dates that appear on the calendar
- Reports — Time summary and billing reports for the period visible on the calendar