Customers
Overview
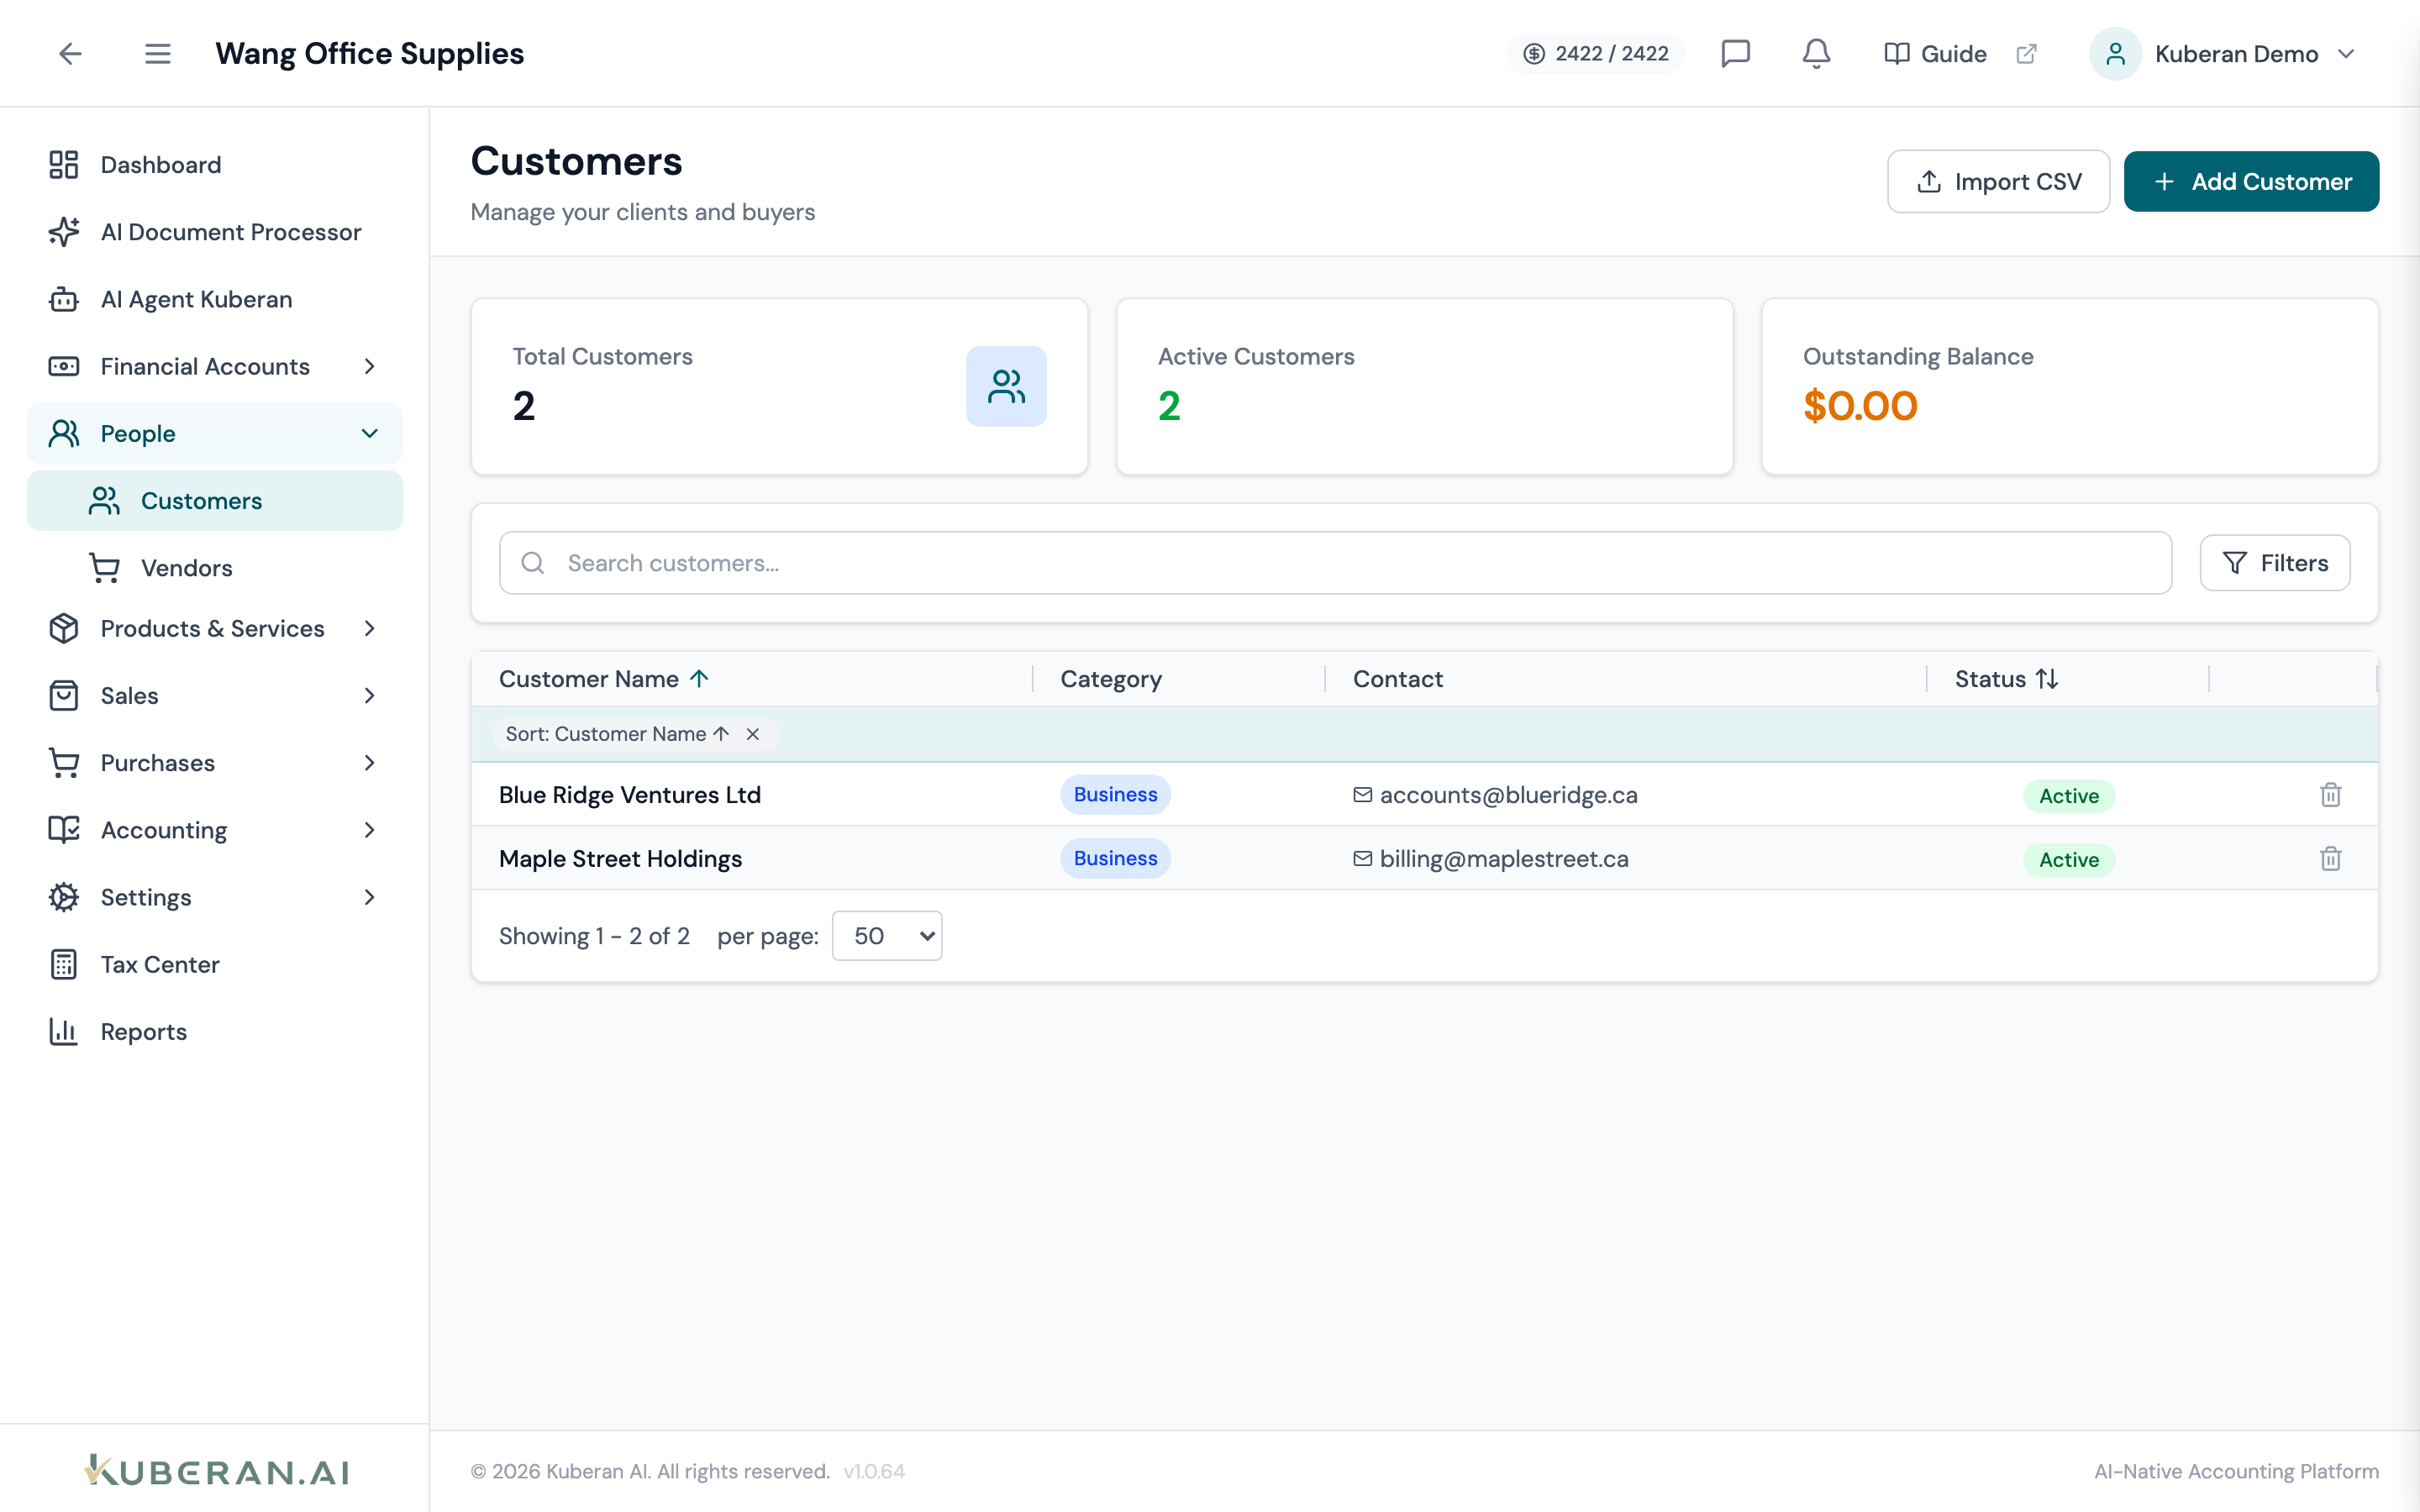
The Customers screen is the accounts receivable directory for the client’s books. Each customer record stores contact details, credit terms, default income account, and the history of all invoices and payments. The outstanding balance displayed for each customer reflects the net amount owed across all open invoices. Customer records are linked to invoices and estimates, ensuring that AR aging reports and revenue-by-customer reports are accurate. Customers can be shared with the client portal so that your client’s own customers can view and pay invoices online.
- (1) Create Customer button — opens the New Customer drawer
- (2) Search field — find by name, email, or customer number
- (3) Outstanding Balance column — total unpaid invoice amounts
- (4) Last Invoice Date column — date of the most recent invoice
- (5) Actions menu — edit, merge, view invoices, view payments, or delete
Screen Layout
Toolbar (top): Search field and Create Customer button.
Customer table (centre): Each row represents one customer. Columns: Customer Name, Email, Outstanding Balance, Last Invoice Date, and Actions. Click any row to open the customer detail panel.
UI Elements
Toolbar
Searches by customer name, email address, or customer number. Case-insensitive partial match.
Opens the New Customer drawer.
Off by default. When on, the list also shows shadow-Customer records created automatically by the Properties module — every Tenant is paired with a Customer record (source: 'tenant') so rent invoices, receipts, and AR aging flow through the standard accounting plumbing. Shadow rows display a small “tenant” badge next to the name. See Tenants for the mechanics.
Table Columns
The customer’s display name. Clicking the name opens the customer detail panel with tabs for Overview, Invoices, Payments, and Settings.
The primary email address. Used to send invoices, reminders, and statements directly from the platform.
The total amount owed by this customer — the sum of all invoices with a status of Sent, Viewed, Partially Paid, or Overdue. Displayed in CAD.
The issue date of the most recent invoice created for this customer. Sortable.
Per-row actions: View Invoices, View Payments, Create Invoice, Edit, Merge with…, Delete.
Customer Detail Panel
Clicking a customer opens a side panel with four tabs:
Overview: Display name, billing address, shipping address, email, phone, customer number, and notes.
Invoices: A list of all invoices for this customer, with status, amount, and due date. Includes a Create Invoice button.
Payments: A list of all payments received from this customer, linked to the invoices they were applied against.
Settings: Default income account, credit terms, currency override, and tax-exempt status.
Credit Terms
The default net payment terms for invoices created for this customer. Options: Due on Receipt, Net 7, Net 15, Net 30, Net 60, Net 90. These terms are pre-populated on new invoices but can be overridden per invoice.
Optional. If set, a warning is shown when creating a new invoice would push this customer’s outstanding balance over the limit.
Default Income Account
The chart-of-accounts income account pre-selected when adding a line item to a new invoice for this customer. Useful for customers who always generate a specific revenue type (e.g., “Consulting Revenue”).
Tax Settings
Enable for customers who are exempt from GST/HST (e.g., certain Indigenous bands, qualifying non-profit organisations, export sales). When enabled, tax is not applied to new invoice line items for this customer.
The customer’s GST/HST registration number, if applicable. Recorded for reference on invoices where the customer charges GST/HST back.
Actions
Create a Customer
- Click Create Customer in the toolbar.
- Enter the Customer Name (required). This is the name that appears on invoices.
- Enter the Email address for invoice delivery.
- Add billing and shipping addresses as needed.
- Set the Payment Terms (default: Net 30).
- Select the Default Income Account from the chart of accounts.
- If applicable, enable Tax Exempt and enter the GST/HST number.
- Click Save Customer.
Merge Duplicate Customers
- Click ⋯ → Merge with… on the customer row you wish to keep.
- Search for and select the duplicate customer record.
- Review the merge preview showing invoices and payments to be re-assigned.
- Click Confirm Merge. All invoices, payments, and estimates from the duplicate are moved to the surviving record. The duplicate is deleted.
View Customer Invoices
- Click ⋯ → View Invoices on the customer row, or open the customer detail panel and click the Invoices tab.
- The Invoices list opens pre-filtered to show only this customer’s invoices.
View Customer Payments
- Click ⋯ → View Payments on the customer row, or open the customer detail panel and click the Payments tab.
- Each payment row shows the date, amount, payment method, and the invoice(s) it was applied to.
Delete a Customer
A customer can only be deleted if it has no associated invoices, estimates, or payments.
- Click ⋯ → Delete on the customer row.
- If associated records exist, you will be prompted to reassign or delete them first.
- Confirm deletion.