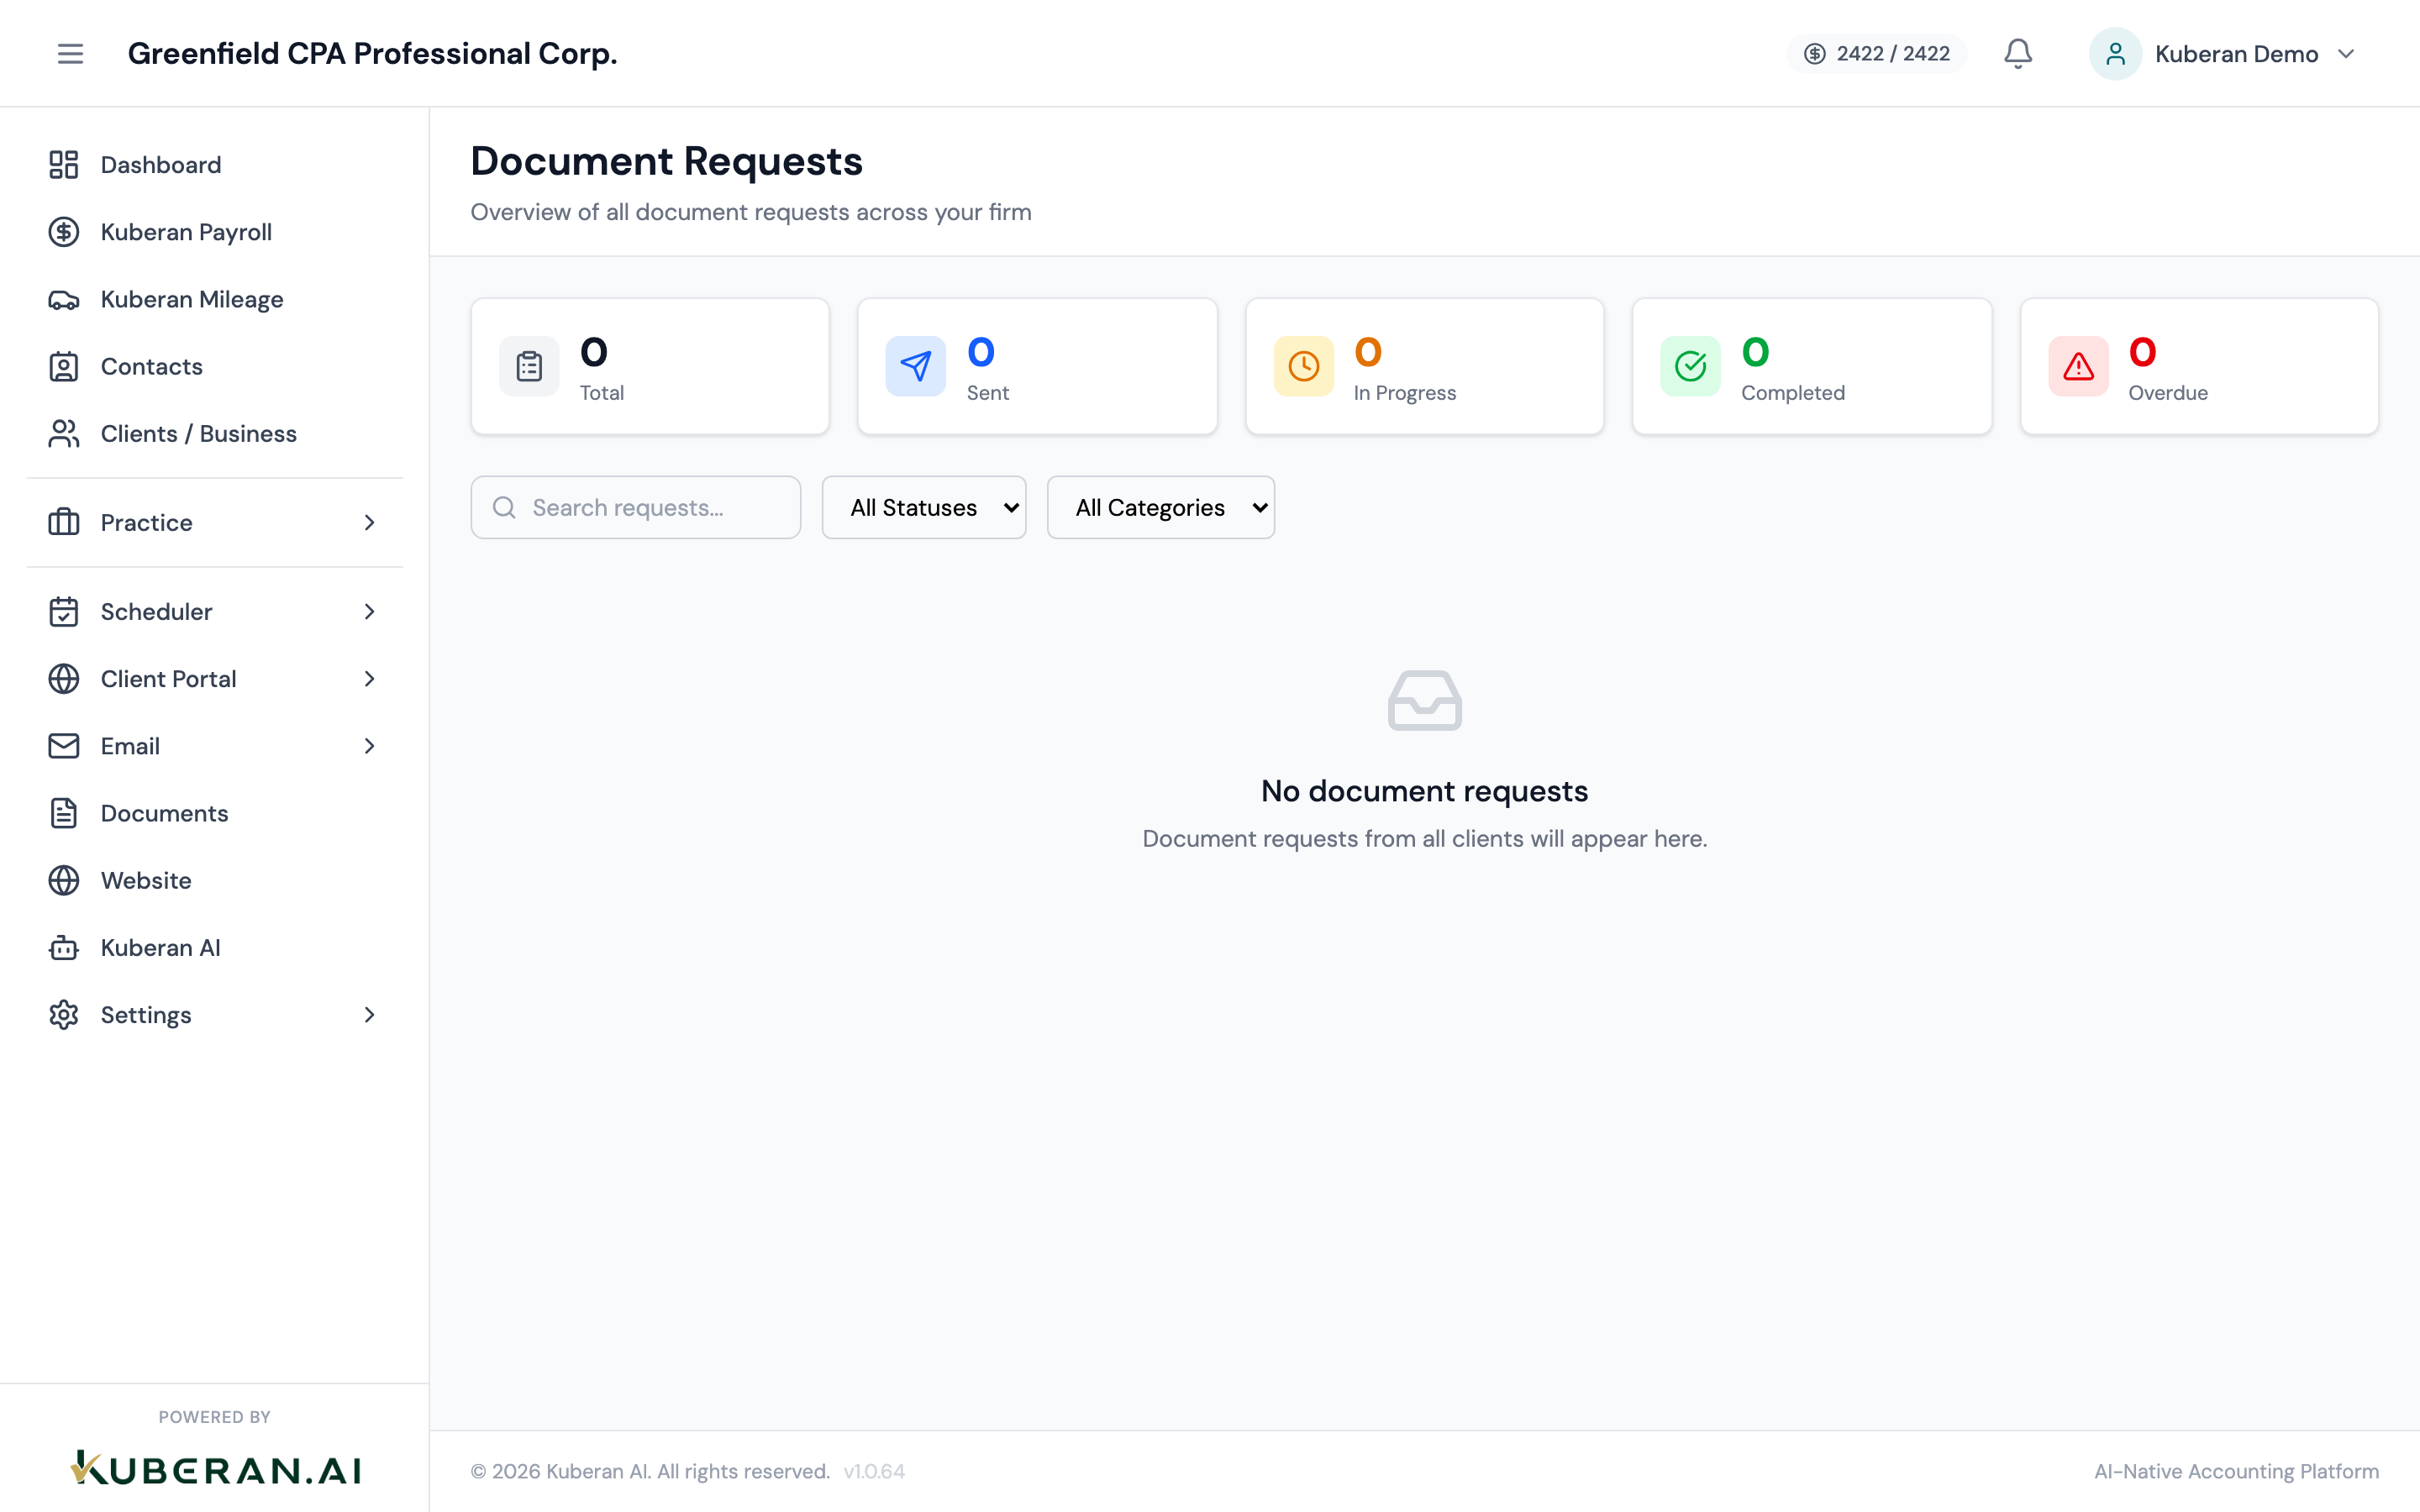
Document Requests
Document requests are one of the most time-consuming parts of client management in an accounting practice. You send an email listing what you need, the client replies asking what exactly you meant by “T4s,” you follow up a week later, and still half the items are missing. Kuberan’s document request feature replaces this email cycle with a structured, tracked workflow.
What a document request is
A document request in Kuberan is a checklist of specific items you need from a client, with:
- A clear description of each item
- A due date for the entire request
- A direct link to the client portal where the client can upload each document
- Automatic notifications when items are uploaded
- A status tracker so you can see at a glance what is outstanding
Create a document request
Navigate to Clients, find the client, and open their detail page.
Click Document Requests in the client’s navigation tabs (or go to Practice > Document Requests and filter by client).
Click New Document Request.
Enter a request name
Give the request a clear name that the client will recognise, such as:
- “2024 Tax Return — Documents Required”
- “Q1 2025 GST/HST Preparation”
- “Year-End Bookkeeping — Missing Source Documents”
Set the due date
Enter the date by which you need all documents. This date appears prominently in the client portal and is used for reminder notifications.
Add request items
Click + Add Item for each document you need. For each item, enter:
- Item name — short, clear label (e.g., “T4 slip — RBC”)
- Description — optional additional detail (e.g., “The T4 slip issued by RBC Dominion Securities for your RRSP proceeds”)
- Required vs. optional — mark items as required so the client knows which are mandatory
Be specific with item names — 'Bank statement March 2025' is better than 'Bank statement'. Add items from a template (optional)
If you have a standard list of documents for a particular engagement type (e.g., T1 personal tax return), click Use Template to load a pre-built list. You can then edit, add, or remove items from the template.
Templates are managed under Practice > Settings > Document Request Templates.
Assign to a team member (optional)
If someone on your team is responsible for following up on this request, assign them here. They will receive a notification when items are uploaded.
Click Save Request.
Send the request to the client portal
After creating the request, click Send to Client.
Review the email preview. The email includes:
- The request name and due date
- A summary of how many items are requested
- A View Request button that links directly to the document request in the client portal
Edit the email message if you want to add personal context.
Click Send. The client receives the email and can access the request immediately through the client portal.
How the client uploads documents
When the client opens the document request in the portal, they see:
- The full list of requested items with your descriptions
- An upload slot next to each item
- The due date displayed prominently
- Their progress (e.g., “3 of 8 items uploaded”)
For each item, the client clicks Upload, selects a file from their device, and adds an optional note. Supported file types: PDF, JPG, PNG, HEIC, and most Office document formats.
The client can upload files from a desktop browser or the Kuberan mobile app on their phone (useful for photographing paper receipts).
Receiving notifications
When a client uploads a document against a request item, you receive an in-app notification and (depending on your notification settings) an email. The notification shows:
- Which client uploaded
- Which document request item was fulfilled
- The filename uploaded
Go to Clients > [Client name] > Document Requests to view the uploaded file and review it.
Review and mark items complete
Open the document request from Practice > Document Requests or from the client’s detail page.
Click on any uploaded item to preview the document inline. You can also download it.
If the uploaded document is acceptable, click Mark Complete on that item. The item status changes to green.
If the document needs correction (e.g., wrong year, wrong account), click Request Revision and enter a note explaining what the client needs to correct. They receive a notification and can re-upload.
Once all required items are marked complete, click Complete Request to close the entire request. The client receives a notification confirming their submission is complete.
Request status tracking
The Document Requests list view shows each request’s overall status:
| Status | Meaning |
|---|---|
| Sent | Request sent; client has not uploaded anything yet |
| In Progress | Client has uploaded some items; others are outstanding |
| Needs Review | All items uploaded; waiting for your review |
| Complete | All required items reviewed and approved |
| Overdue | Past the due date with outstanding items |
Filter by Overdue to quickly identify requests that need a follow-up nudge. You can send a reminder directly from the request — click Send Reminder, which triggers an automated reminder email to the client.
Attaching uploaded documents to an engagement
Documents uploaded via a document request are stored in the client’s document library. To attach them to the relevant engagement:
- Go to Practice > Engagements and open the engagement.
- Click Attach Document in the engagement’s files section.
- Select from the client’s document library — the uploaded files appear here.
- Click Attach.
The documents are now part of the permanent engagement file.