Payments
Overview
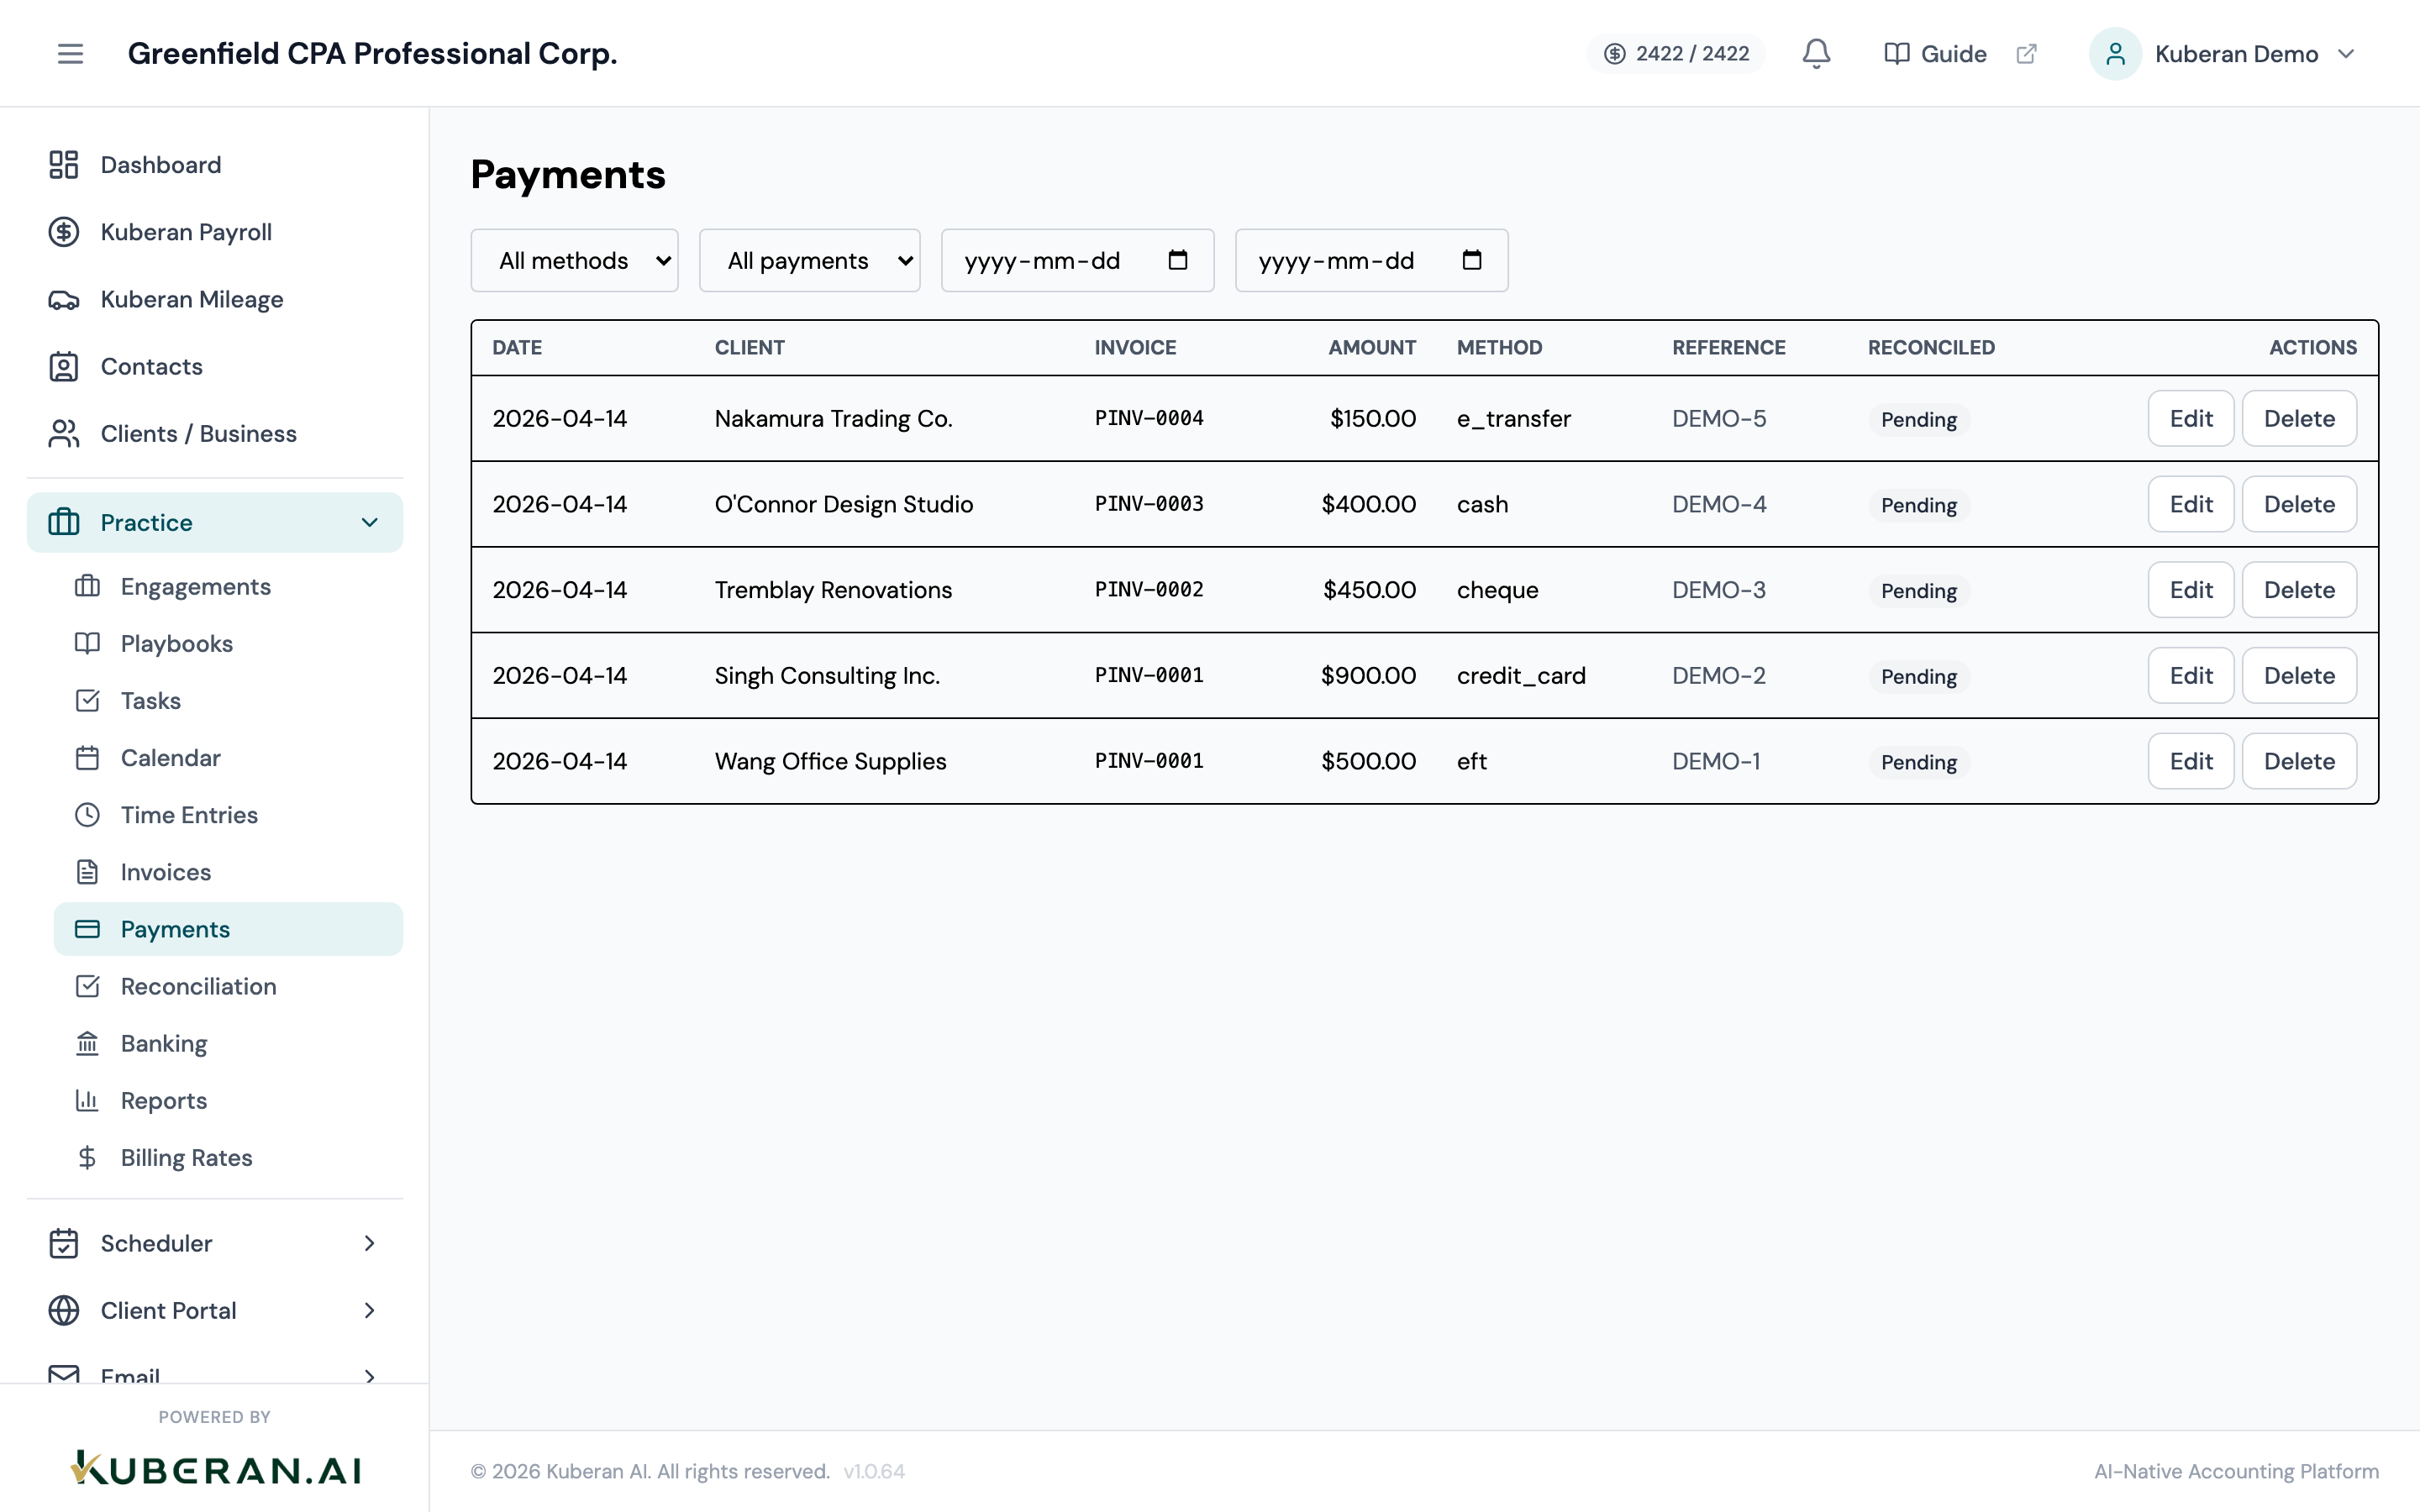
The Payments screen provides a consolidated ledger of every payment recorded against your firm’s invoices. While payments can also be recorded from within an individual invoice, this screen gives you the full picture: total cash collected by date range, partial versus full payments, payment method breakdown, and quick access to the linked invoice for each record. This view is particularly useful for end-of-month cash reconciliation and answering client queries about payment history.
- (1) Date range filter — narrow payments by collection date
- (2) Payment Method filter — filter by Cheque, EFT, Credit Card, Cash, or Other
- (3) Total Collected summary — sum of all payments in the current filtered view
- (4) Invoice link — click to open the source invoice
- (5) Record Payment button — add a payment outside the invoice workflow
Screen Layout
Toolbar (top): Date range picker (defaults to the current month), Client filter dropdown, Payment Method filter, and the Record Payment button.
Summary strip: Displays the total amount collected for the filtered period, total number of payment records, and a breakdown by payment method (e.g., EFT: $12,400 · Cheque: $3,200).
Payments table: Sorted by Payment Date descending. Columns: Payment Date, Client, Invoice #, Invoice Amount, Payment Amount, Balance After, Payment Method, Reference #, Actions.
UI Elements
Toolbar
Filter payments by the date the payment was recorded. Quick presets: Today, This Week, This Month, Last Month, Custom.
Multi-select dropdown to show payments from one or more specific clients.
Options: All, Cheque, Bank Transfer (EFT), Credit Card, Cash, Other.
Opens the Record Payment drawer. Use this to log a payment when you are not starting from a specific invoice.
Table Columns
The date the payment was received. Sortable.
The client who made the payment. Links to the client profile. Sortable.
The invoice number this payment is applied to. Click to open the source invoice. Sortable.
The original total of the linked invoice.
The amount recorded in this specific payment record. May be less than the invoice amount for partial payments. Sortable.
The invoice’s outstanding balance after this payment was applied. Zero indicates the invoice was fully settled.
Badge showing Cheque, EFT, Credit Card, Cash, or Other.
Optional reference identifier entered when the payment was recorded (cheque number, transaction reference, etc.).
Options: Edit, View Invoice, Delete.
Record Payment Drawer Fields
Required. Select the invoice to apply this payment against. Searching by client name or invoice number filters the dropdown. The outstanding balance is displayed once an invoice is selected.
Defaults to the full outstanding balance of the selected invoice. Reduce for partial payments.
Required. The date the payment was received. Defaults to today.
Dropdown: Cheque, Bank Transfer (EFT), Credit Card, Cash, Other.
Optional. Cheque number, EFT trace number, or other identifier for cross-referencing bank statements.
Optional internal notes about this payment (not visible to the client).
Actions
Record a Payment
- Click Record Payment in the toolbar. The Record Payment drawer opens.
- In the Invoice field, type the client name or invoice number to search, then select the correct invoice from the dropdown. The outstanding balance is shown automatically.
- Enter the Payment Amount. It defaults to the full outstanding balance; adjust it for a partial payment.
- Set the Payment Date to the date the payment was actually received.
- Select the Payment Method.
- Enter an optional Reference Number (e.g., cheque number 1042).
- Click Save Payment. The payment appears in the Payments list and the linked invoice’s outstanding balance decreases accordingly. If fully paid, the invoice status changes to Paid.
Edit a Payment Record
- Click ⋯ → Edit on the payment row. The Edit Payment drawer opens with the current values pre-filled.
- Modify the payment amount, date, method, or reference number as needed.
- Click Save. The linked invoice’s outstanding balance recalculates automatically based on the corrected amount.
Delete a Payment Record
- Click ⋯ → Delete on the payment row.
- Confirm the deletion in the dialogue. The payment is permanently removed.
- The linked invoice’s outstanding balance and status revert immediately — if the invoice was Paid, it will revert to Sent or Overdue depending on the due date.
View the Linked Invoice
- Click the Invoice # link in the table row, or click ⋯ → View Invoice.
- The Invoice detail drawer opens, showing all line items, payment history, and current status for that invoice.
Related
- Invoices — Create and manage invoices; record payments from within an invoice
- Reconciliation — Match bank statement deposits to recorded payments during reconciliation
- Reports — Billing summary and revenue reports include payment data