Invoice clients from engagements
Kuberan AI’s billing workflow is designed to move cleanly from logged time to paid invoice without manual re-entry. Once your team has been logging time against an engagement, creating an invoice takes a few minutes and produces a polished, GST-compliant invoice ready to send.
The billing workflow at a glance
Review unbilled time → Create invoice from engagement → Edit line items → Set due date → Send to client → Record payment → Mark paidStep 1: Review unbilled time entries
Before creating an invoice, it is worth reviewing the time entries to catch anything that needs to be adjusted — a wrong billing rate, a non-billable entry accidentally marked billable, or time that should be written off.
Open the engagement
Navigate to Practice > Engagements and click on the engagement you want to invoice.
Go to the Time tab
Click the Time tab to see all time entries. Look for:
- Entries with no description (add one so the invoice line item is clear to the client)
- Entries with the wrong billing rate (click to edit)
- Entries that should be non-billable (toggle the billable flag off)
- Time that should be written off entirely (mark as non-billable or delete)
Make any corrections
Click any time entry to edit it. Changes here affect only this engagement’s entries.
Step 2: Create the invoice
Click Create Invoice
From the engagement detail page, click the Invoice tab, then click Create Invoice. A draft invoice is generated with all unbilled billable time entries pre-loaded as line items.
Kuberan AI pre-populates the invoice with all unbilled billable time entries. Each entry becomes a separate line item. Review the line items
The draft invoice shows each time entry as a line: date, description, hours × rate = amount. Review each line:
- Edit a line item — click the line to edit the description, quantity, or rate
- Remove a line item — click the delete icon to exclude a time entry from this invoice (it remains logged as unbilled and will appear on the next invoice)
- Add a line item — click Add line to add a fixed-fee item, expense reimbursement, or any charge not captured in time entries
- Consolidate lines — if you prefer a single flat-fee line rather than itemised hours, delete the individual time entries and add one consolidated line (e.g. “Monthly bookkeeping services — March 2025 — $1,200”)
Set the invoice date
This defaults to today. For month-end billing, you may want to set it to the last day of the month being billed.
Set the due date
Enter the payment due date. Common terms for Canadian accounting firms:
- Net 30 — due 30 days after invoice date (most common)
- Net 15 — for shorter payment cycles or newer clients
- Due on receipt — for one-time or project billings requiring prompt payment
The due date is printed on the invoice and drives overdue notifications.
Verify GST/HST
Kuberan AI automatically applies GST/HST to all invoiced services based on the tax rate configured in your workspace settings. Verify that:
- The correct tax rate is applied (5% GST, 13% HST Ontario, 15% HST Maritime provinces, etc.)
- Your GST/HST registration number appears in the invoice footer
- If a client is tax-exempt (rare for business clients), the tax has been removed
Your GST/HST number is set at Settings > Tax Profiles. If it is not appearing on invoices, check that it has been configured there.
Add a message to the client (optional)
Click the Message field to add a personal note that appears at the bottom of the invoice — for example: “Thank you for your business. Please note our banking details have changed — see new account number below.” or “This invoice covers the period January 1–March 31, 2025.”
Review the draft
Click Preview to see exactly how the invoice looks before sending. Check that:
- Your firm name and logo are correct
- The client’s name and address are correct
- All line items are accurate and clearly described
- The subtotal, GST/HST, and total are correct
- Your payment instructions are present (bank details or e-transfer address)
Step 3: Send the invoice
Click Send
Click the Send Invoice button. A dialog appears asking you to confirm the recipient email address. It defaults to the primary contact email on the client record.
You can add additional recipients (e.g. the client’s bookkeeper or accounts payable contact) by typing additional email addresses separated by commas.
Add a subject and message (optional)
Customise the email subject and body. The default subject is “Invoice [number] from [Your Firm Name].” A brief professional message in the email body is courteous and reduces the chance the invoice gets overlooked.
Click Send Invoice
Click Send Invoice to deliver the email. The invoice status changes to Sent and the time entries included on it are marked as Billed.
Step 4: Record payment when received
When the client pays — by e-transfer, cheque, credit card, or EFT — record the payment in Kuberan AI.
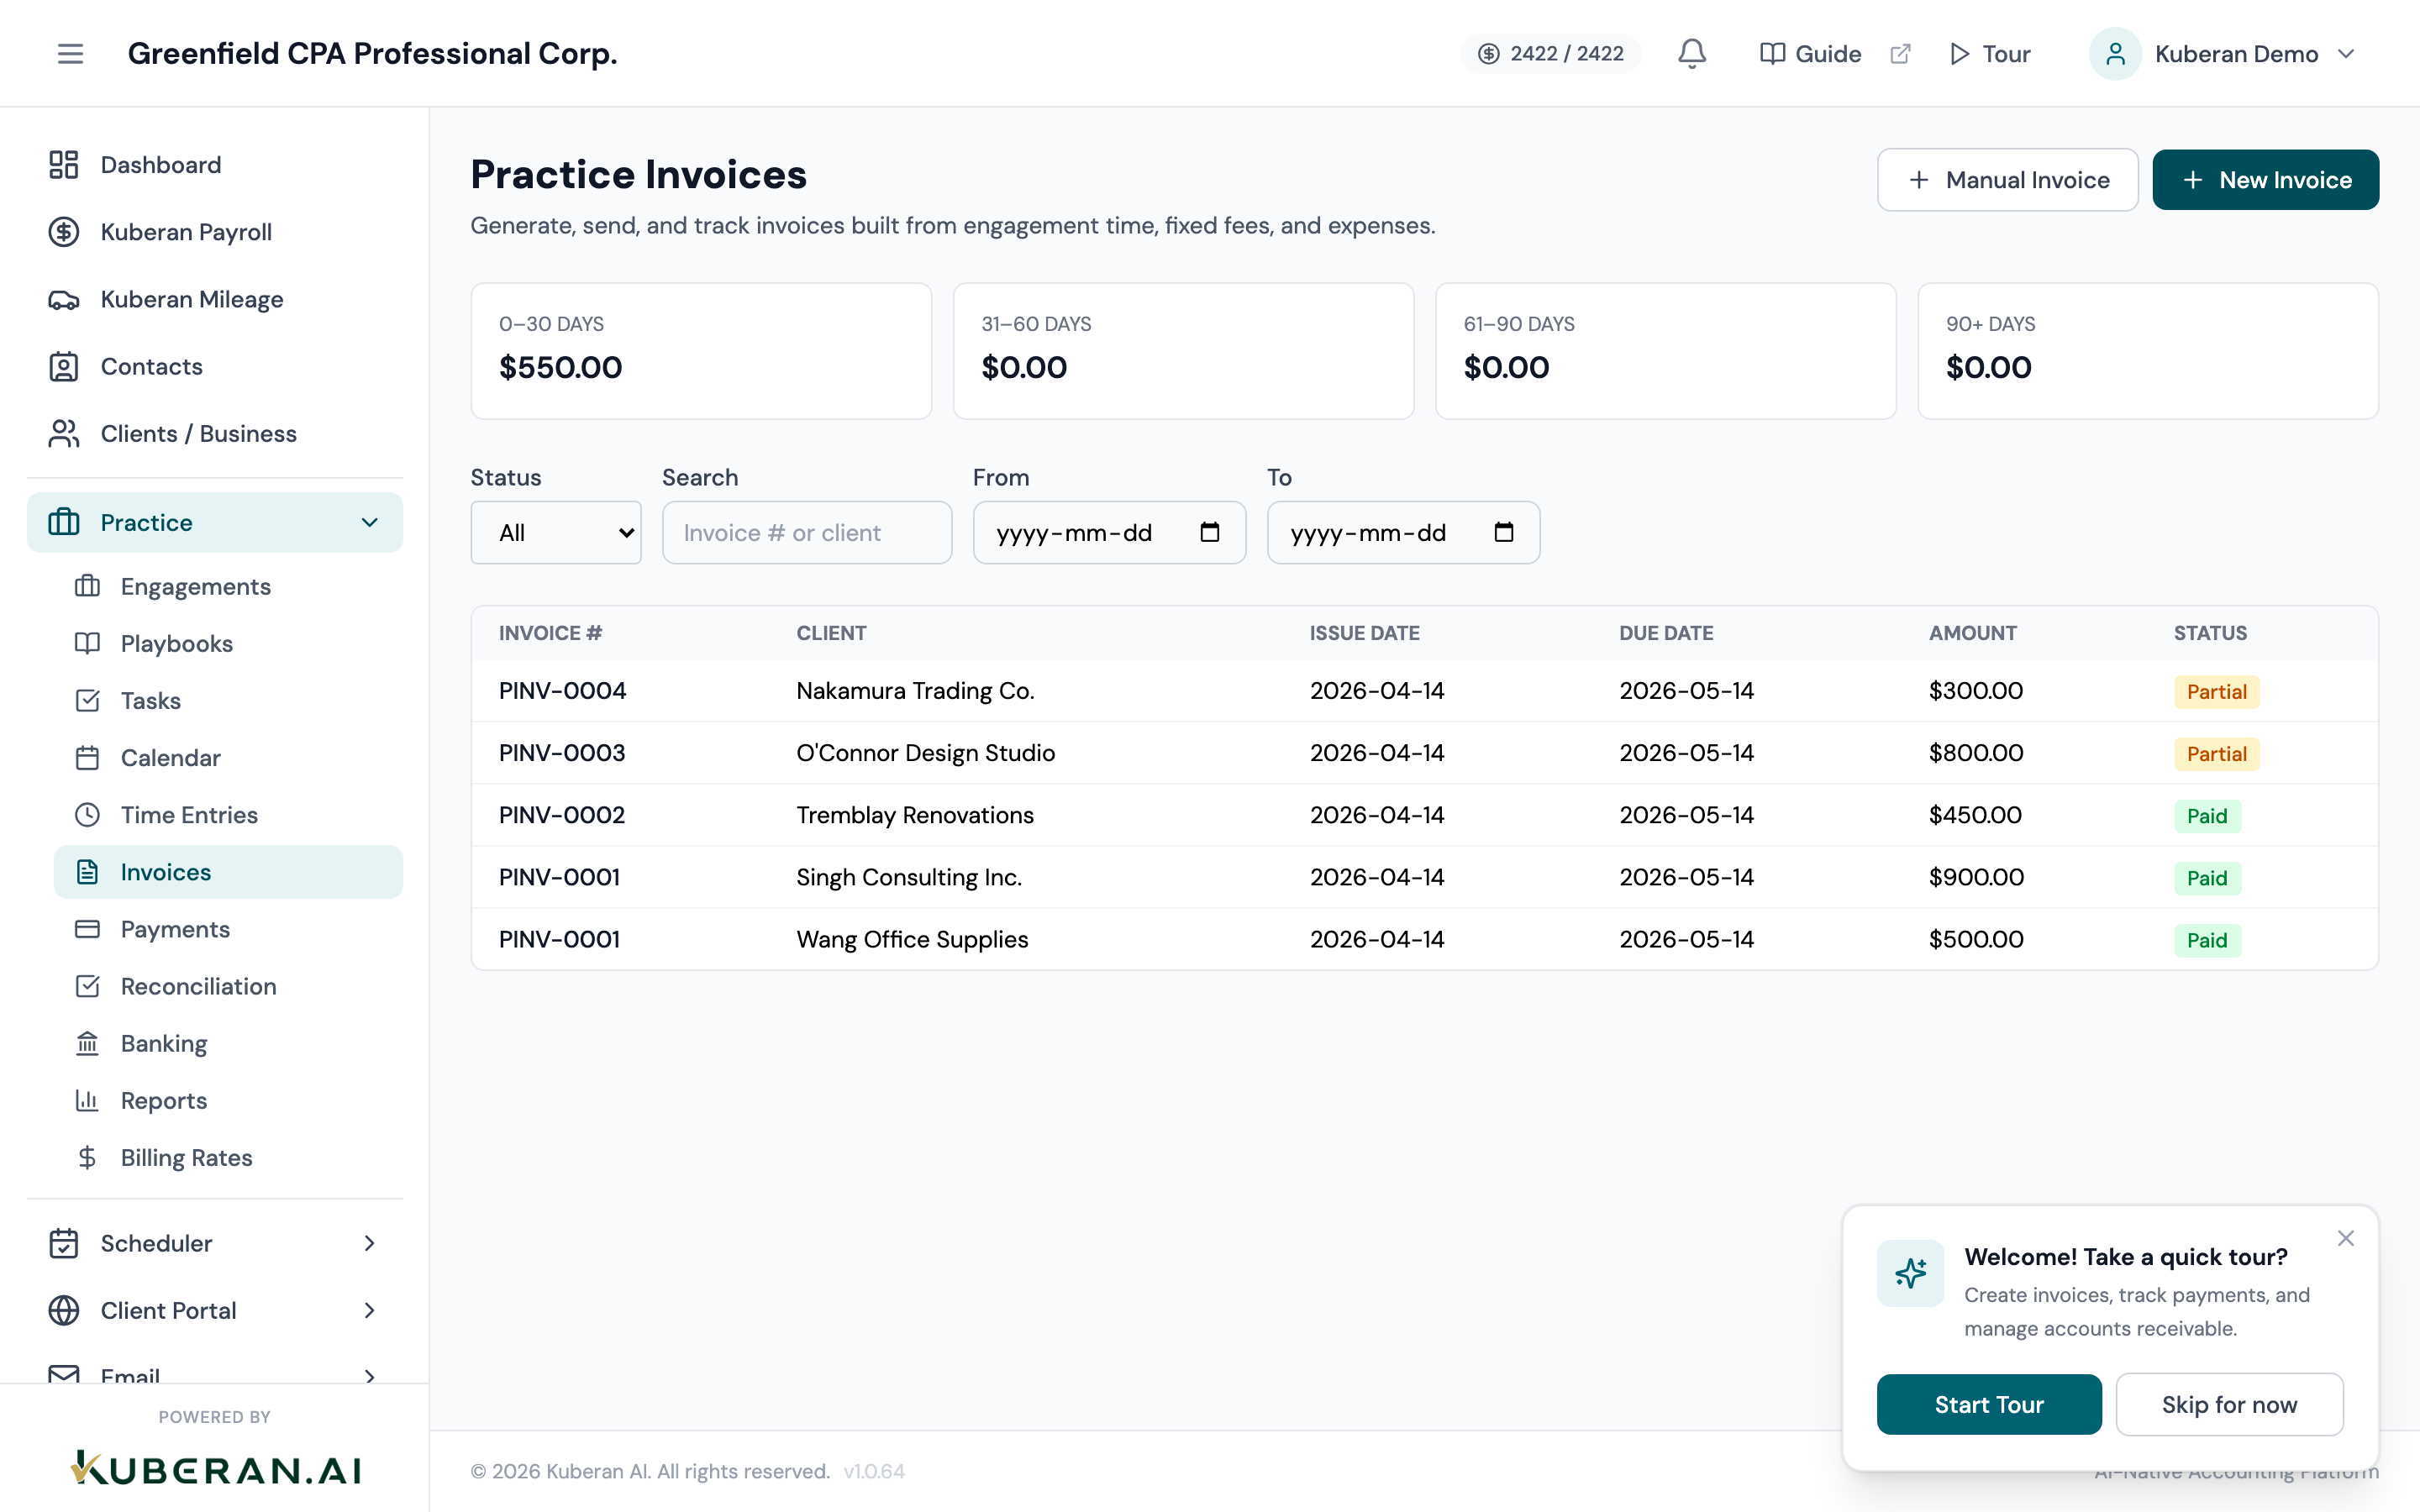
Find the invoice
Go to Practice > Invoices and find the invoice by client name or invoice number. Alternatively, open the engagement and click the Invoice tab.
Click Record Payment
Click Record Payment on the invoice. A form appears.
Enter payment details
- Amount received — defaults to the full outstanding balance; change it if the client paid a partial amount
- Payment date — the date the funds cleared or the cheque was deposited
- Payment method — Interac e-transfer, cheque, credit card, EFT, etc.
- Reference — the e-transfer reference number, cheque number, or other identifier (optional but useful for reconciliation)
- Deposit to — select the firm bank account the payment was deposited into (this links the payment to your bank reconciliation)
Click Save Payment
Click Save. The invoice status changes to Paid and the payment appears in the Practice > Payments list and in the linked bank account’s transactions.
Handling partial payments and overdue invoices
Partial payment: If a client pays part of an invoice, record the partial amount. The invoice status changes to Partially Paid and the outstanding balance is tracked automatically. You can record further payments against the same invoice as they arrive.
Overdue invoices: Kuberan AI automatically marks invoices as Overdue on the day after the due date. You can see all overdue invoices at Practice > Invoices using the Overdue filter. To send a payment reminder, open the overdue invoice and click Send Reminder — this sends a professional follow-up email with the original invoice attached.
Common questions
Can I void or edit a sent invoice? A sent invoice can be voided (which cancels it) but not edited directly, as the client already has a copy. If changes are needed, void the original and create a corrected invoice. If the amount was too high, issue a Credit Memo instead.
Can I create an invoice without time entries? Yes. You can create a standalone invoice for a flat-fee engagement or a project milestone even if no time entries have been logged. From the engagement, click Create Invoice and manually add line items.
Can I set up recurring invoices? Yes. For clients on a monthly retainer, set up a recurring invoice at Practice > Invoices > Recurring. Kuberan AI generates and sends the invoice automatically on the schedule you configure.