Document Requests
Overview
Document Requests is the structured way to collect documents from clients. Instead of chasing clients via email for T-slips, bank statements, or signing documents, you create a request that lists exactly what is needed. The client sees the request in their portal, uploads each item, and the status updates automatically as they fulfil each line item. You can send reminders, track partial completion, and mark requests complete once everything has been received. This creates a clear record of what was requested, when, and what was provided.
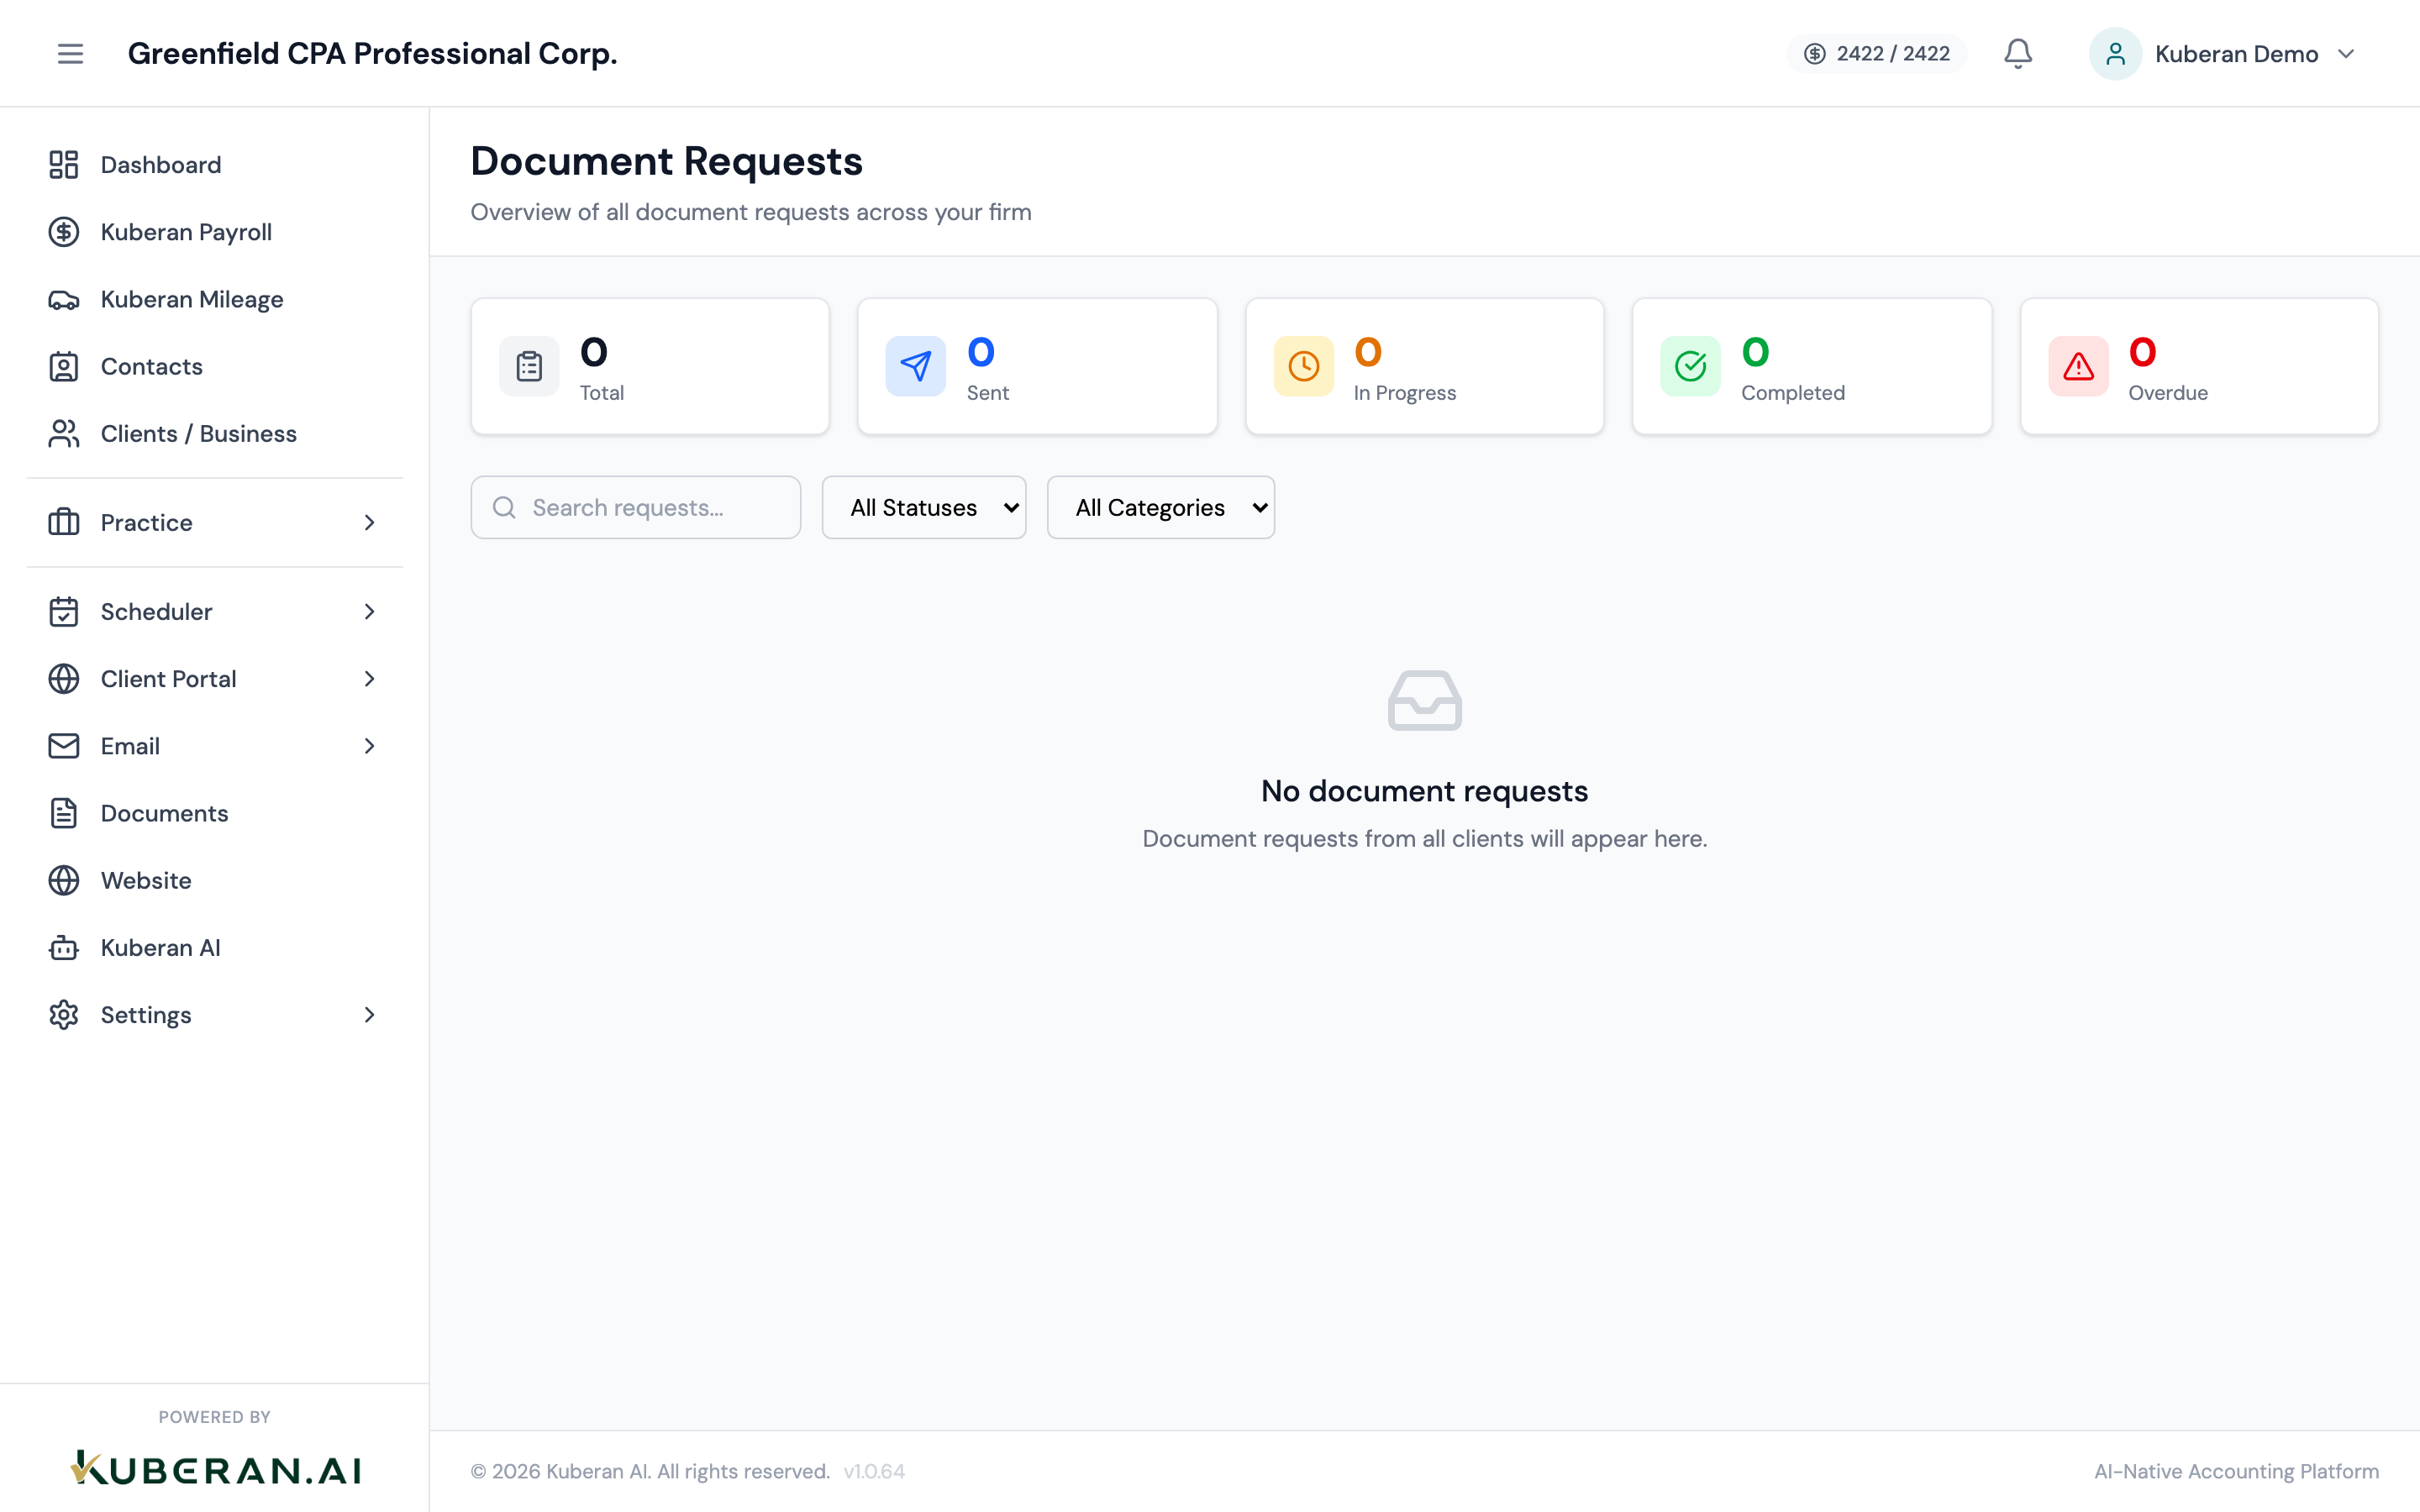
- (1) Create Request button
- (2) Client name and request title
- (3) Status badge — Pending, Partial, Complete
- (4) Due date with overdue indicator
- (5) Document count (received / total)
- (6) Send Reminder and View actions
Screen Layout
Toolbar (top): Create Request button, status filter (All / Pending / Partial / Complete / Overdue), and client filter.
Requests table: One row per request with columns for Client, Request Title, Status, Due Date, Documents (received/total), and Actions.
Request Statuses
| Status | Meaning |
|---|---|
| Pending | Request sent to client; no documents received yet. |
| Partial | At least one document has been uploaded, but not all items are complete. |
| Complete | All required documents have been received (or manually marked complete). |
| Overdue | Past the due date with at least one document outstanding. |
Actions
Create a Document Request
- Click Create Request in the toolbar.
- Select the client from the dropdown.
- Enter a request title (e.g., “2024 T1 Personal Tax — Source Documents”).
- Set a due date. This is shown to the client in their portal and used to flag overdue requests.
- Add document items. Each item is a specific document the client needs to provide. Click Add Item to add a line. For each item, enter:
- Document name (e.g., “T4 from ABC Employer,” “RRSP Contribution Receipt”)
- Optional description or instructions
- Whether the item is Required or Optional
- Optionally select a folder in the Documents module where uploaded files should be automatically saved.
- Click Save Request. The request is created in Draft status.
- Click Send to Client Portal to make the request visible in the client’s portal. The client receives a portal notification (and an email if email notifications are enabled).
View a Request
Click View on any request row to open the request detail panel. The panel shows:
- The request title, client, and due date
- Each document item with its current status (Awaiting, Uploaded, Reviewed, Accepted, or Declined)
- The uploaded files for each item (click to preview or download)
- The full timeline of activity (when the request was sent, when items were uploaded, when reminders were sent)
Send a Reminder
- Find the request in the list and click Send Reminder.
- A pre-filled message is shown: “We are still waiting for the following documents from you: [list of outstanding items].” Edit the message if needed.
- Select the delivery method: Portal Notification, Email, SMS, or a combination.
- Click Send Reminder. The action is recorded in the request timeline.
You can send reminders manually at any time. Kuberan AI can also be configured to send automatic reminders on a schedule (e.g., 7 days after sending, 3 days before the due date, and 1 day after the due date) in Settings.
Mark a Request as Complete
When all documents have been received and reviewed, click Mark Complete on the request. This moves it to Complete status and removes it from the default Pending/Partial view. A completed request is still accessible via the All or Complete filter.
You can also mark individual document items as complete — useful when a client provides a document through an alternative channel (email, in person) that was not uploaded via the portal. Click the item in the request detail panel and select Mark as Received.
Document Review Flow
When a client uploads a document via the portal, each uploaded item lands in the Uploaded state. You can then:
Mark the uploaded document as satisfactory. The item status changes to Accepted and the item counts towards the completion total.
Reject the upload with a reason (e.g., “This appears to be from the wrong year — please upload the 2024 T4”). The item status returns to Awaiting and the client is notified with your comment.
Tips
- Use the right folder. When setting up the request, designate a target folder in the Documents module. Accepted uploads are automatically moved there, keeping the client’s document folder organised without manual sorting.
- Templates for common requests: If you send the same T1 document checklist every year, save it as a reusable template via the Save as Template option when creating a request. Next year, select the template instead of building the list from scratch.
- Overdue requests are highlighted in red in the list. Review the overdue filter at the start of each week during tax season to ensure nothing falls through the cracks.