Bank Rules
Overview
Bank Rules automate the categorisation of recurring bank transactions. When a new transaction is imported — whether from a Plaid sync or a CSV/OFX import — each active rule is evaluated in priority order. The first rule whose conditions match the transaction applies its defined actions: assigning a chart-of-accounts category, optionally overriding the payee name, and optionally adding a memo. Well-configured rules dramatically reduce the time spent manually reviewing uncategorised transactions.
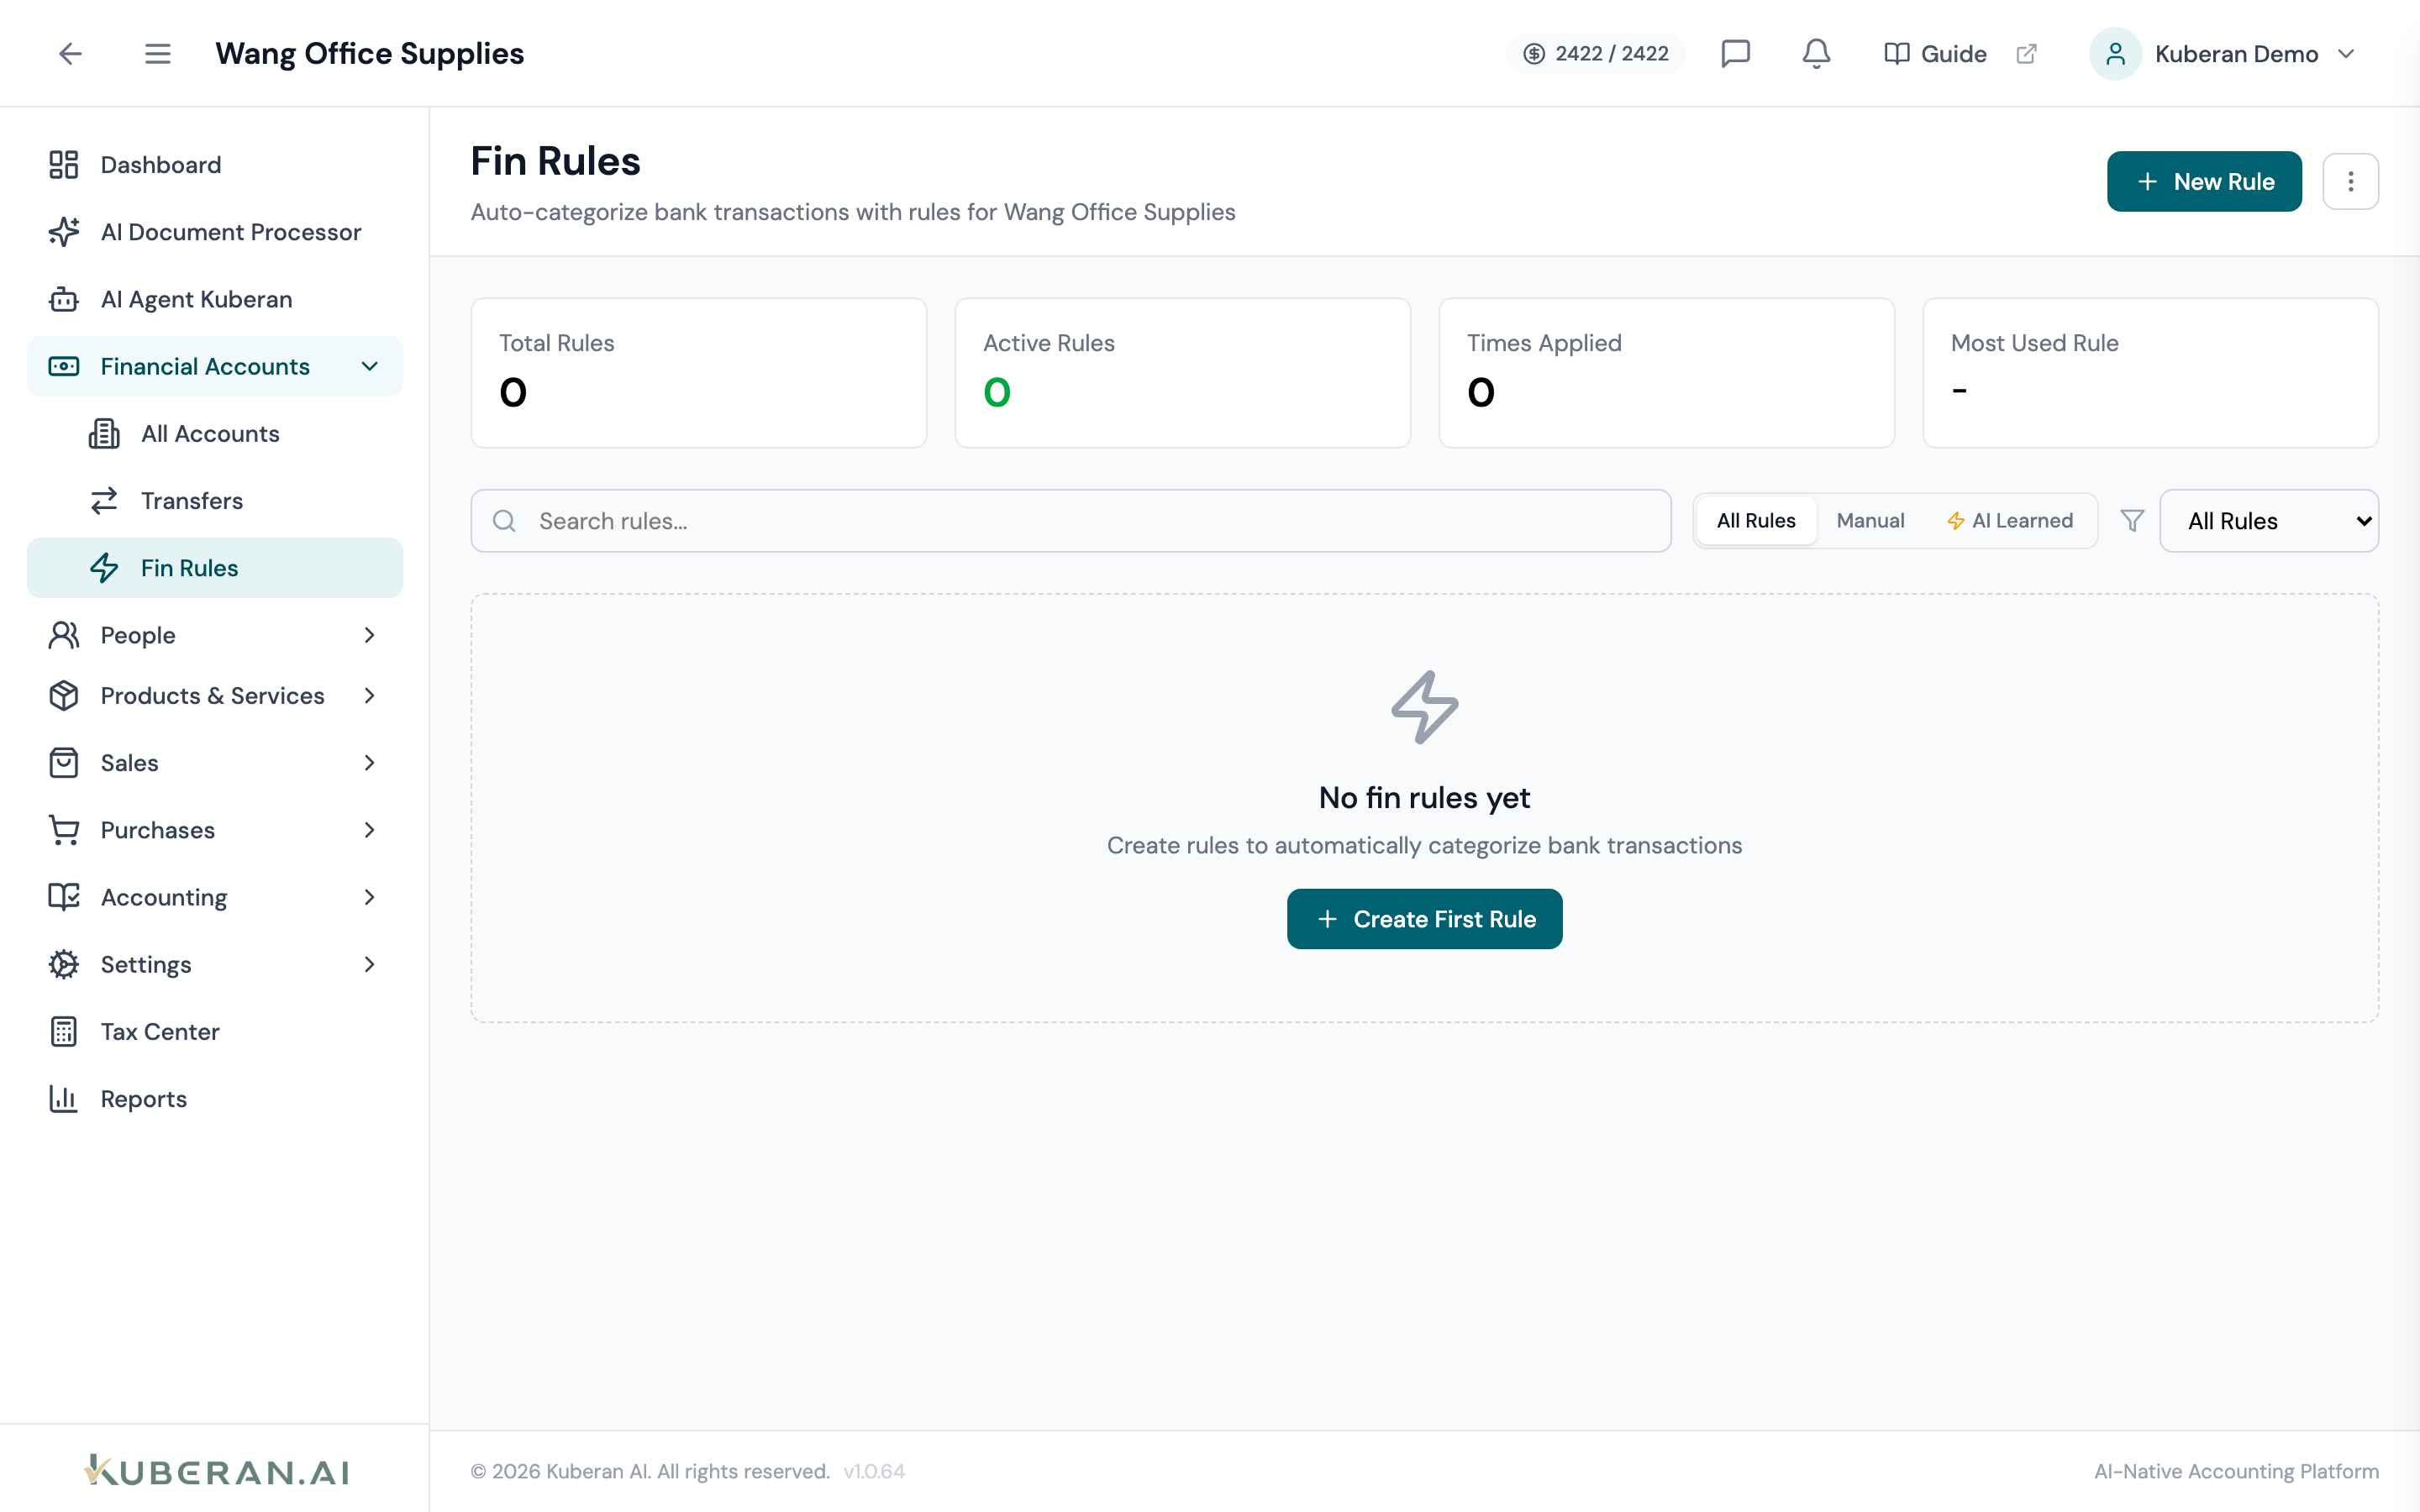
- (1) Create Rule button — opens the rule builder drawer
- (2) Priority drag handle — drag rows to reorder rule evaluation sequence
- (3) Condition summary — abbreviated description of the rule's match criteria
- (4) Action summary — account and payee assigned when the rule fires
- (5) Actions menu — edit, test, enable/disable, or delete a rule
Screen Layout
The screen displays a single prioritised list of all rules. Rules are evaluated top-to-bottom; the first match wins. Drag the handle at the left of each row to reorder. The toolbar contains a Create Rule button and a Test Rule utility.
UI Elements
Toolbar
Opens the Rule Builder drawer on the right side of the screen.
Opens the Rule Tester, where you can enter a sample transaction description and amount to see which rules would fire and in what order.
Rule List Columns
The numeric priority position of the rule (1 = highest). Drag the handle to reorder. Rules are evaluated in this order; processing stops when the first match is found.
A descriptive label for the rule (e.g., “Shaw Communications — Internet Expense”). Click to open the rule in the editor.
A plain-language summary of the match criteria (e.g., “Payee contains SHAW”). Multiple conditions are summarised as “2 conditions”.
A summary of what happens when the rule fires (e.g., “Assign to Telephone & Internet · Set payee to Shaw Communications”).
An enabled/disabled toggle. Disabled rules are shown with a grey tint and are skipped during evaluation without being deleted.
Per-rule actions: Edit, Duplicate, Test, Enable / Disable, Delete.
Rule Builder
The Rule Builder drawer has two sections: Conditions and Actions.
Conditions
Conditions define which transactions the rule applies to. All conditions in a rule must be true for the rule to fire (AND logic). Add multiple conditions by clicking + Add Condition.
| Condition Field | Available Operators | Notes |
|---|---|---|
| Payee / Description | contains, does not contain, starts with, ends with, exactly matches | Case-insensitive |
| Amount | equals, is greater than, is less than, is between | Numeric comparison in CAD |
| Transaction Type | is deposit, is withdrawal | Based on debit/credit direction |
| Bank Account | is one of | Select one or more connected accounts |
Actions
Actions define what the rule does when conditions are met. At least one action is required; all actions in the rule are applied together.
Required. Select a chart-of-accounts account from the picker. This categorises the transaction and creates the journal entry.
Optional. Overrides the raw bank description with a cleaner payee name (e.g., “SHAW CBLE 0012” becomes “Shaw Communications”).
Optional. Links the transaction to a vendor record in the Vendors module.
Optional. Appends a standard memo to matched transactions (e.g., “Monthly internet — 201 King St office”).
Actions
Create a Rule
- Click Create Rule in the toolbar. The Rule Builder drawer opens.
- Enter a descriptive Rule Name.
- In the Conditions section, click + Add Condition. Choose the condition field (Payee, Amount, etc.), the operator, and the value.
- Add more conditions if needed. All conditions must match (AND logic).
- In the Actions section, select the Chart of Accounts account to assign.
- Optionally set a cleaner payee name, link to a vendor, or add a memo.
- Click Save Rule. The rule is added to the bottom of the priority list (lowest priority). Drag it to a higher position if needed.
- A prompt asks whether to apply the rule retroactively to existing uncategorised transactions. Click Apply to Existing to run the rule immediately, or Skip to apply only to future imports.
Edit a Rule
- Click ⋯ → Edit on the rule row, or click the rule name.
- The Rule Builder opens pre-populated with the current conditions and actions.
- Make your changes and click Save Rule.
Test a Rule
- Click ⋯ → Test on the rule row, or click Test Rule in the toolbar to test across all rules.
- Enter a sample payee name and amount in the Rule Tester.
- Click Run Test. The tester shows which rules would fire for this input, in priority order, and what actions each would apply.
Reorder Rule Priority
- Click and hold the drag handle (six-dot icon) at the left of a rule row.
- Drag the row to the desired position in the list.
- Release to drop. The new priority order is saved automatically.
Delete a Rule
- Click ⋯ → Delete on the rule row.
- Confirm in the dialogue. Deleting a rule does not un-categorise any transactions that were previously matched by it.
Related
- Bank Transactions — Review and manually categorise transactions
- Vendors — Link bank rule actions to vendor records for better reporting
- Chart of Accounts — Manage the accounts available for rule assignment