Set Up a Client's Books
Before you can record a single transaction for a client, you need to configure their Books ledger. This setup takes about ten minutes and sets the foundation for accurate reporting, proper GST/HST tracking, and clean period-end reconciliation.
Step 1 — Navigate to the client’s Books
Open the client record
From the left sidebar, click Clients and select the client you want to set up. If the client does not exist yet, see Add your first client first.
Click Open Books
On the client detail page, click the Open Books button in the Books module card. If this is the first time Books has been opened for this client, the setup wizard launches automatically.
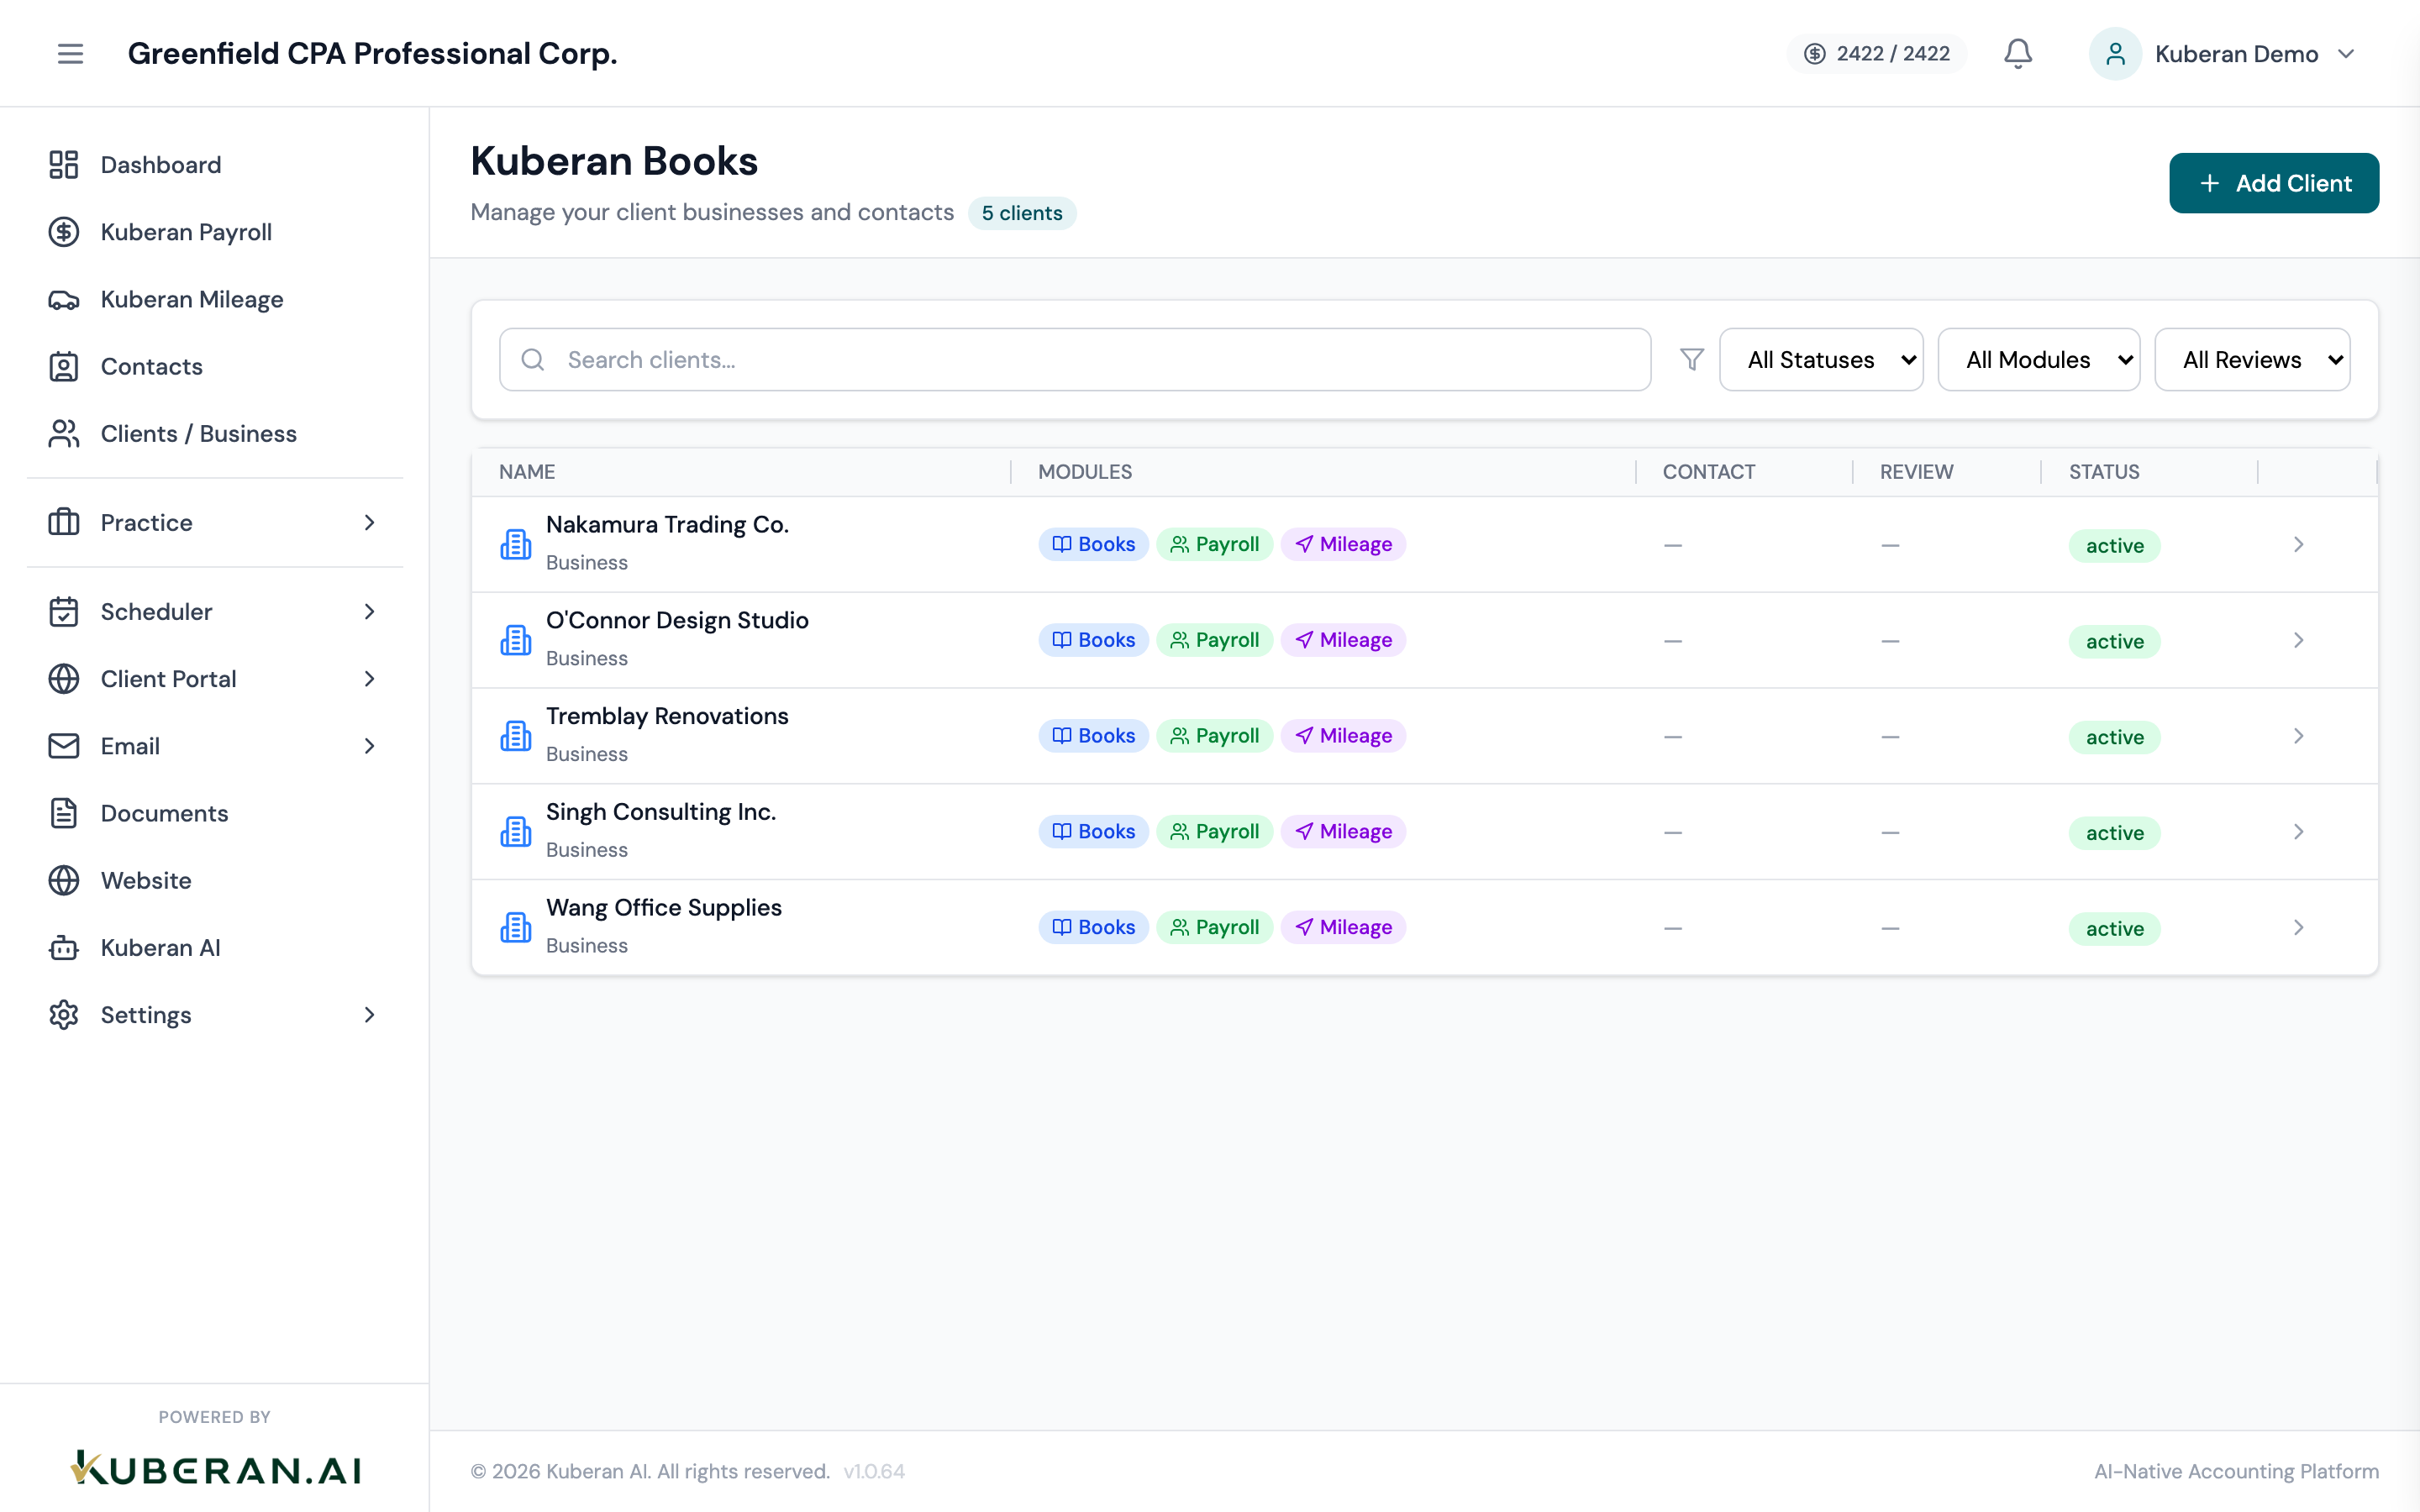
Click Open Books to enter the bookkeeping setup wizard.
Step 2 — Choose the accounting method
The first screen of the setup wizard asks you to choose between Cash and Accrual basis.
- Choose Cash for sole proprietors, freelancers, and small businesses where simplicity is a priority and revenue thresholds do not require ASPE compliance.
- Choose Accrual for incorporated businesses, non-profits, and any client required to follow ASPE or IFRS.
Click Next to continue.
Step 3 — Set the fiscal year end
Enter the client’s fiscal year end. This is the last month of their financial year as registered with CRA.
- Most owner-managed corporations choose a non-December year end for tax-deferral reasons (e.g., January 31 or March 31).
- Sole proprietors default to December 31.
- For new incorporations, confirm the year end from the articles of incorporation or the client’s prior T2.
Enter the month (e.g., March) and the first fiscal year start date (e.g., April 1, 2024). Kuberan Books uses this to label your reporting periods correctly.
Step 4 — Import a chart of accounts or use a template
Choose a starting point
On the Chart of Accounts screen, you have three options:
- Use the default template — a Canadian-standard chart of accounts appropriate for the client’s business type (sole proprietor, corporation, or non-profit). This is the fastest option for new clients.
- Use an industry template — pre-built charts tailored to common industries (construction, retail, professional services, restaurants). Select from the dropdown.
- Import from CSV — if you are migrating from QuickBooks, Xero, or another system, export their chart of accounts as a CSV and upload it here. Kuberan Maps the columns in the next step.
Review and customise
After selecting a template or completing the import, you see a full list of accounts grouped by type (Assets, Liabilities, Equity, Revenue, Expenses). You can:
- Rename any account to match the client’s preferred terminology
- Add new accounts using the + Add Account button
- Deactivate accounts that do not apply
Review the chart of accounts before finalising. You can edit, add, or deactivate accounts at this stage. Click Save Chart of Accounts
Step 5 — Add opening balances
Opening balances represent the financial position of the business on the first day of bookkeeping in Kuberan — either the first day of the fiscal year or the migration date if you are taking over from another system.
Enter the opening balance date
This is the date as of which your opening balance sheet is accurate — typically the last day of the prior fiscal year.
Enter balances for each account
For each account that had a balance on that date, enter the opening amount:
- Bank accounts: enter the closing balance from the prior month’s bank statement
- Accounts Receivable: enter the outstanding invoice total
- Accounts Payable: enter the outstanding bills total
- Loans and mortgages: enter the outstanding loan balance
- Retained Earnings: enter the cumulative retained earnings from prior years
Kuberan calculates the balancing retained earnings entry automatically once all asset and liability balances are entered.
Verify the opening balance sheet balances
The setup wizard shows a mini Balance Sheet as you enter values. Assets must equal Liabilities plus Equity before you can proceed. If they do not balance, check for a missed account or a data entry error.
Step 6 — Configure the GST/HST profile
Select the client’s GST/HST registration status
- Registered — the client charges GST/HST on taxable supplies
- Small supplier — the client’s revenue is below the $30,000 small supplier threshold and they do not charge GST/HST
- Exempt — the client provides only exempt supplies (certain healthcare, legal aid, residential rent)
Enter the Business Number
If the client is registered, enter their 9-digit CRA Business Number and the RT0001 program account (e.g., 123456789 RT0001). This number appears on GST/HST remittance records and client correspondence.
Set the filing frequency
Choose the client’s GST/HST filing frequency as registered with CRA:
- Annual — most small businesses
- Quarterly — businesses with annual taxable supplies between $1.5M and $6M
- Monthly — businesses with annual taxable supplies over $6M, or those who have elected monthly filing
Kuberan uses this to generate the correct number of GST/HST return periods in the Tax Centre.
Select the province and applicable tax rate
Choose the client’s province of supply. Kuberan sets the default tax rate (e.g., 13% HST for Ontario, 5% GST for Alberta) and adds the correct provincial tax codes to the chart of accounts.
Click Finish Setup
You are taken to the Books home screen, ready to start recording transactions.
What to do next
- Connect a bank account via Plaid to pull in transactions automatically
- Import transactions from a CSV if you prefer manual import
- Create invoices to start recording accounts receivable