Create your workspace
Your workspace is the container for everything your firm does in Kuberan AI — clients, engagements, invoices, and team members all live inside it. Setting it up correctly from the start saves you from having to change details later, so take five minutes to work through each step carefully.
Before you begin
You will need:
- A valid email address (use your firm’s domain address, not a personal one)
- Your firm’s legal business name
- Your firm’s time zone
Step-by-step: Creating and configuring your workspace
Register for Kuberan AI
Go to app.kuberan.ai and click Get started. Enter your name, email address, and a strong password. Click Create account.
Verify your email
Kuberan AI sends a verification email to the address you registered with. Open the email and click Verify my email. The link expires after 24 hours — if it has expired, request a new one from the login screen.
Check your spam folder if the email does not arrive within two minutes.
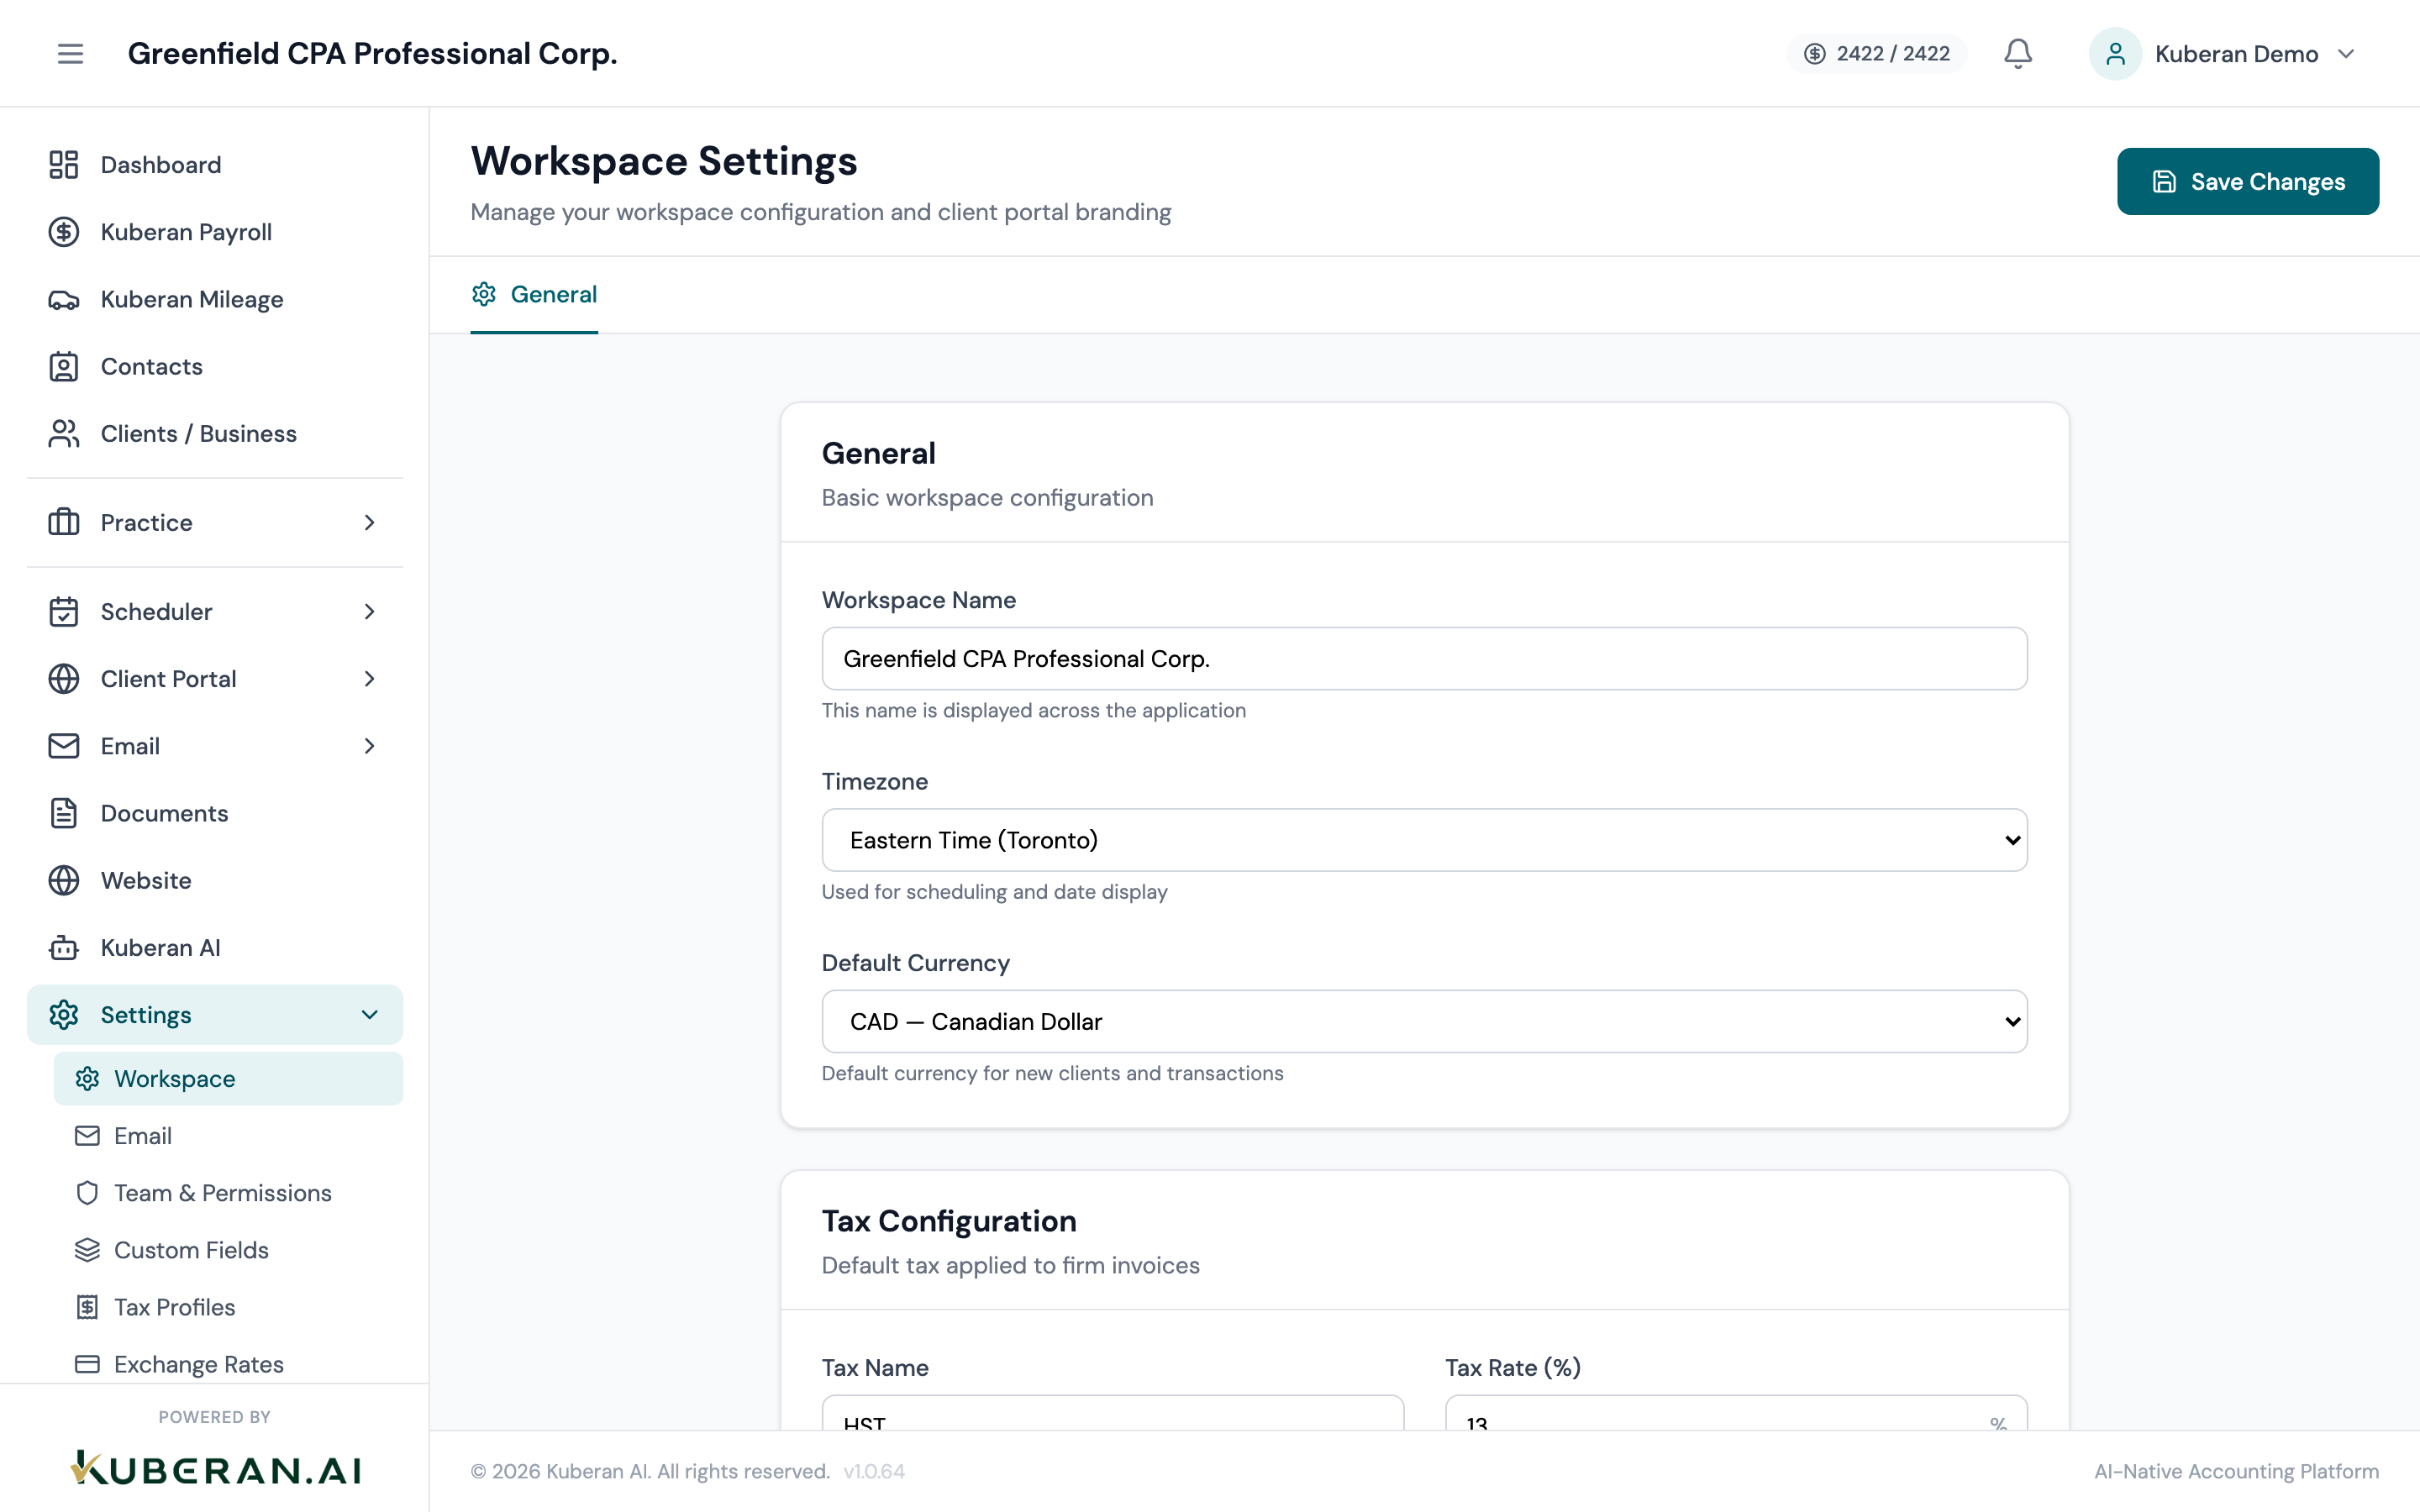
Name your workspace
After verifying your email, you are prompted to name your workspace. This name appears in the platform header, in client-facing emails, and in the client portal.
Recommendations for Canadian practices:
- Use your firm’s legal trade name exactly as it appears on your CPA registration or business registration (e.g. “Sharma & Associates CPA Professional Corporation”)
- Avoid abbreviations at this stage — you can set a shorter display name later
- Do not include “Inc.” or “Ltd.” if your clients know you by a shorter name
The workspace also gets a URL slug (e.g.
app.kuberan.ai/sharma-cpa). You can customise this slug now — it cannot be changed later without contacting support.Set your currency
The default currency is CAD (Canadian dollar). Unless your firm exclusively serves US clients or operates in multiple currencies, leave this set to CAD.
If you work with multi-currency clients, Kuberan AI supports additional currencies at the individual client (Books) level — you do not need to change the workspace currency for that.
Set your time zone
Select the time zone that matches your firm’s physical location. This affects:
- Due dates and deadlines displayed in the interface
- Timestamps on invoices, time entries, and communications
- Calendar entries and scheduled tasks
Canadian practices should choose from:
America/Vancouver— BC, YukonAmerica/Edmonton— AB, NWT, most of SKAmerica/Winnipeg— MB, most of SK and NWTAmerica/Toronto— ON, QC, most of eastern CanadaAmerica/Halifax— NS, NB, PEIAmerica/St_Johns— Newfoundland and Labrador
Upload your firm logo
Navigate to Settings > Workspace and upload your logo. The logo appears:
- In the top-left corner of the platform header
- On client-facing invoices and statements
- In the client portal
- In emails sent to clients
Recommended format: PNG or SVG, minimum 200 × 200 px, transparent background. A square or landscape logo works best. If your logo is on a dark background, upload a version with a white or transparent background.
Complete setup
Once you have filled in all the fields, click Save workspace settings. Your workspace is now ready.
You will land on the Dashboard, which shows a summary of upcoming engagements, unbilled time, and recent activity. It will be empty for now — that is expected.
After setup: what to configure next
With the workspace created, your immediate next steps are:
- Invite your team — Add staff members so they can start logging time and working on engagements.
- Set billing rates — Go to Practice > Billing Rates and add the hourly rates for each role at your firm. Every time entry uses these rates to calculate billable amounts.
- Configure your invoice template — Go to Settings > Invoices to add your GST/HST registration number, payment terms, and bank details for the remittance section of invoices.
Common questions
Can I change my workspace name later? Yes. Go to Settings > Workspace at any time to update the display name. The URL slug cannot be changed without contacting support.
Can I have multiple workspaces? Yes — for example, if you run two separate firms. Each workspace has its own subscription and billing. Contact support to add a second workspace to your account.
Is the workspace the same as a firm “entity”? Yes, in most cases. One workspace = one accounting firm or bookkeeping practice. Individual client companies are created as Clients inside the workspace.