Documents
Overview
The Documents module is Kuberan AI’s built-in file management system. It stores all client-related documents — tax returns, financial statements, bank statements, T-slips, identity documents, engagement letters, and any other files your practice needs to keep on record. Files are organised in a folder tree per client, and Kuberan AI supports AI document processing (OCR and data extraction) for supported document types. Documents stored here can be shared with clients via the portal, linked to engagements, and used as source data for the Books module.
- (1) Folder tree — expand and collapse folders
- (2) Create Folder button
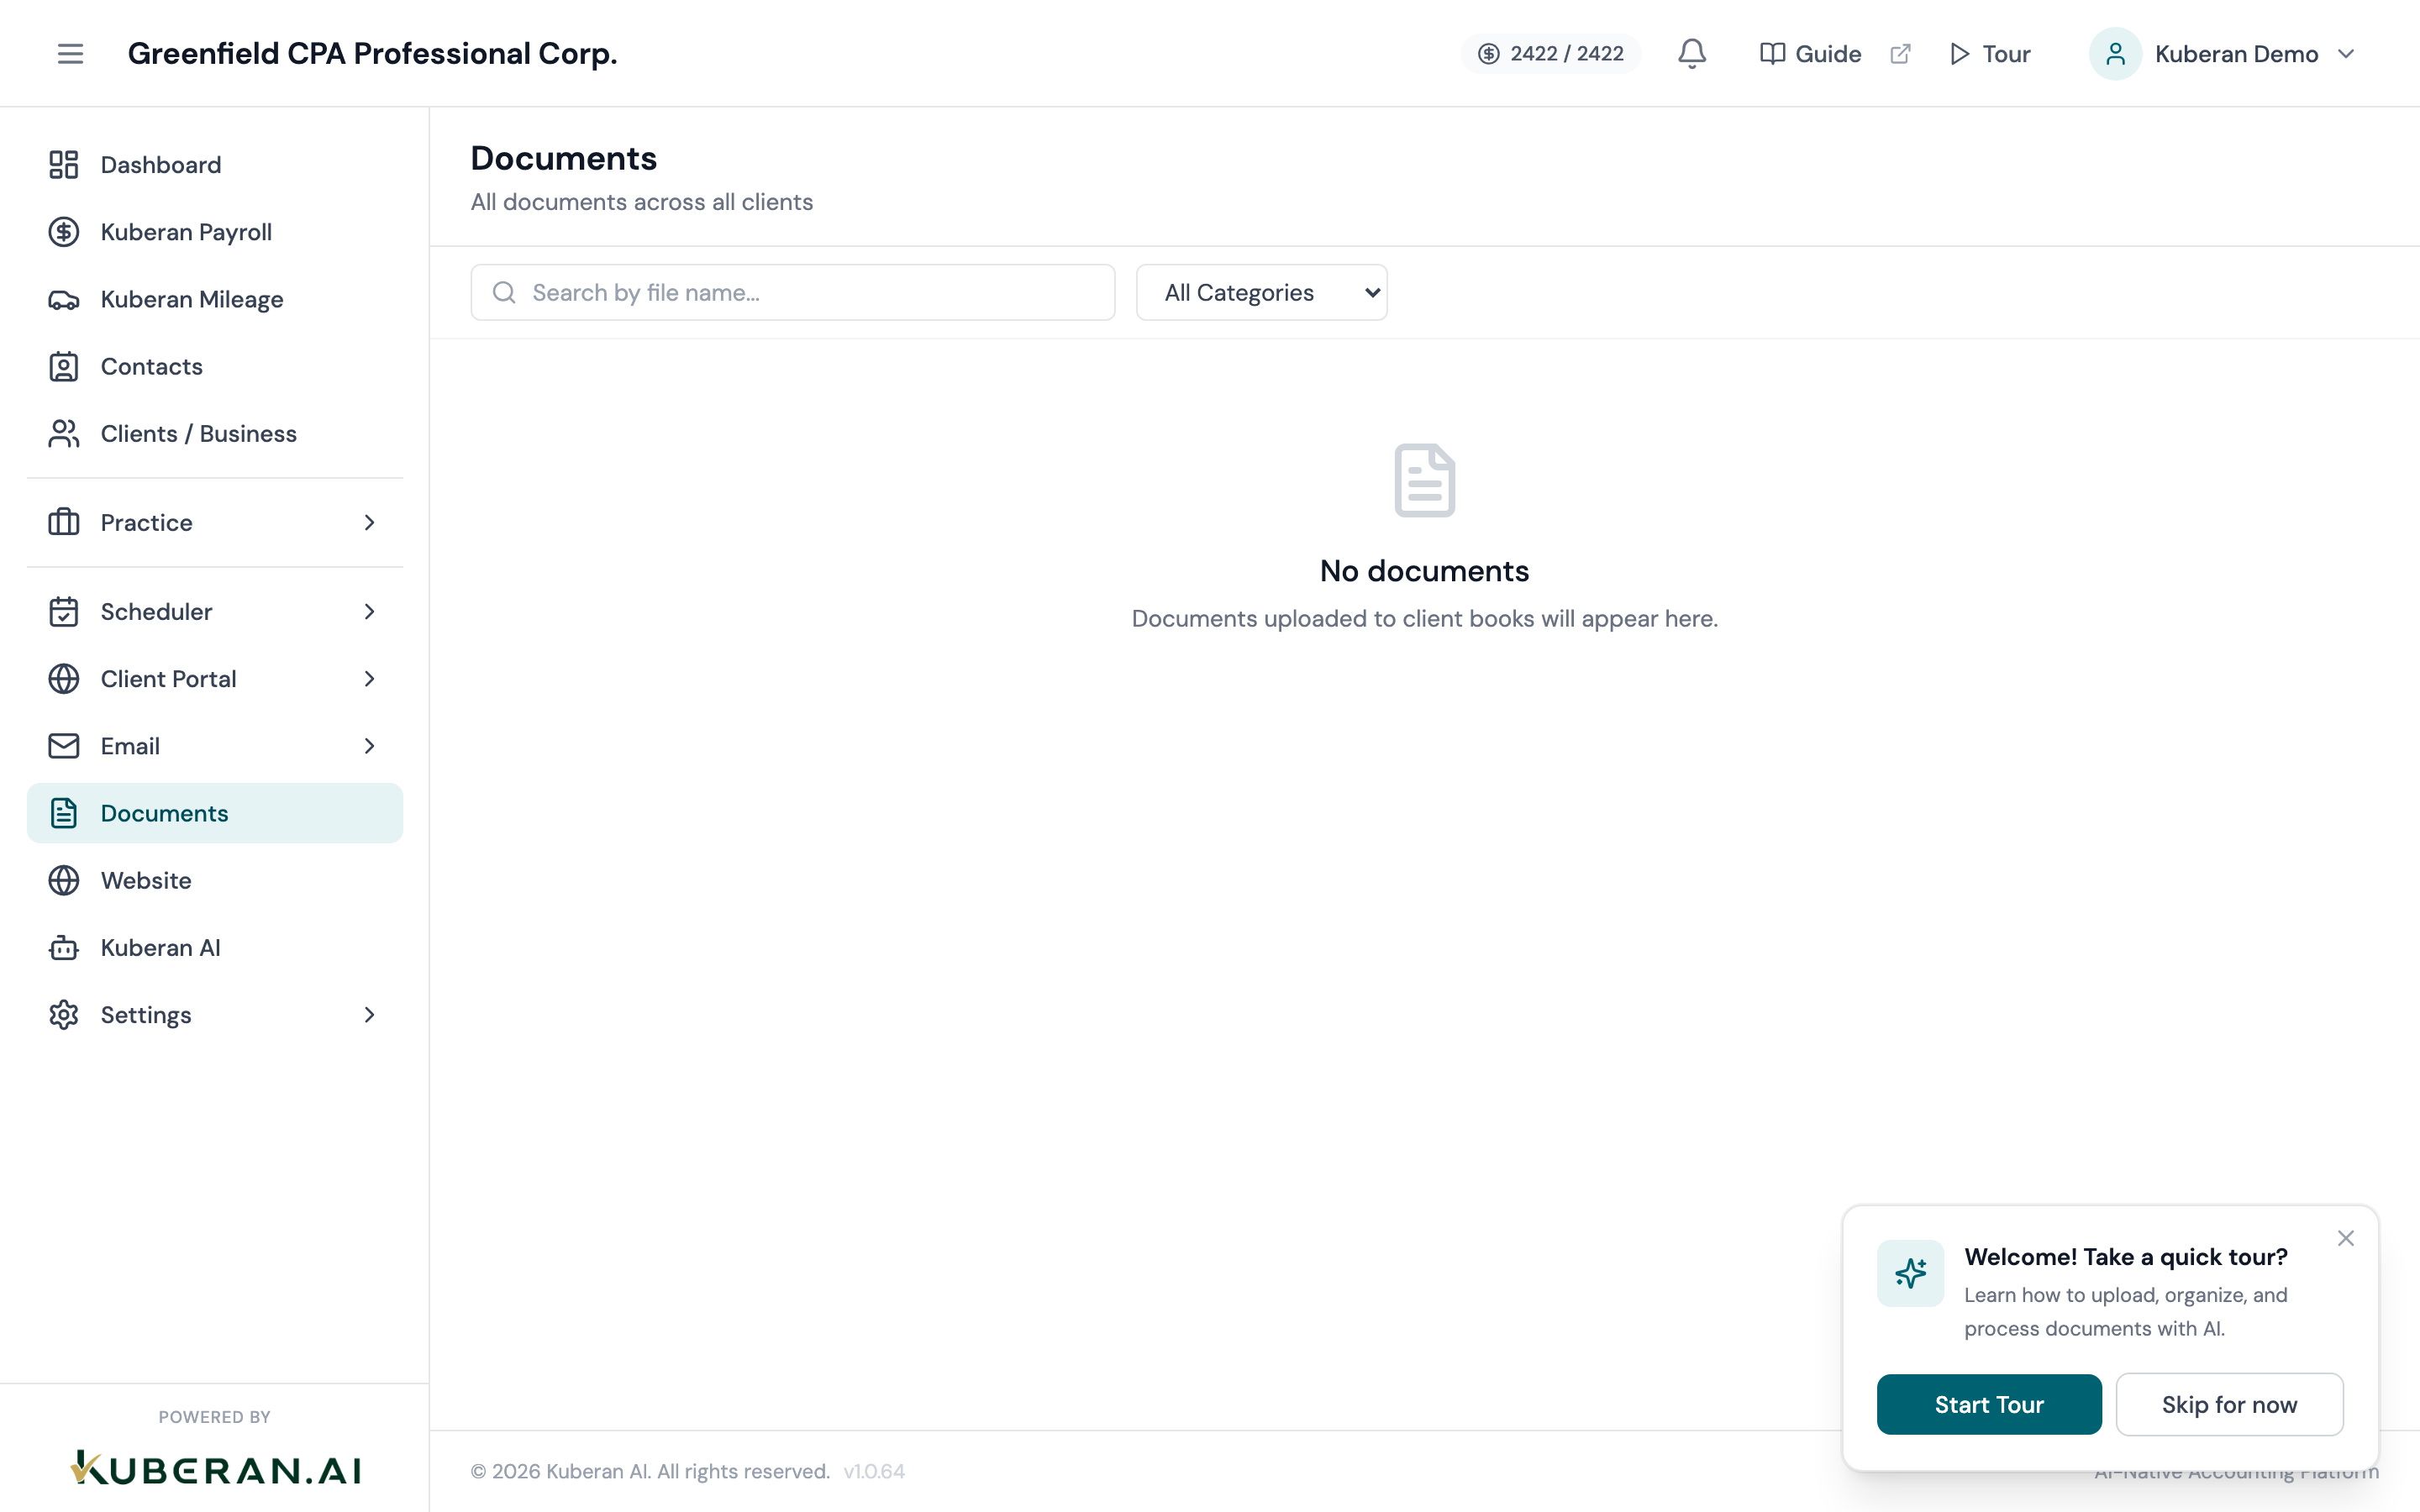
- (3) File list — name, type, size, date modified
- (4) Upload Files button — drag and drop or browse
- (5) File actions — Share, Download, AI Process, Delete
Screen Layout
Left panel — Folder tree: A hierarchical folder structure for the current client (or the workspace root for workspace-level documents). Click a folder to expand it. The selected folder is highlighted and its contents appear in the right panel.
Right panel — File list: Shows the files and subfolders inside the currently selected folder. Columns: Name, Type, Size, Uploaded By, Date Modified. Each file has an Actions menu.
Folder Tree
The root level contains workspace-wide folders for documents not specific to any one client — practice templates, engagement letter templates, CRA correspondence templates, and internal documents.
Each client has their own folder at the root level, named after the client. Within the client folder, subfolders are created either manually or automatically from a folder template (see Settings → Folder Templates). Typical client folder structure: Tax Returns → Personal Returns, Corporate Returns; Financial Statements; Source Documents → Bank Statements, T-Slips, Receipts; Correspondence.
Actions
Create a Folder
- Select the parent folder in the folder tree where the new folder should be created.
- Click Create Folder (the folder icon with a plus sign) above the folder tree.
- Enter the folder name.
- Click Create. The new folder appears in the tree immediately.
Upload Files
- Select the destination folder in the folder tree.
- Click Upload Files in the file list toolbar, or drag files directly from your desktop onto the file list area.
- A file picker opens (if using the button). Select one or more files.
- Files are uploaded and appear in the list as soon as the upload completes. Large files show a progress bar.
Supported file types: PDF, JPG, PNG, DOCX, XLSX, CSV, and most common document formats. Maximum file size is 100 MB per file.
Drag Into a Folder
Files in the right panel can be dragged from their current folder into any other folder visible in the folder tree. Click and hold the file, drag it over the target folder in the left panel until it highlights, and release.
Share a Link
- Open the Actions menu (⋯) on any file and select Share Link.
- A shareable URL is generated. Set an expiry date (optional) and whether the link requires the recipient to log into the client portal.
- Click Copy Link. Share the URL via email or SMS.
Shared links without portal login requirements are accessible to anyone with the URL. Use expiry dates for sensitive documents.
Download
Click the Actions menu on a file and select Download. The file downloads immediately to your browser’s download folder.
Delete
Click the Actions menu on a file or folder and select Delete. Files are permanently deleted — there is no recycle bin. Folders must be empty before they can be deleted.
AI Process Document
- Open the Actions menu on any PDF or image file and select AI Process.
- Kuberan AI runs optical character recognition (OCR) and AI data extraction on the document.
- For supported document types (T-slips, bank statements, invoices), extracted data fields are shown in a review panel.
- Review the extracted data, correct any errors, and click Save Extracted Data.
Processed documents are flagged with an AI icon in the file list. The extracted data can be used to populate books transactions, payroll records, or tax return fields, depending on the document type.
Tips
- Folder templates save significant setup time for new clients. Define a standard folder structure in Settings → Folder Templates and apply it automatically when creating a new client. See Folder Templates for details.
- Version history: Uploading a file with the same name as an existing file in the same folder creates a new version. Click the file name to see version history and restore an older version if needed.
- Search across all documents: Use the search field above the folder tree to search by file name across all folders for the current client. Switch to workspace search to search across all clients.