Payroll — Client List
Overview
The Payroll client list is the entry point to the Canadian Payroll module. It shows every client workspace for which payroll has been activated, along with key at-a-glance information such as the number of active employees, the next scheduled pay date, and the most recent pay run amount. From this screen you can open any client’s payroll, activate payroll for a client who does not yet have it enabled, and search or filter the list to find the client you need quickly.
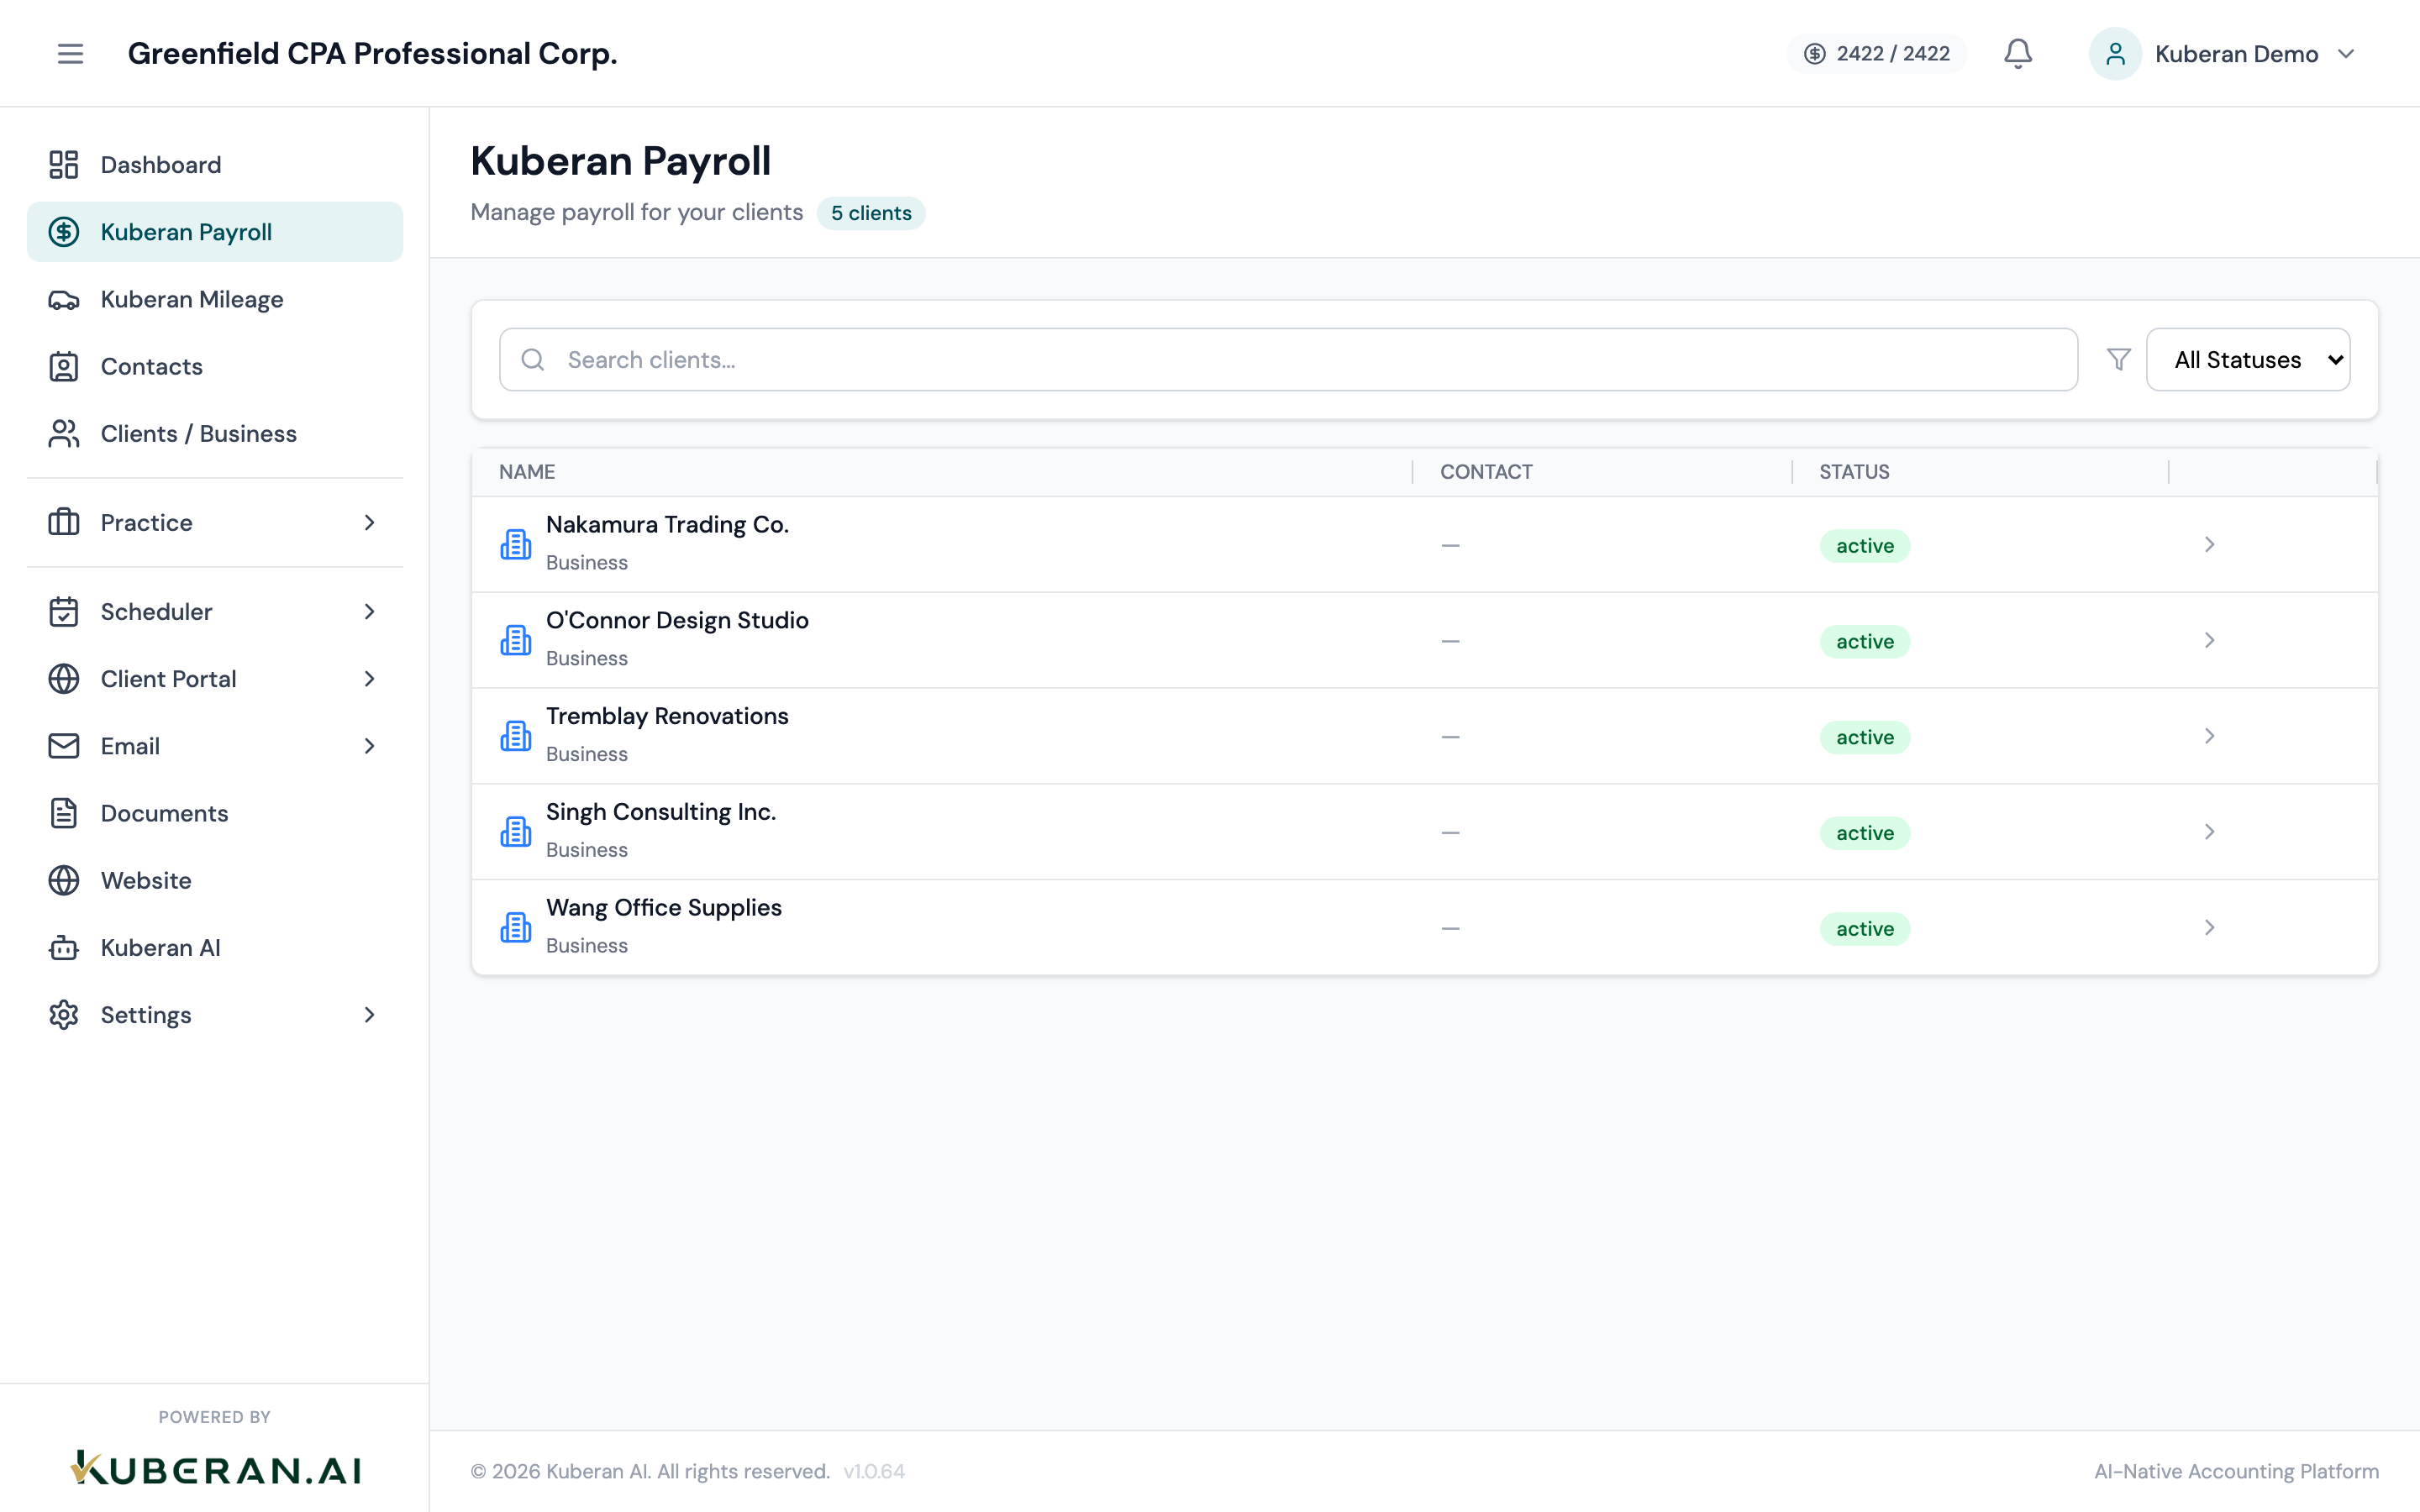
- (1) Search field — find clients by name
- (2) Status filter — Active or All clients
- (3) Client row — name, active employees, next pay date, last run amount
- (4) Open Payroll button — navigates to that client's Payroll Dashboard
- (5) Activate Payroll button — shown for clients without payroll enabled
Screen Layout
Toolbar (top): Contains the search field and Status filter dropdown.
Client list (centre): Each row represents one client. Rows for clients with active payroll show the client name, number of active employees, next pay date, and last pay run total. Rows for clients without payroll show a dimmed state with an Activate Payroll button.
UI Elements
Toolbar
Searches by client name. Results filter in real time as you type. Matching is case-insensitive and supports partial names.
Dropdown with two options: Active (default, shows only clients with payroll enabled) and All (shows every client in your workspace, including those without payroll activated). Use All when you want to find a client to activate payroll for.
Client Rows
The client’s business name as registered in the Clients module. Clicking the name opens that client’s Payroll Dashboard.
The count of employees in Active status for this client. Terminated employees are not counted. Click the number to jump directly to the Employees list for that client.
The upcoming pay date based on the client’s configured pay schedule. Displays ”—” if no pay schedule has been set up yet.
The total net pay amount from the most recently processed pay run. Displays ”—” if no pay runs have been processed.
Navigates to the Payroll Dashboard for this client. Available only when payroll is already active.
Shown for clients who do not yet have payroll enabled. Clicking it opens the Payroll Setup wizard for that client.
Actions
Open a Client’s Payroll
Click anywhere on an active client’s row, or click the Open Payroll button on the right side of the row. You will be taken to the Payroll Dashboard for that client. The client context is maintained as you navigate between payroll sub-pages (Employees, Pay Runs, CRA Remittances, etc.).
Activate Payroll for a Client
- Set the Status filter to All if the client does not appear in the default view.
- Locate the client row and click Activate Payroll.
- In the Payroll Setup wizard, enter the client’s CRA Business Number (BN), province of employment, and payroll bank account details.
- Configure at least one pay schedule (weekly, bi-weekly, semi-monthly, or monthly).
- Click Activate. The client row will now show Active status and you can begin adding employees.
Search for a Client
Type the client name into the Search field. The list narrows as you type. Clear the field to reset the list. If you cannot find a client, check that the Status filter is set to All rather than Active.
Tips
- A client must exist in the Clients module before you can activate payroll for them. If a client is missing from the list entirely, create them in Clients first.
- Payroll data is completely separate from the Books module. Activating payroll does not automatically create journal entries in the client’s books — you need to configure the payroll journal integration in Payroll Settings if you want that.
- The Last Run Amount shown is net pay only. Gross pay, employer CPP, and employer EI contributions are visible inside the individual pay run.