Scheduler — Calendar
Overview
The Calendar is the full scheduling view of the Scheduler module. It displays all appointments across any day, week, or month in a familiar grid layout, with each appointment rendered as a colour-coded block in its time slot. You can create new appointments by clicking any empty time slot, reschedule existing appointments by dragging them to a new slot, and open any appointment to view or edit its details. The calendar respects your configured business hours — time slots outside those hours are visually dimmed.
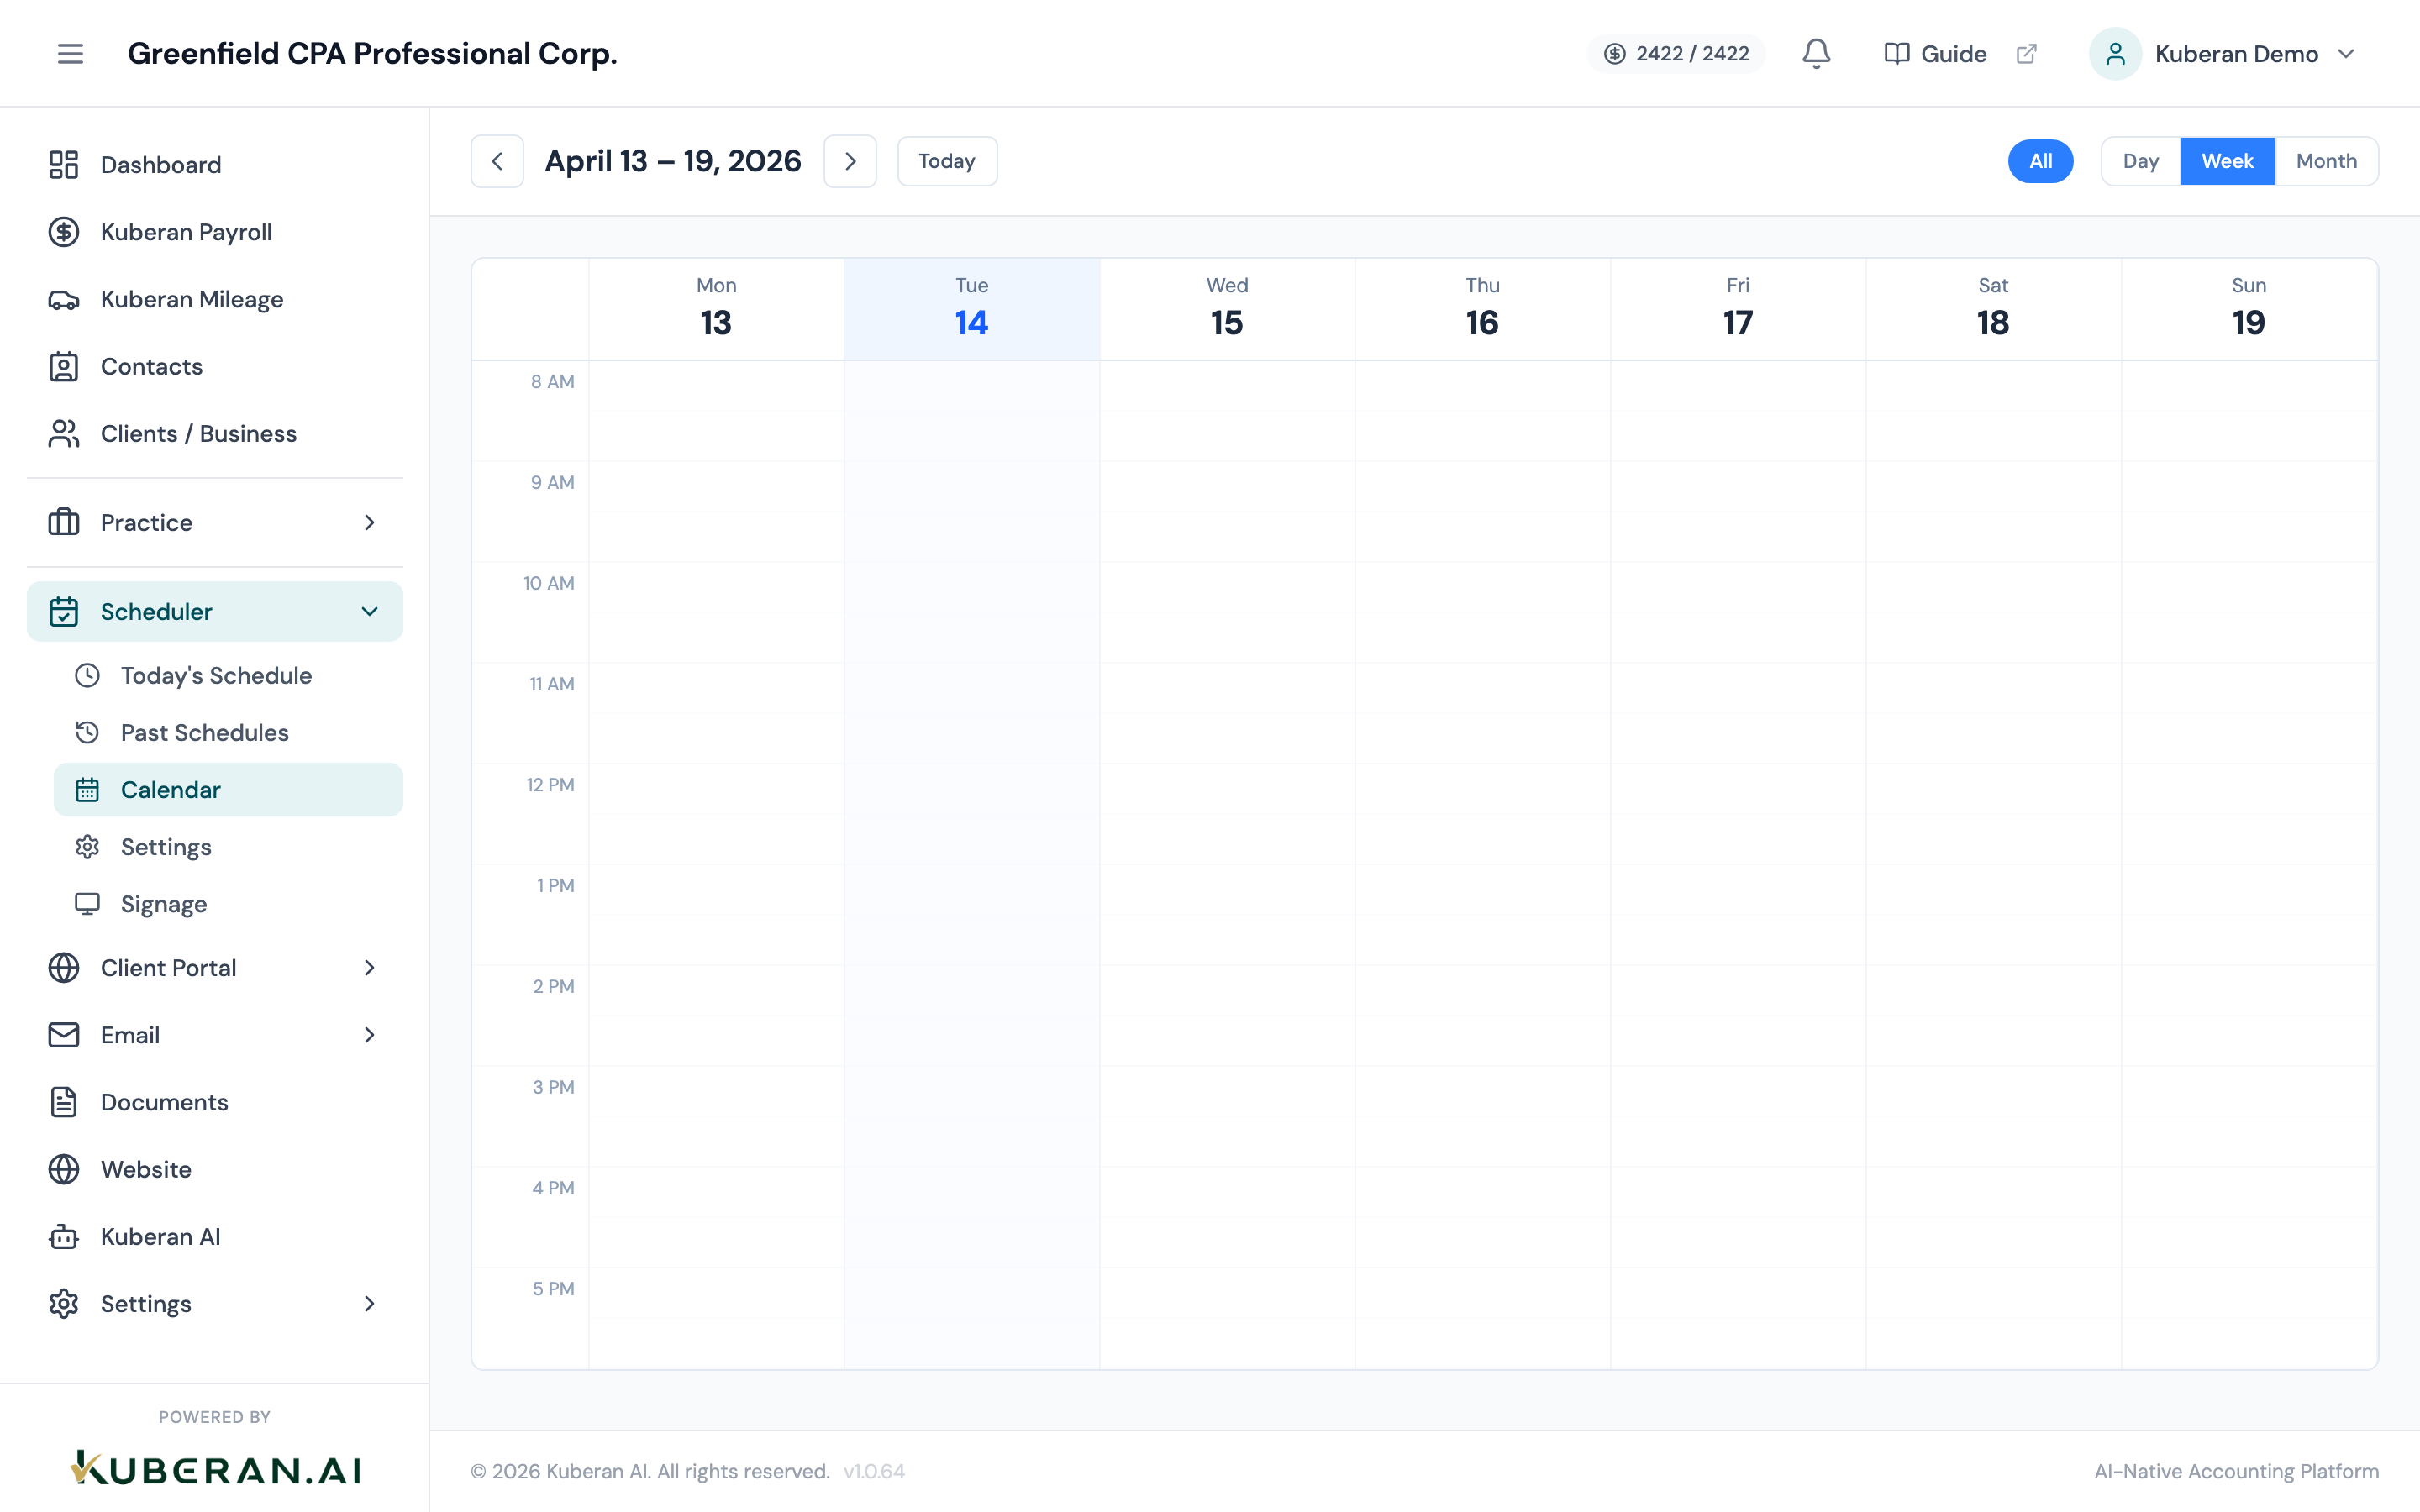
- (1) View switcher — Month, Week, Day
- (2) Navigation arrows — previous and next period
- (3) Today button — jump back to the current date
- (4) Appointment block — colour-coded by service type
- (5) Empty time slot — click to create a new appointment
Screen Layout
Toolbar (top): View switcher (Month / Week / Day), left and right navigation arrows, a Today button, a staff member filter, and a New Appointment button.
Calendar grid: The main scheduling area. In Week and Day view, time slots run down the left axis; days run across the top. In Month view, each cell is one day.
View Modes
Month View
Month view shows a full calendar month with appointment blocks squeezed into each day cell. Each block shows the service name and client name. When a day has more appointments than fit in the cell, an overflow indicator (”+ 2 more”) appears — click it to expand the day’s full list. Month view is useful for spotting busy periods and confirming no overlaps at a glance.
Week View
Week view is the default. It shows seven days across the screen with 30-minute time slots on the vertical axis. Appointment blocks span their actual duration — a 60-minute appointment takes up two slots. Business hours are highlighted in white; off-hours are dimmed in grey. Week view is the most practical view for day-to-day scheduling.
Day View
Day view shows a single day, with a narrower time grid and more room to show appointment details. It is useful for busy days where many appointments are stacked or when you need to see all available slots at a fine granularity.
UI Elements
Each appointment is shown as a rectangular block in the calendar grid. The block colour matches the service type colour configured in Scheduler Settings. The block displays the appointment time, client name, and service. Blocks with a status of Completed show a faded appearance; No-Show blocks are shown with a strikethrough.
When your workspace has multiple staff members, use the staff filter dropdown to show only appointments assigned to a specific person. Default is All Staff. Select a specific team member to view their individual schedule.
Time slots outside your configured business hours (set in Scheduler Settings) are shown with a light grey background. Appointments can still be created in these slots — this is useful for after-hours engagements — but the visual distinction helps identify irregular bookings.
Actions
Click to Create an Appointment
- Click any empty time slot in the Week or Day view. (In Month view, click the New Appointment button in the toolbar instead.)
- A quick-create popover appears at the clicked time.
- Enter the client name (search existing contacts), select the service, and assign a staff member.
- The duration pre-fills based on the service’s default duration from Settings. Adjust if needed.
- Click Save in the popover, or click More Options to open the full appointment form (which includes notes, custom fields, and notification preferences).
Drag to Reschedule
In Week or Day view, click and hold any appointment block and drag it to the new time slot. As you drag, the target slot highlights to confirm the new time. Release to drop the appointment. A confirmation toast appears with an option to undo within 5 seconds. You can also drag an appointment to a different day within the visible week.
Dragging is not available in Month view — use the Reschedule action on the appointment detail instead.
Click an Appointment to View or Edit
Click any appointment block to open the appointment detail panel. The panel shows:
- Client name with a link to their Contact record
- Service and duration
- Assigned staff member
- Appointment notes
- Status and status history
- Actions: Edit, Complete, No-Show, Reschedule, Cancel, Delete
Click Edit to modify any field. Changes are saved immediately.
Tips
- Overlapping appointments: The calendar does not prevent double-booking by default. Overlapping appointments are shown side by side within the same time column. Enable the overlap warning in Scheduler Settings to receive a prompt when a double-booking would occur.
- Colour coding: Service colours are set in Scheduler Settings. If you find the calendar visually cluttered, assign distinct colours to your most common service types to make the schedule scannable at a glance.
- Keyboard shortcut: Press T on the keyboard to jump back to today from any date.