Reconciliation
Overview
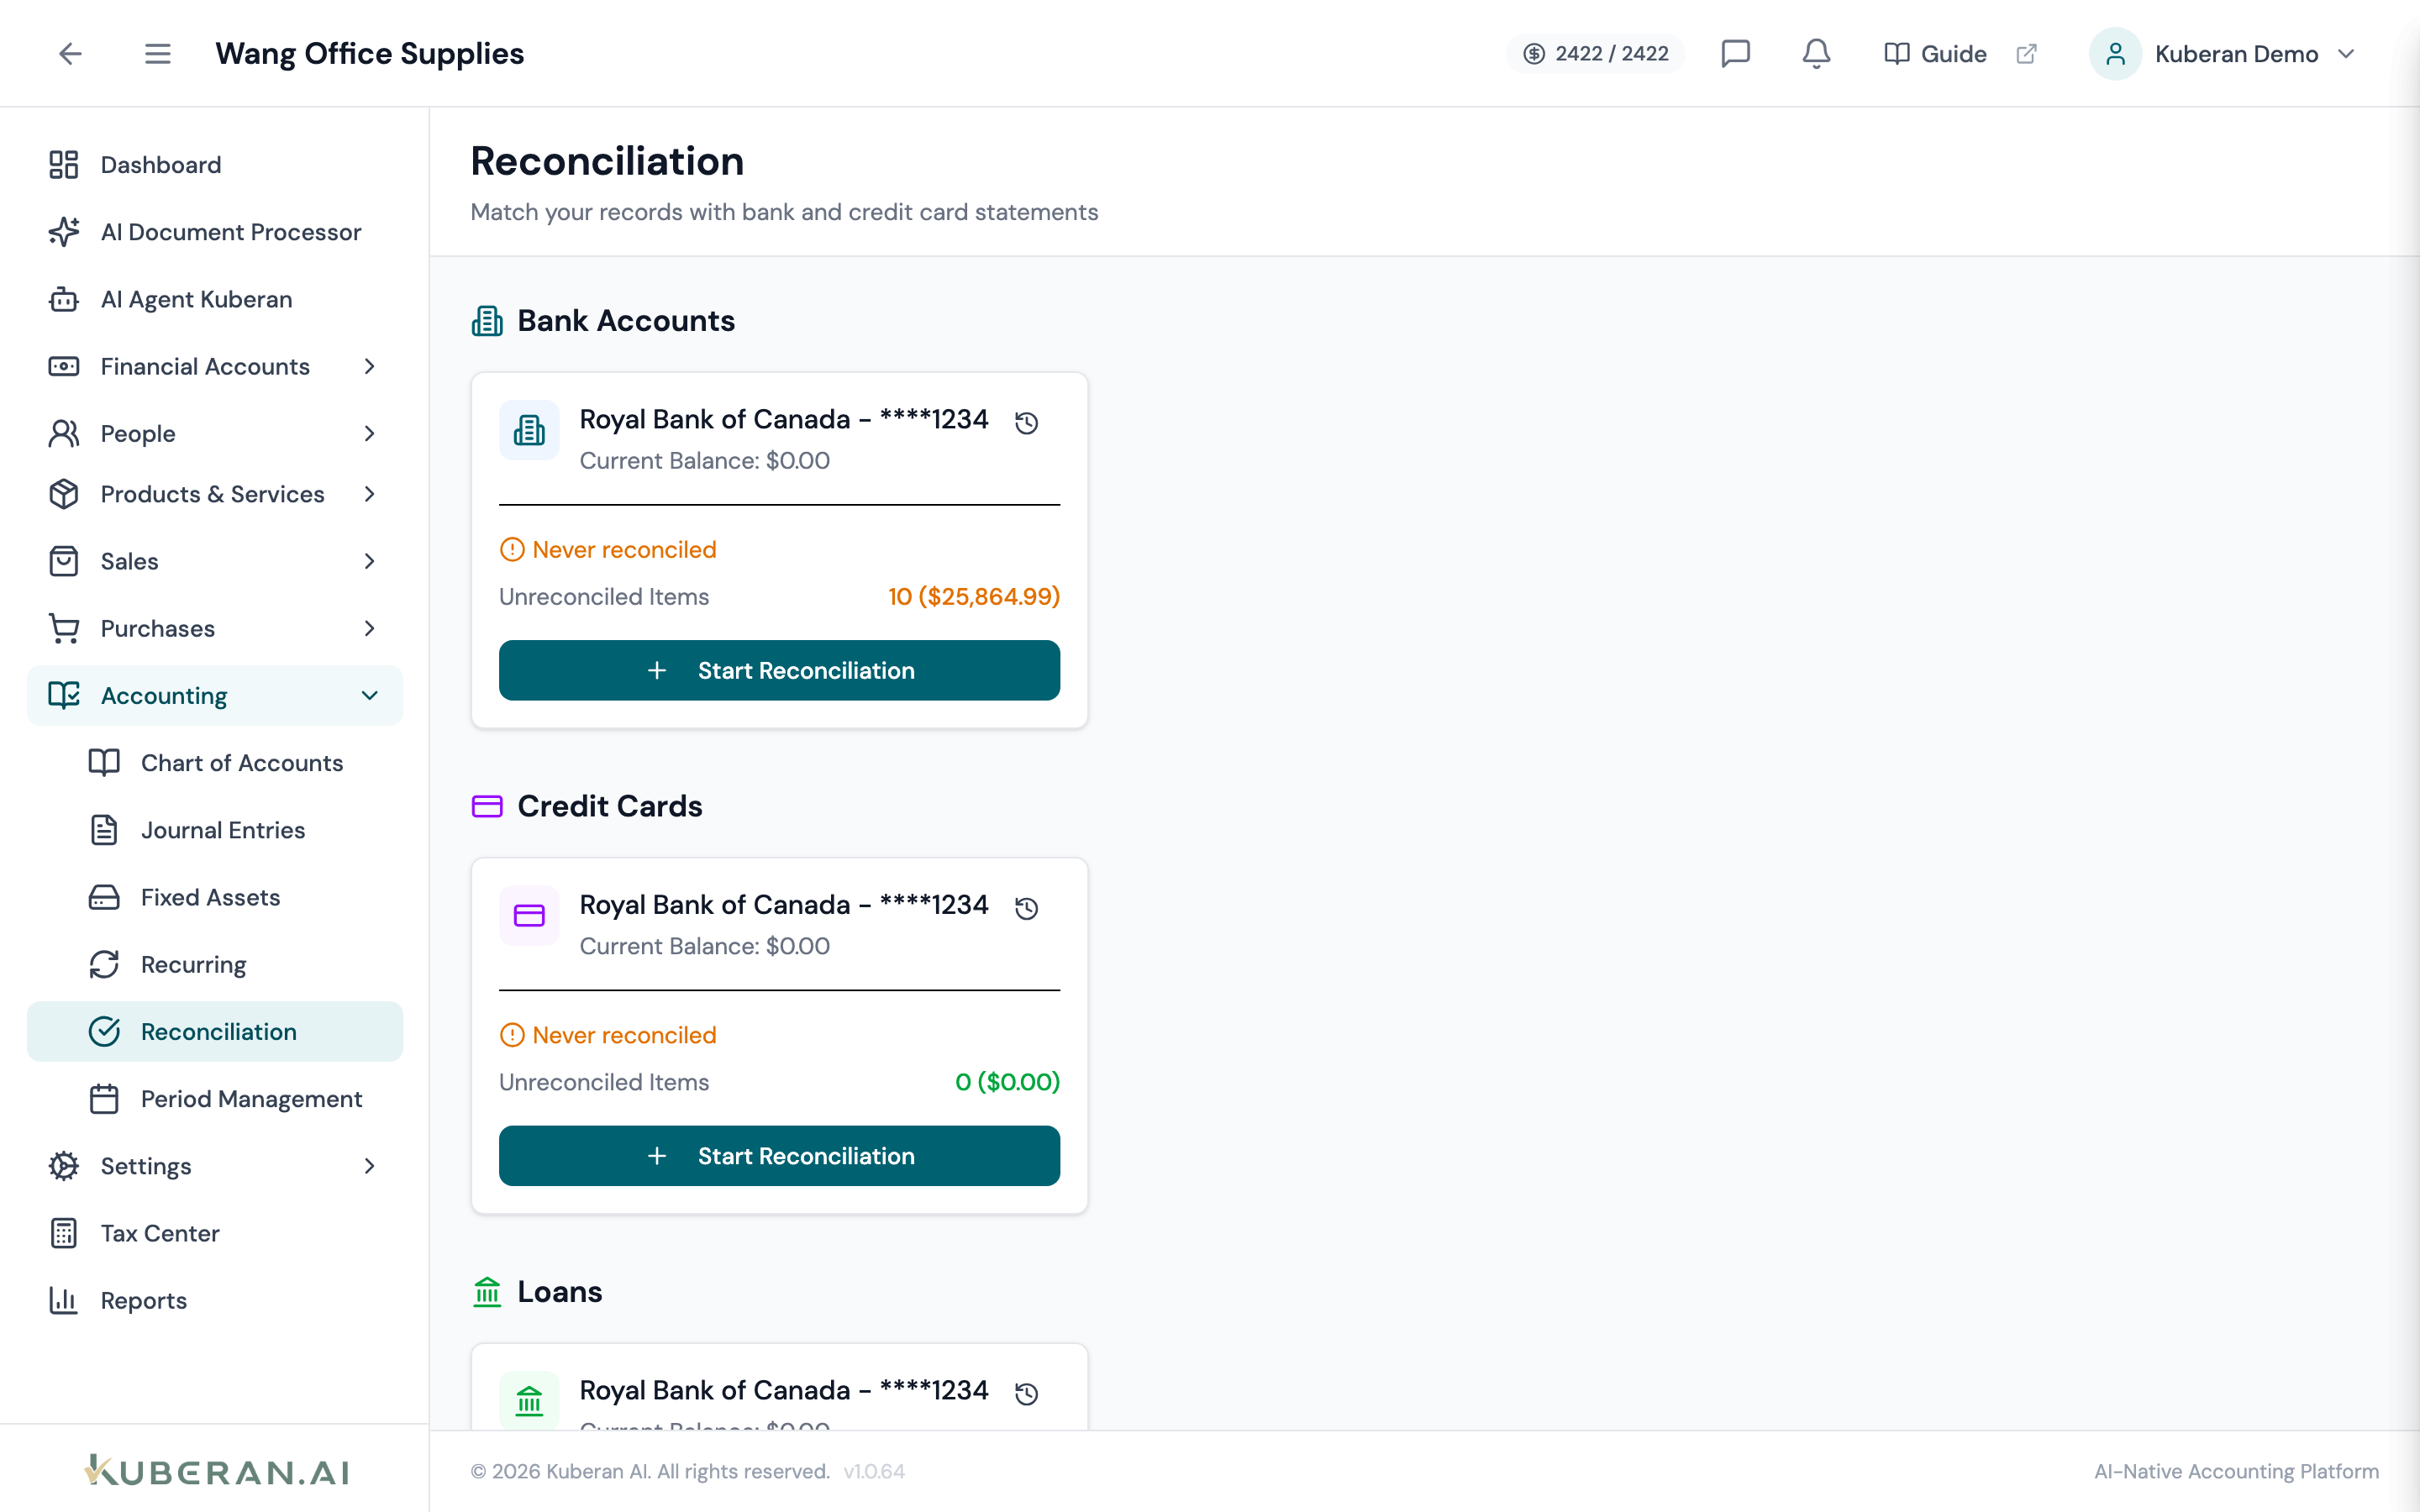
Reconciliation is the process of confirming that the transactions recorded in the client’s ledger match the transactions shown on the bank or credit card statement. A completed reconciliation for a period proves that no transactions have been missed, duplicated, or incorrectly recorded. The reconciliation workflow presents all uncleared transactions for a selected account and asks you to mark each one as cleared (present on the statement) or leave it uncleared (not yet on the statement). The screen tracks a running difference — the gap between the statement ending balance and the sum of cleared transactions — which must reach zero before you can finish the reconciliation.
- (1) Account selector — choose the bank or credit card account to reconcile
- (2) Statement ending balance — enter the closing balance from the bank statement
- (3) Statement ending date — the last date on the statement being reconciled
- (4) Cleared checkboxes — tick each transaction that appears on the statement
- (5) Running difference — must reach $0.00 to enable the Finish button
Screen Layout
Setup header (top): Account selector, Statement Ending Balance input, and Statement Ending Date input. These three fields must be completed before marking transactions.
Transaction list (centre): Two sections — Payments & Other Credits (money out, debits) and Deposits & Other Debits (money in, credits) — matching the convention of a standard bank statement. Each row has a checkbox, date, payee/description, and amount.
Summary footer (bottom): Shows the statement ending balance, the sum of cleared transactions, and the running difference. A progress bar fills as cleared transactions reduce the difference.
UI Elements
Setup Header
Dropdown listing all bank, credit card, and line-of-credit accounts. Chequing and savings accounts are reconciled to the bank statement; credit card accounts are reconciled to the credit card statement.
Enter the closing balance shown on the bank statement for the period being reconciled. For credit cards, enter the statement balance as shown (positive amount = money owed).
The last date of the statement period. Only transactions on or before this date are displayed for matching.
Transaction List
Tick this checkbox for each transaction that appears on the bank statement. Ticking updates the running difference immediately. Unticked transactions are considered outstanding (not yet cleared the bank).
Buttons at the top of each section (Payments and Deposits) to bulk-clear all visible transactions in that section. Use with care — only clear transactions that are genuinely present on the statement.
The transaction date as recorded in the ledger.
The payee name or transaction description.
The transaction amount. Positive values in the Deposits section; positive values in the Payments section represent money going out.
Summary Footer
The balance you entered from the bank statement.
The sum of all transactions you have ticked as cleared, starting from the previous reconciliation’s ending balance.
Statement Ending Balance minus Cleared Balance. Must reach $0.00 before the reconciliation can be finished. A non-zero difference indicates missing, duplicate, or incorrectly entered transactions.
Enabled only when the Difference is exactly $0.00. Clicking completes the reconciliation, locks all cleared transactions (preventing edits), and records the reconciliation in the History tab.
Actions
Complete a Reconciliation
- Navigate to Reconciliation for the client.
- Select the Account you are reconciling from the account dropdown.
- Enter the Statement Ending Balance from the paper or digital bank statement.
- Enter the Statement Ending Date — the last day covered by the statement.
- Work through the transaction list. For each transaction that appears on the statement, tick the Cleared checkbox. Compare each entry’s date, payee, and amount against the statement line by line.
- Watch the Difference in the footer decrease as you tick transactions. If it reaches $0.00, the account is balanced.
- If the difference does not reach zero, investigate discrepancies: look for missing transactions, duplicate entries, or transactions with incorrect amounts. Use the + New Transaction button in the footer to add a missing entry without leaving the reconciliation screen.
- When the Difference is $0.00, click Finish Reconciliation. A success message confirms the reconciliation is complete. All cleared transactions are locked.
Investigate a Non-Zero Difference
Common causes of a reconciliation difference and their resolutions:
| Cause | Resolution |
|---|---|
| Transaction not entered in ledger | Add the missing transaction using + New Transaction |
| Transaction entered with wrong amount | Edit the transaction from the transaction detail (exit reconciliation first; the screen saves your cleared marks) |
| Bank feed imported a duplicate | Exclude the duplicate from Bank Transactions |
| Bank error on statement | Note the discrepancy and contact the institution |
View Reconciliation History
- On the Reconciliation screen, click the History tab.
- Each completed reconciliation is shown with the account, statement date, statement ending balance, and the user who completed it.
- Click any history row to view the full list of transactions that were cleared in that reconciliation.
Related
- Bank Accounts — Add and manage bank accounts before reconciling
- Bank Transactions — Review and categorise transactions prior to reconciliation
- Journal Entries — Enter missing transactions that appear on the statement but not in the ledger
- Periods — Close an accounting period after reconciliation is confirmed